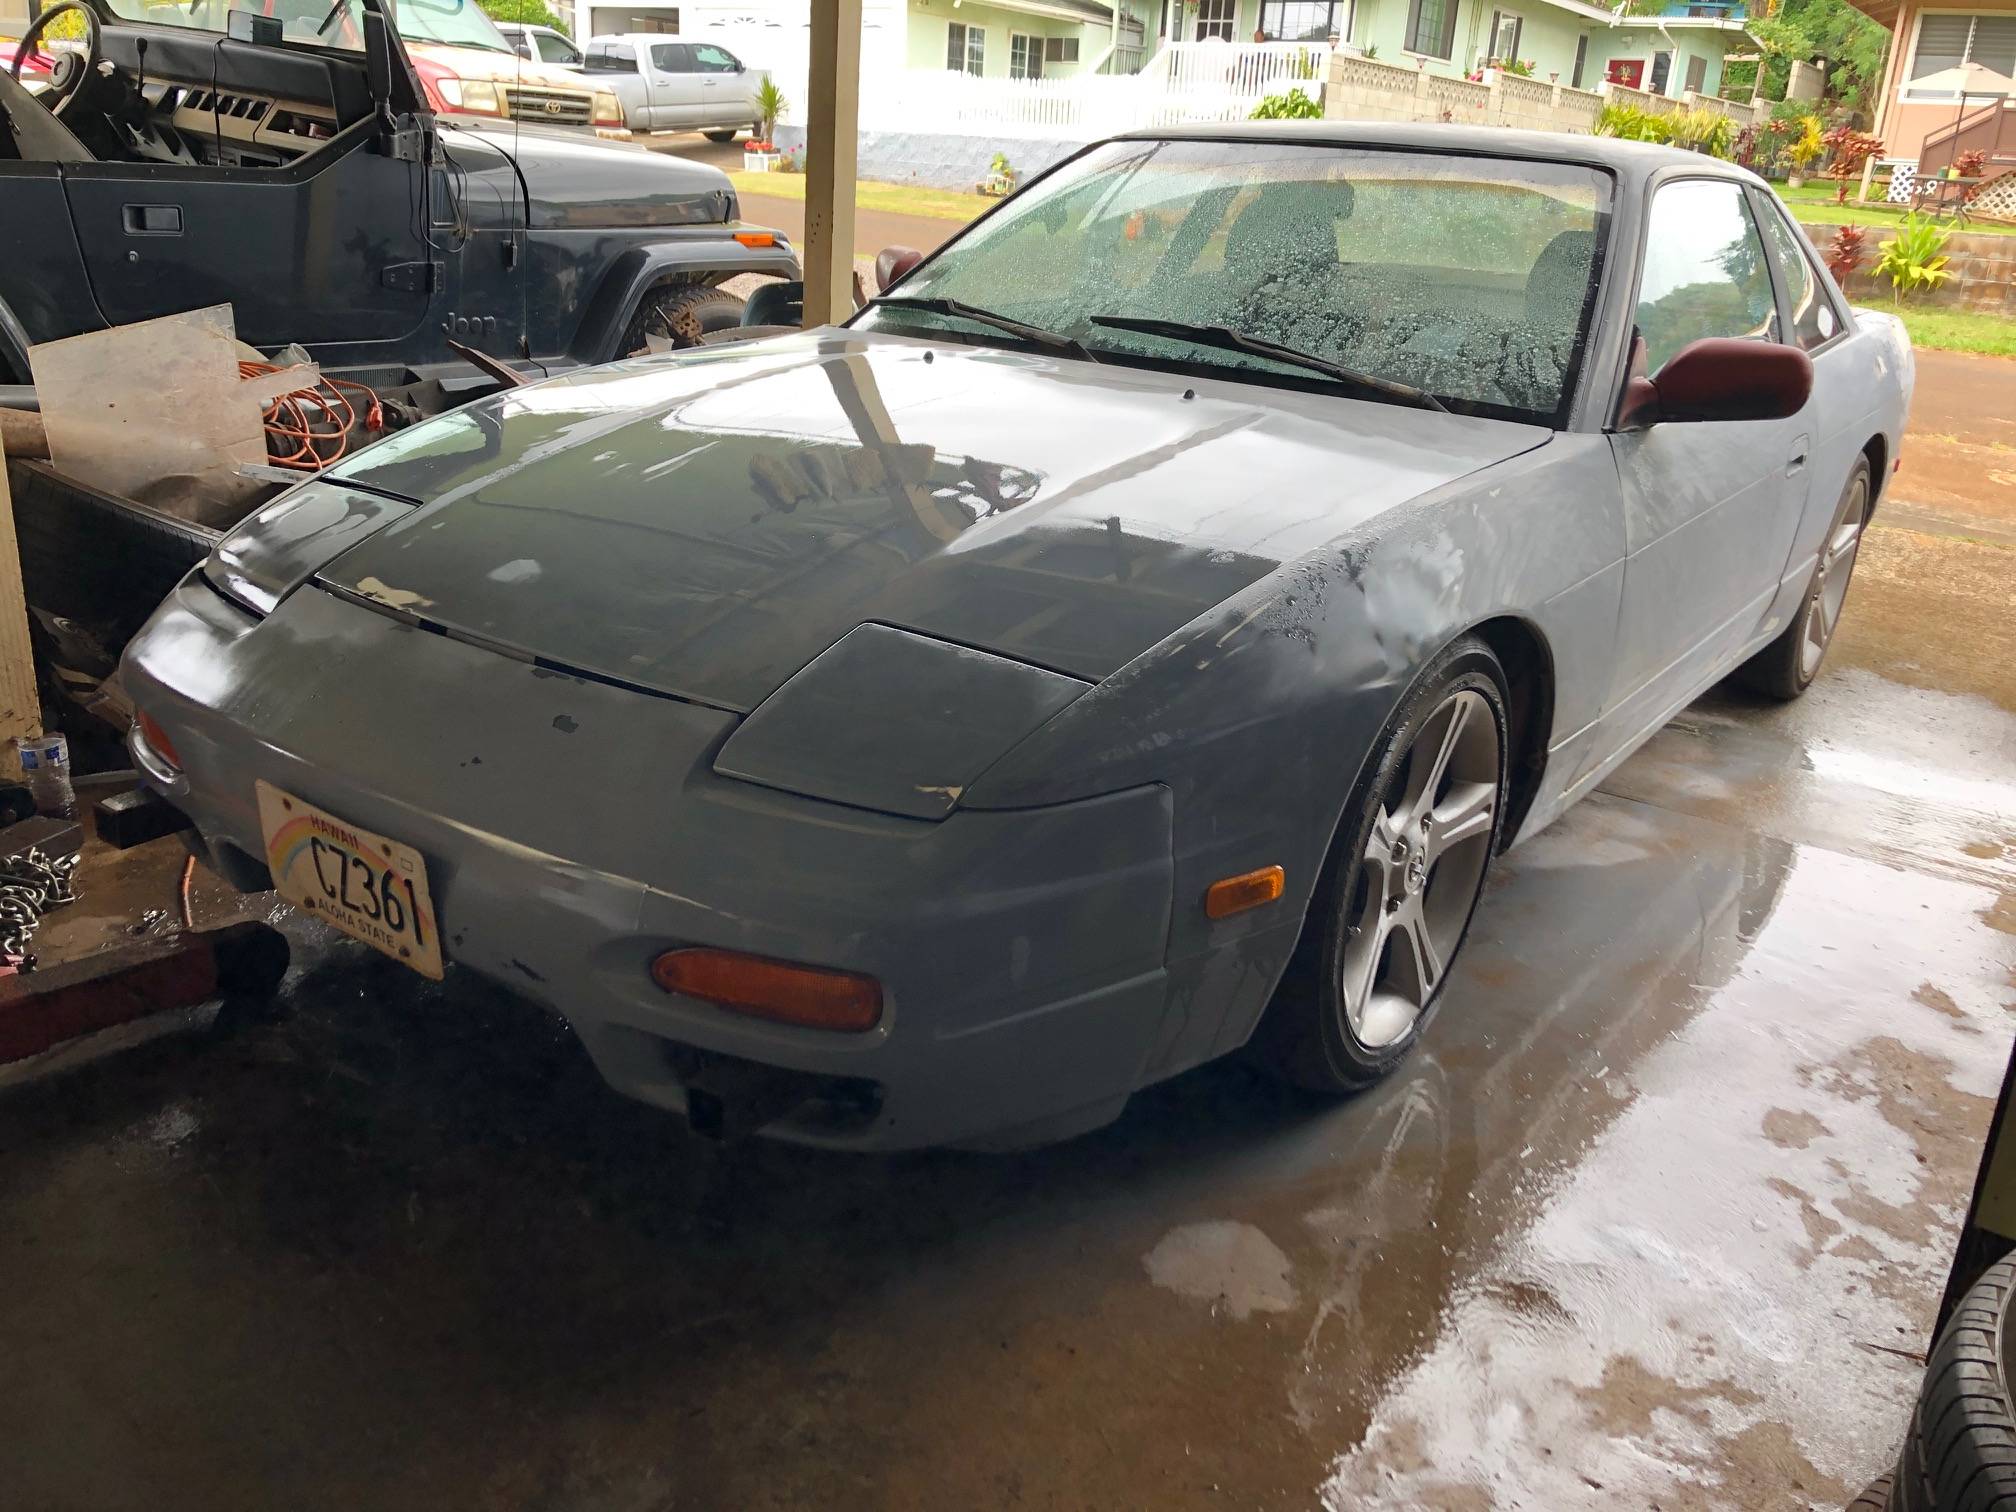
Factory Paint Code And Specifications For 1989 Nissan 240sx In Black (kh3)
Alright, let's dive deep into the world of Nissan 240SX black paint, specifically the KH3 code used on the 1989 models. Understanding this paint code and its associated specifications is crucial whether you're touching up minor imperfections, doing a full respray, or simply trying to match parts down the line. It’s more than just “black”; there's a science and specific formulation behind it.
Understanding the KH3 Paint Code
The "KH3" is Nissan's specific alphanumeric code for its black paint. This code acts as a unique identifier, ensuring you get the correct shade and formulation for your 240SX. Think of it like a VIN number, but for paint. It guarantees consistency across different batches and production runs. Without this code, you're basically guessing on the color and finish, and that usually ends badly.
It's important to distinguish this from other black paint codes Nissan may have used on other models or in later years. Even a seemingly similar black shade could have subtle variations in pigment composition, gloss level, and even the type of binder used. That’s why always relying on the KH3 code is vital for a perfect match on your '89 240SX.
Where to Find the Paint Code
Locating the KH3 code on your vehicle is the first step. Usually, you'll find it on a metal plate or sticker located in one of the following places:
- Driver's Side Door Jamb: This is the most common location. Look for a silver or white sticker containing various vehicle information. The paint code is usually listed as "Color Code," "Paint Code," or simply "Color."
- Engine Bay: Sometimes, the sticker is affixed to the inner fender or firewall in the engine compartment.
- Under the Hood: Occasionally, you'll find the code stamped or printed on a plate underneath the hood itself.
If you're having trouble finding the code, consult your owner's manual. It should contain a diagram or description of the sticker's location and the format of the paint code. If all else fails, a Nissan dealer can usually retrieve the paint code using your VIN number.
Factory Paint Specifications: Beyond the Code
Knowing the KH3 code is only the starting point. The factory paint specifications dictate the type of paint, application process, and desired finish. Here's a breakdown:
Paint Type: Acrylic Lacquer (Original)
The original paint used on the 1989 Nissan 240SX with the KH3 code was typically an acrylic lacquer. Acrylic lacquer paints were common in the 80s and early 90s due to their relatively fast drying times and ease of application. However, they are generally less durable and more susceptible to chipping and fading compared to modern paints like basecoat/clearcoat systems.
Note: While acrylic lacquer was the original type, many restorers and painters now opt for more modern paint systems for improved durability and longevity. These newer systems can be matched to the KH3 code, but it's crucial to inform your paint supplier that you want a match to the original KH3 *color* and *sheen*, not necessarily the exact original lacquer formula.
Modern Alternatives: Basecoat/Clearcoat
The most common alternative to acrylic lacquer is a basecoat/clearcoat system. This involves applying a pigmented basecoat (matched to the KH3 color) followed by a separate clearcoat layer. The clearcoat provides a durable, glossy finish that protects the basecoat from UV damage and environmental elements. Basecoat/clearcoat systems offer several advantages over acrylic lacquer:
- Increased Durability: Clearcoat provides superior resistance to scratches, chips, and fading.
- Improved Gloss: Clearcoat creates a deeper, more lustrous shine.
- Better UV Protection: Clearcoat helps prevent the basecoat from fading over time.
When using a basecoat/clearcoat system, ensure you use a high-quality automotive clearcoat that is compatible with the basecoat you've chosen. Following the manufacturer's instructions for mixing ratios, application techniques, and drying times is essential for achieving a professional finish.
Application Process: Factory vs. DIY
The factory application process involved applying multiple thin coats of acrylic lacquer, allowing each coat to dry before applying the next. The final coat was then often wet-sanded and buffed to achieve a smooth, glossy finish. This process requires specialized equipment and expertise to achieve a factory-quality result.
For DIY projects, you'll likely be using spray cans or a paint sprayer. Here are some key considerations:
- Surface Preparation: Proper surface preparation is crucial for any paint job. This includes sanding down any imperfections, filling dents or scratches with body filler, and applying a primer. A good primer provides a uniform surface for the paint to adhere to and helps prevent rust.
- Application Technique: Apply thin, even coats of paint, overlapping each pass by about 50%. Avoid applying too much paint at once, as this can lead to runs and drips.
- Drying Time: Allow each coat of paint to dry completely before applying the next. Refer to the paint manufacturer's instructions for recommended drying times.
- Wet Sanding and Buffing: After the final coat has dried, you can wet-sand the surface with fine-grit sandpaper (e.g., 2000-grit) to remove any imperfections and create a smoother surface. Then, use a buffing compound and a polishing pad to restore the gloss and shine.
Safety First! Always wear appropriate personal protective equipment (PPE) when painting, including a respirator, gloves, and eye protection. Work in a well-ventilated area to avoid inhaling harmful fumes.
Gloss Level and Sheen
The original KH3 black paint on the 1989 240SX had a specific gloss level, which is typically described as a high-gloss finish. However, over time, the gloss can fade due to exposure to the elements. When matching the paint, it's important to consider the desired gloss level. If you're trying to match the original factory finish, you may need to use a specific clearcoat with the appropriate gloss level. Some clearcoats are available in different gloss levels, such as high-gloss, semi-gloss, and matte.
Paint Formulation and Pigments
The exact formulation of the KH3 black paint is proprietary information, but it generally consists of black pigments, binders, solvents, and additives. The specific type and concentration of pigments used can affect the color, opacity, and durability of the paint. When purchasing paint, make sure it's specifically formulated for automotive use and that it's compatible with the existing paint on your vehicle.
Common Issues and Troubleshooting
Even with the correct paint code and proper application techniques, you may encounter some common issues:
- Color Mismatch: Even with the KH3 code, slight variations in color can occur due to aging of the original paint or differences in paint formulations. To minimize the risk of a color mismatch, it's best to have a paint shop custom-mix the paint to match a sample from your vehicle.
- Orange Peel: This refers to a textured surface that resembles the skin of an orange. It's usually caused by improper application techniques, such as spraying too far from the surface or using too much paint. To correct orange peel, wet-sand the surface with fine-grit sandpaper and then buff it with a polishing compound.
- Runs and Drips: These are caused by applying too much paint at once. If you get a run or drip, let the paint dry completely and then sand it down with fine-grit sandpaper before applying another coat.
- Fading: Over time, the paint can fade due to exposure to UV light. To prevent fading, park your vehicle in the shade whenever possible and apply a coat of wax or sealant regularly.
Final Thoughts
Restoring or repainting a classic like the 1989 Nissan 240SX is a rewarding experience. By understanding the KH3 paint code and the associated specifications, you can ensure that your paint job is both accurate and durable. Remember to take your time, follow the manufacturer's instructions, and prioritize safety. With a little patience and attention to detail, you can achieve a professional-quality finish that will make your 240SX look its best.
Before committing to a full respray, always test the paint match in an inconspicuous area. This could be inside the trunk lid, or under the hood. This is critical to avoid unpleasant surprises. Remember, good preparation is 90% of the job!
"Painting isn't just about applying color; it's about preserving history and making your car shine for years to come."