Fuel Pump Assembly Replacement And Access Procedures
Alright, so you're tackling a fuel pump assembly replacement. This can be a bit more involved than your average oil change, but with the right knowledge and a methodical approach, you can definitely handle it. This guide assumes you're familiar with basic automotive tools and safety procedures. We'll cover the necessary steps, common pitfalls, and important safety considerations.
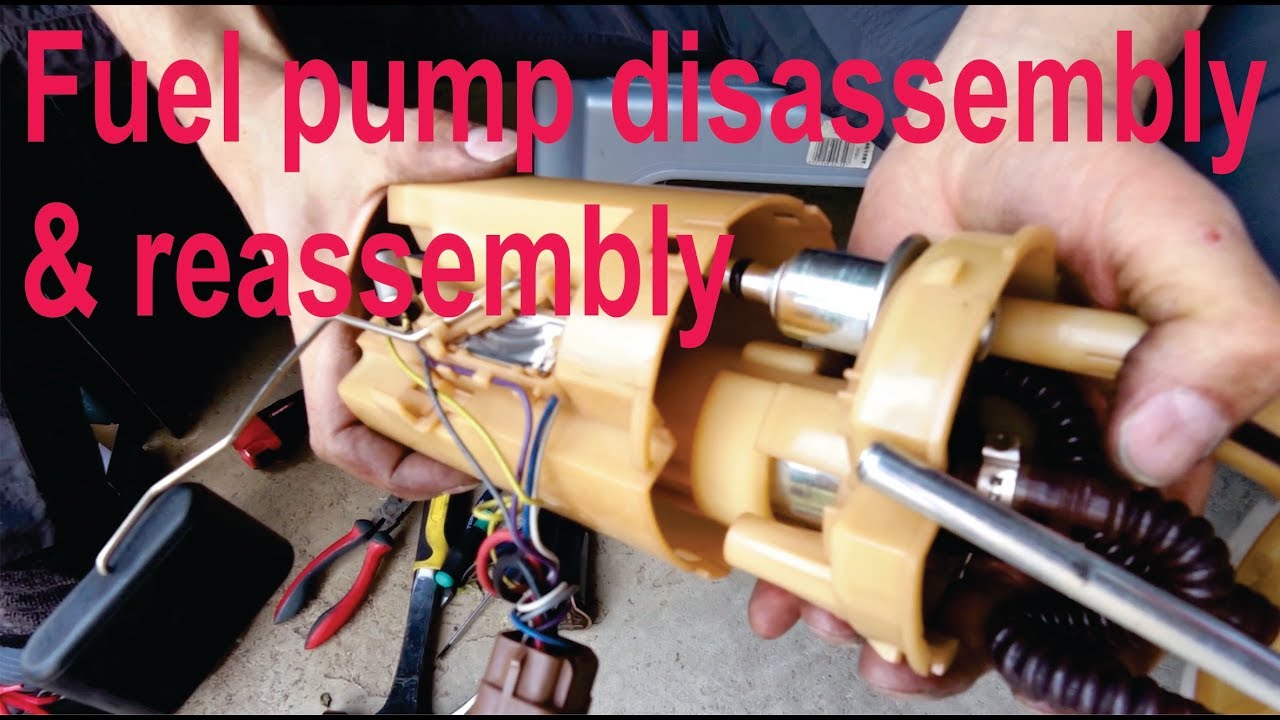
Understanding the Fuel Pump Assembly
Before diving in, let's clarify what we're dealing with. The fuel pump assembly isn't just the pump itself. It's typically a module containing several components, all working together to deliver fuel from the tank to your engine. This often includes:
- The Fuel Pump: The electric pump that physically draws fuel from the tank.
- The Fuel Level Sensor: A float and sending unit that tells your fuel gauge how much gas you have.
- The Fuel Filter (sometimes): A filter, often integrated into the assembly, to remove contaminants from the fuel.
- The Fuel Pressure Regulator (sometimes): Regulates the fuel pressure delivered to the fuel rail. Newer cars often have the regulator external to the tank.
- The Fuel Reservoir/Sump: A small reservoir that helps ensure the pump remains submerged in fuel, especially during cornering or when the fuel level is low. This helps prevent fuel starvation.
- The Fuel Lines/Connectors: The lines and quick-connect fittings that connect the assembly to the rest of the fuel system.
Replacing the entire assembly is often recommended, even if only the pump itself is failing. This is because other components, like the fuel level sensor, can degrade over time, and it's more efficient to replace everything at once.
Safety First!
This is paramount! Working with fuel is dangerous. Gasoline is extremely flammable, and its vapors are explosive. Take the following precautions very seriously:
- Disconnect the Negative Battery Terminal: This prevents any accidental electrical sparks. Wait at least 15 minutes after disconnecting to allow the electrical system to fully discharge.
- Work in a Well-Ventilated Area: Open garage doors and windows to allow fuel vapors to dissipate. An open-air environment is best.
- No Smoking, Open Flames, or Sparks: This should be obvious, but absolutely no smoking, lighters, grinders, or anything that could generate a spark within the work area.
- Have a Fire Extinguisher Nearby: A Class B fire extinguisher (suitable for flammable liquids) is a must. Know how to use it.
- Wear Safety Glasses and Gloves: Protect your eyes and skin from fuel exposure. Nitrile gloves are recommended.
- Fuel Spill Kit: Have absorbent materials (cat litter, oil-dry) and a container readily available to clean up any spills.
- Ground Yourself: Use a grounding strap or touch a grounded metal surface before handling any fuel lines or components to discharge static electricity.
Tools and Materials You'll Need
Gathering your tools ahead of time will make the job much smoother.
- New Fuel Pump Assembly: Make sure it's the correct part for your year, make, and model. Double-check the part number!
- Fuel Line Disconnect Tool: These come in various sizes and types, depending on the type of fuel line connectors your vehicle uses. Get the right set.
- Socket Set and Wrenches: Metric sizes are most common.
- Screwdrivers: Both flathead and Phillips head.
- Pliers: Regular and needle-nose.
- Hammer (Optional): For stubborn retaining rings (use with a brass punch).
- Multimeter: For testing voltage and continuity.
- Clean Rags or Shop Towels: For cleaning up spills and wiping down components.
- Penetrating Oil: For loosening rusted bolts.
- Flashlight or Work Light: Essential for seeing inside the fuel tank area.
- Jack and Jack Stands (If Necessary): Some vehicles require you to raise the car for access.
- Fuel-Resistant Container: For draining any remaining fuel from the tank (if necessary).
- New Fuel Filter (If Not Included in the Assembly): Replace it while you're in there.
- Replacement Fuel Line Clips or Clamps: Have these on hand in case you damage the originals.
- Torque Wrench: To ensure proper tightening of fasteners. Consult your vehicle's repair manual for torque specifications.
Accessing the Fuel Pump
This is where things vary significantly depending on your vehicle. There are two primary access methods:
Method 1: Through an Access Panel (Preferred)
Many modern vehicles have an access panel located under the rear seat or in the trunk. This is the easiest method.
- Locate the Access Panel: Consult your vehicle's repair manual to find its exact location.
- Remove the Rear Seat or Trunk Liner: This may involve removing bolts, clips, or screws.
- Remove the Access Panel: Usually held in place by screws or clips.
- You should now have direct access to the fuel pump assembly on top of the fuel tank.
Method 2: Dropping the Fuel Tank (Less Desirable, But Sometimes Necessary)
If there's no access panel, you'll have to drop the fuel tank. This is a more involved process.
- Siphon Remaining Fuel: Use a siphon pump to remove as much fuel as possible from the tank. This makes it lighter and easier to handle. Never use your mouth to start a siphon!
- Disconnect Fuel Lines: Use the appropriate fuel line disconnect tool to separate the fuel lines from the tank. Be prepared for some fuel spillage. Have rags ready.
- Disconnect Electrical Connectors: Unplug the electrical connectors for the fuel pump and fuel level sensor.
- Loosen the Fuel Tank Straps: These straps hold the tank in place. Support the tank with a jack before loosening the straps completely.
- Lower the Fuel Tank: Slowly lower the tank using the jack. Be careful not to damage any fuel lines or other components.
- Once the tank is lowered, you'll have access to the fuel pump assembly on top of the tank.
Replacing the Fuel Pump Assembly
Now that you have access, here's how to replace the assembly:
- Disconnect the Fuel Lines and Electrical Connectors: If you haven't already, carefully disconnect all fuel lines and electrical connectors from the fuel pump assembly. Use the fuel line disconnect tool to avoid damaging the connectors.
- Remove the Retaining Ring: Most fuel pump assemblies are held in place by a retaining ring. This ring can be plastic or metal and may require a special tool to remove. Some require a hammer and punch to rotate it loose. Be careful not to damage the tank or the retaining ring.
- Carefully Remove the Old Fuel Pump Assembly: Slowly lift the assembly out of the tank. Be mindful of the fuel level sensor float arm, as it can be easily bent or damaged.
- Inspect the Fuel Tank: While the assembly is out, inspect the inside of the fuel tank for debris or sediment. Clean the tank if necessary.
- Install the New Fuel Pump Assembly: Carefully lower the new assembly into the tank, making sure the fuel level sensor float arm is free to move.
- Secure the Retaining Ring: Reinstall the retaining ring, making sure it's properly seated and tightened. Torque to the manufacturer's specifications.
- Reconnect the Fuel Lines and Electrical Connectors: Reconnect all fuel lines and electrical connectors to the new assembly. Ensure they are securely attached and properly seated.
Reassembly and Testing
With the new assembly installed, it's time to put everything back together and test your work.
- If you dropped the fuel tank, raise it back into position and secure the fuel tank straps. Torque the strap bolts to the manufacturer's specifications.
- Reconnect the Fuel Lines and Electrical Connectors (Tank Removal): Reconnect the fuel lines and electrical connectors to the tank.
- Reinstall the Access Panel (if applicable): Secure the access panel with screws or clips.
- Reinstall the Rear Seat or Trunk Liner (if applicable): Reinstall the rear seat or trunk liner.
- Reconnect the Negative Battery Terminal: Reconnect the negative battery terminal.
- Prime the Fuel System: Turn the ignition key to the "ON" position (but don't start the engine) for a few seconds. Repeat this several times to prime the fuel system and build up fuel pressure. You should hear the fuel pump running briefly each time.
- Check for Leaks: Carefully inspect all fuel line connections and the fuel pump assembly for leaks. Use a flashlight to get a good view. If you find any leaks, tighten the connections or replace the fuel lines or fittings as needed.
- Start the Engine: Start the engine and let it idle for a few minutes. Monitor the fuel gauge to make sure it's reading correctly.
- Test Drive: Take the vehicle for a short test drive to ensure everything is working properly. Pay attention to any unusual noises or performance issues.
Troubleshooting
If you encounter problems, here are some common issues and their solutions:
- Engine won't start: Check the fuel pump fuse and relay. Verify that the fuel pump is receiving power. Double-check all fuel line connections.
- Low fuel pressure: Could be a faulty fuel pump, a clogged fuel filter, or a leak in the fuel lines.
- Fuel gauge inaccurate: Could be a faulty fuel level sensor or a wiring issue.
- Fuel leaks: Tighten fuel line connections or replace damaged fuel lines or fittings.
- Check Engine Light (CEL): Scan the vehicle's computer for diagnostic trouble codes (DTCs). This can help pinpoint the source of the problem.
Replacing a fuel pump assembly is a manageable task for experienced DIYers. Just remember to prioritize safety, be methodical, and consult your vehicle's repair manual for specific instructions and torque specifications. Good luck!