Guide To Replacing Your 2016 Nissan Maximas Cabin Air Filter
Imagine breathing through a dusty rag. Unpleasant, right? That's essentially what your car's occupants are doing if the cabin air filter is clogged. While engine air filters protect the engine, cabin air filters are specifically designed to purify the air entering the passenger compartment, making them critical for a comfortable and healthy driving experience. In this guide, we'll dissect the process of replacing the cabin air filter in a 2016 Nissan Maxima, explaining not just the *how*, but also the *why* behind each step.
Understanding the Cabin Air Filtration System
The cabin air filtration system is a relatively simple, yet crucial component in modern vehicles. Its primary function is to remove particulate matter, pollen, dust, and even some odors from the air that enters the car's ventilation system. Without a filter, these contaminants would circulate freely inside the cabin, potentially triggering allergies, exacerbating respiratory conditions, and simply making the interior dusty and unpleasant.
How it works mechanically: The system draws air from outside the vehicle (or recirculates air from within) through a duct. This duct leads directly to the cabin air filter housing. The filter, typically constructed from pleated paper, charcoal-infused fabric, or a combination of materials, traps particles as the air passes through. Finally, the filtered air is channeled through the HVAC (Heating, Ventilation, and Air Conditioning) system, where it's heated or cooled, and then distributed to the cabin vents.
Types of Cabin Air Filters
Cabin air filters aren't a one-size-fits-all affair. Different types offer varying levels of filtration and features. Here's a rundown:
- Particulate Filters: These are the most basic type, typically made of pleated paper or fiber. They effectively trap dust, pollen, and larger particles.
- Activated Carbon Filters: These filters incorporate a layer of activated carbon (charcoal). The carbon absorbs odors, volatile organic compounds (VOCs) from exhaust fumes, and other gaseous pollutants, providing a cleaner and fresher smelling cabin.
- Electrostatic Filters: Some filters use an electrostatic charge to attract and trap even finer particles, such as bacteria and mold spores. These are often marketed as "allergy" filters.
For the 2016 Maxima, both particulate and activated carbon filters are readily available. Consider your driving environment and any specific sensitivities of passengers when making your choice. If you live in an area with heavy traffic or experience allergies, an activated carbon or electrostatic filter is likely a worthwhile investment.
Replacing the Cabin Air Filter in a 2016 Nissan Maxima: A Step-by-Step Guide
Replacing the cabin air filter in a 2016 Maxima is a relatively straightforward task that most DIYers can accomplish with minimal tools and effort. Here's a detailed guide:
Tools and Materials Needed:
- New cabin air filter (check your owner's manual for the correct part number)
- Phillips head screwdriver (possibly)
- Flashlight (optional, but helpful)
- Gloves (optional, to keep your hands clean)
Step-by-Step Instructions:
- Locate the Cabin Air Filter Housing: In the 2016 Maxima, the cabin air filter housing is located behind the glove compartment.
- Empty the Glove Compartment: Remove all items from the glove compartment to provide yourself with ample working space.
- Detach the Glove Compartment Damper (if equipped): On the right side of the glove compartment, you may find a small damper arm connected to the side of the glove box and the vehicle. Gently detach the damper arm by squeezing the end clip and pulling it free from the glove compartment.
- Release the Glove Compartment Stops: On either side of the glove compartment, you'll find tabs or clips that prevent the glove compartment from swinging down too far. Gently push or squeeze these tabs inward to release the glove compartment. This will allow the glove compartment to swing fully open and expose the filter housing.
- Locate the Filter Housing Cover: Behind the now-open glove compartment, you'll see a rectangular plastic cover. This is the cabin air filter housing cover.
- Remove the Filter Housing Cover: Depending on the specific design, the cover may be held in place by clips or screws. Some models have clips that you can simply press to release. Others may have Phillips head screws that need to be unscrewed. Remove the screws if present and then gently pry or pull the cover off.
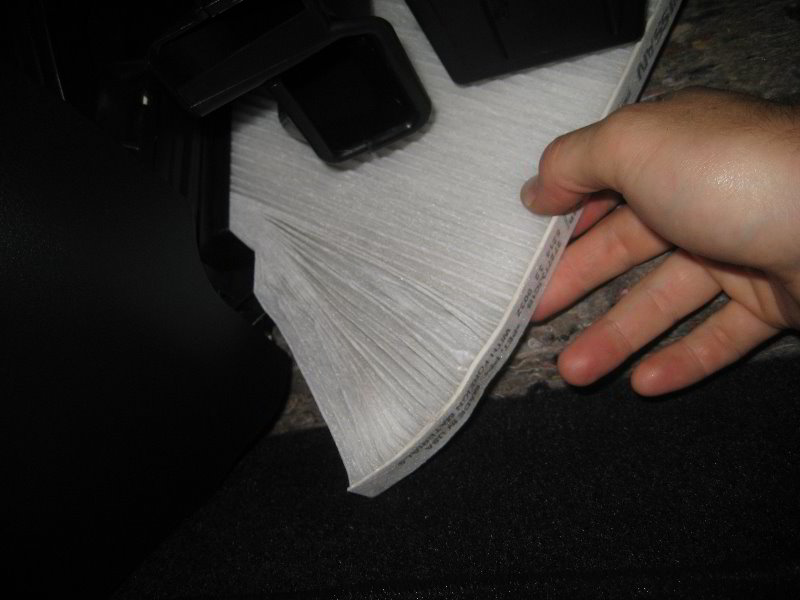
- Remove the Old Filter: Carefully pull the old cabin air filter straight out of the housing. Pay attention to the direction of airflow. Most filters have an arrow indicating the direction of airflow; note this for installing the new filter correctly. You may need to wiggle the filter slightly to dislodge it. Be prepared for a shower of dust and debris!
- Inspect the Housing: Take a moment to inspect the filter housing. Clean out any leaves, dust, or debris that may have accumulated inside. A small vacuum cleaner or a damp cloth can be helpful.
- Install the New Filter: Insert the new cabin air filter into the housing, making sure the airflow arrow on the filter aligns with the direction of airflow you noted earlier. The filter should slide in smoothly.
- Reinstall the Filter Housing Cover: Replace the filter housing cover and secure it with the clips or screws you removed earlier. Ensure the cover is properly seated and secured.
- Reattach the Glove Compartment Stops: Push the glove compartment back into its normal position and reattach the stops on either side. You should hear a click as they engage.
- Reattach the Glove Compartment Damper (if equipped): Reconnect the damper arm to the glove compartment.
- Test the System: Start the car and turn on the HVAC system. Verify that air is flowing properly from the vents and that the air smells clean.
Pros and Cons of DIY Filter Replacement
Pros:
- Cost Savings: Replacing the cabin air filter yourself is significantly cheaper than having a mechanic do it. You only pay for the filter itself, avoiding labor costs.
- Convenience: You can perform the replacement at your own convenience, without scheduling an appointment or waiting at a repair shop.
- Knowledge and Understanding: Performing the task yourself gives you a better understanding of your vehicle's systems.
Cons:
- Time Commitment: Although relatively quick, the task does require some time and effort.
- Potential for Damage: If you're not careful, you could potentially damage the glove compartment or filter housing.
- Incorrect Installation: Installing the filter backwards or improperly seating the cover can reduce the effectiveness of the filtration system.
Use Cases and Real-World Scenarios
Consider these scenarios to determine if you should prioritize cabin air filter replacement:
- Allergy Sufferers: Individuals with allergies or asthma should replace their cabin air filter more frequently, especially during peak pollen seasons.
- Urban Driving: Drivers in heavily polluted urban areas should also replace their filters more often due to the higher concentration of airborne particles.
- Smokers: If you or your passengers smoke in the car, the cabin air filter will quickly become saturated with smoke particles and odors, requiring more frequent replacement.
- Noticeable Odors: If you notice unpleasant odors coming from your vents, even after using air fresheners, it's a strong indicator that your cabin air filter needs to be replaced.
- Reduced Airflow: A clogged cabin air filter can restrict airflow from the vents, reducing the efficiency of the HVAC system.
Nissan, like many manufacturers, recommends replacing the cabin air filter every 12,000 to 15,000 miles or once a year. However, this is just a general guideline. The actual replacement interval may vary depending on your driving conditions.
Insights and Recommendations
Based on real-world experience, here are some additional tips for replacing your 2016 Nissan Maxima's cabin air filter:
- Always consult your owner's manual: Your owner's manual will provide specific instructions for your vehicle model and year.
- Purchase a quality filter: Don't skimp on the filter. A higher-quality filter will provide better filtration and last longer.
- Inspect the old filter: Examine the old filter after removal. The amount of dirt and debris accumulated on the filter can give you an idea of how frequently you should be replacing it.
- Consider a filter subscription: Some companies offer subscription services that automatically ship you a new cabin air filter at regular intervals, ensuring you never forget to replace it.
- Document the date of replacement: Use a permanent marker to write the date on the filter housing cover, so you know when the filter was last replaced.
Replacing your cabin air filter is a small but impactful maintenance task that can significantly improve the air quality inside your car. By following these steps and tips, you can breathe easier and enjoy a healthier and more comfortable driving experience. Remember to prioritize regular maintenance to keep your 2016 Nissan Maxima running smoothly and efficiently.