How To Cleaning Leather Car Seats
So, you've got leather seats in your car. Nice! They look great, smell great (when clean), and add a touch of luxury. But leather, being a natural material, needs a bit more TLC than your standard cloth. Neglecting it can lead to cracking, fading, and ultimately, expensive repairs or replacements. This guide walks you through the process of cleaning your leather car seats like a pro, ensuring they stay supple and looking their best for years to come.
Purpose of Cleaning Leather Car Seats
The main purpose of cleaning your leather car seats is threefold:
- Preservation: Removing dirt, grime, and body oils prevents them from penetrating the leather's surface and causing damage. These contaminants can break down the leather's protective coating and fibers.
- Aesthetics: Clean leather simply looks better. It restores the natural sheen and color of the material, enhancing the overall appearance of your car's interior.
- Hygiene: Over time, leather can harbor bacteria and allergens. Regular cleaning helps to eliminate these, creating a healthier and more comfortable driving environment.
Key Specs and Main Parts: Understanding Leather Types
Before you dive in, it’s crucial to understand the type of leather you're dealing with. Not all leather is created equal, and using the wrong cleaning method can be disastrous.
- Finished Leather (Protected/Coated): This is the most common type of leather found in cars. It has a protective coating (usually a polyurethane-based product) that makes it more resistant to stains and wear. The vast majority of automotive leather is finished. Cleaning this type is relatively straightforward.
- Unfinished Leather (Aniline/Naked): This type of leather has no protective coating. It’s more porous and susceptible to staining. It’s incredibly soft to the touch, but also requires specialized care. It is rarely used in cars due to its fragility. If you suspect you have this type, proceed with extreme caution.
- Semi-Aniline Leather: This leather has a light protective coating, offering a balance between the luxurious feel of aniline leather and the durability of finished leather. Requires similar care to finished leather, but with a little more attention to detail.
- Suede/Nubuck: While technically leather, these materials have a nap and require completely different cleaning techniques. This guide won't cover suede or nubuck.
Identifying Your Leather: If you're unsure, start by testing in an inconspicuous area (underneath the seat, for example). Apply a small amount of water. If it beads up, you likely have finished leather. If it soaks in quickly, you might have unfinished leather. Consult your car's manual or a professional detailer for confirmation.
Supplies and Tools – Your Cleaning Arsenal
Having the right tools is half the battle. Here's what you'll need:
- Leather Cleaner: Specifically designed for automotive leather. Avoid harsh chemicals, solvents, or all-purpose cleaners. Look for pH-balanced formulas.
- Leather Conditioner: Rehydrates and protects the leather after cleaning. Essential for preventing cracking and maintaining suppleness.
- Microfiber Cloths: Soft and absorbent, perfect for cleaning and applying conditioner. Have several on hand.
- Soft-Bristled Brush: For gentle agitation of dirt and grime, especially in textured areas. An old toothbrush works well for tight spots.
- Vacuum Cleaner with Brush Attachment: For removing loose debris and dust before cleaning.
- Spray Bottle (Optional): For diluting the cleaner if necessary (follow the manufacturer's instructions).
- Bucket of Clean Water: For rinsing cloths.
How It Works: The Cleaning Process – Step-by-Step
Here's the breakdown of the cleaning process:
- Vacuum: Thoroughly vacuum the seats, paying attention to seams and crevices. This removes loose dirt and debris that could scratch the leather during cleaning.
- Spot Test: Always test your chosen cleaner in an inconspicuous area first. Apply a small amount, let it sit for a minute, and then wipe it away. Check for any discoloration or damage.
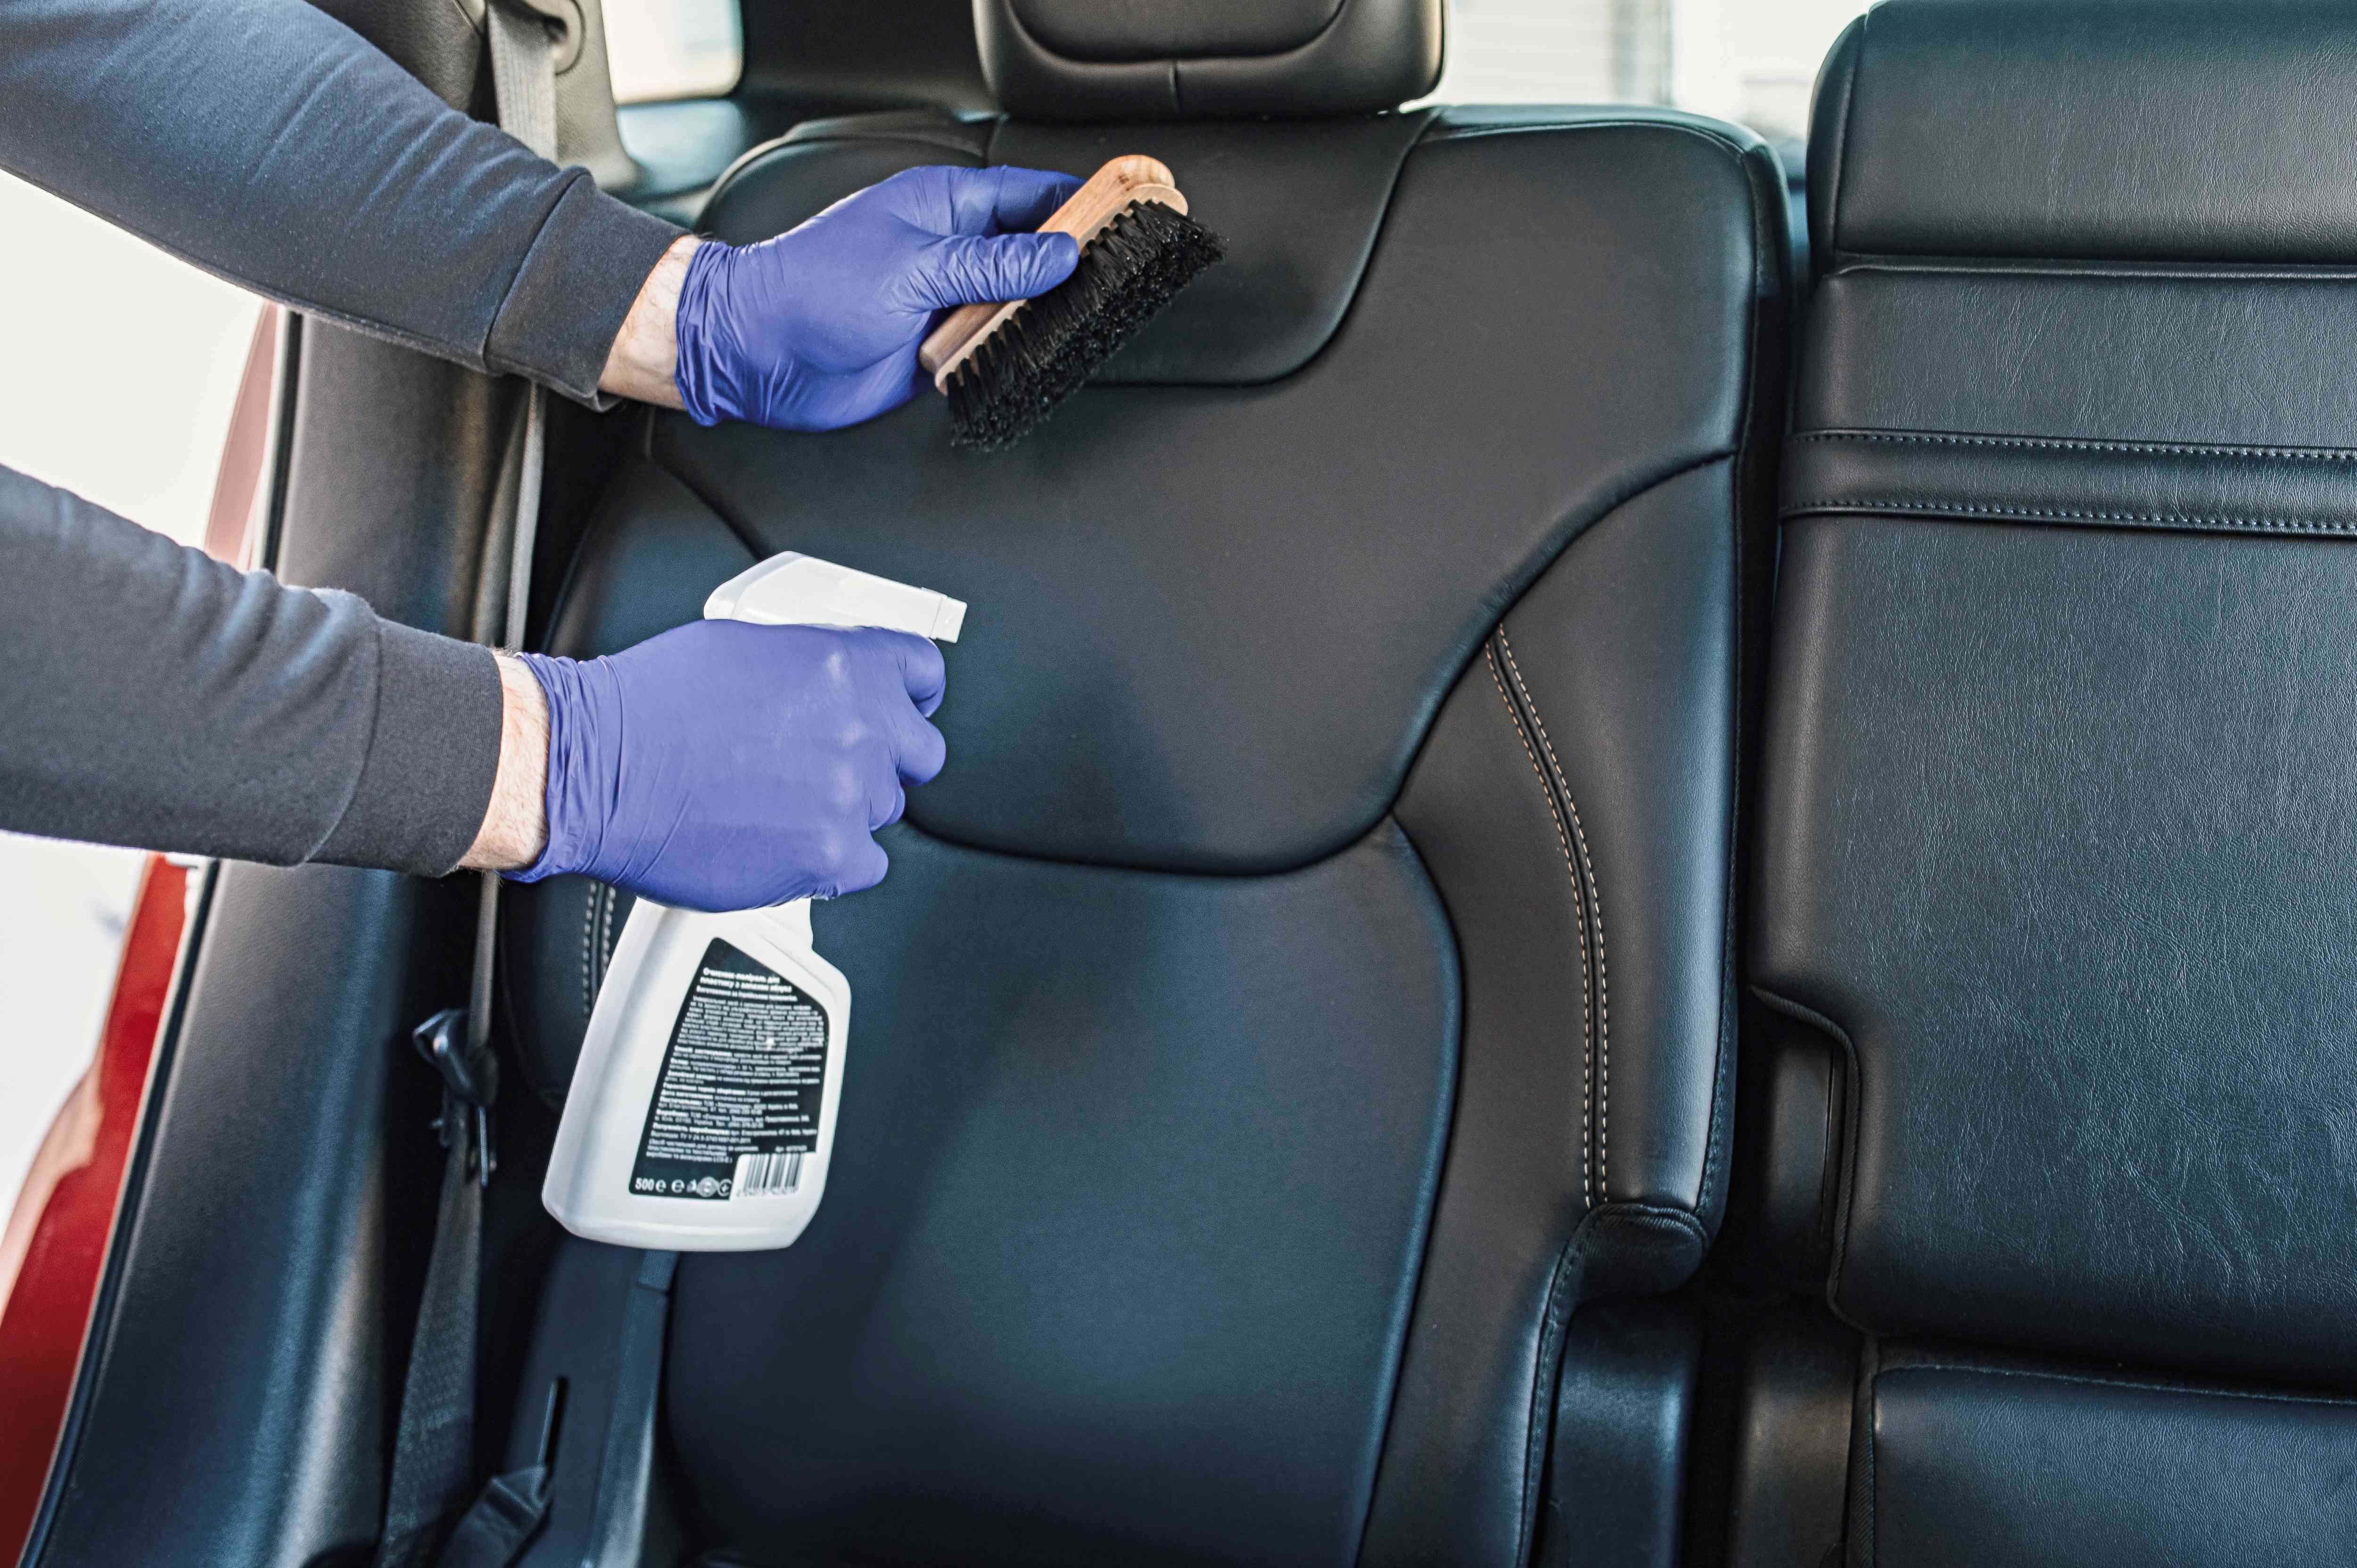
- Apply Cleaner: Spray the leather cleaner onto a microfiber cloth, not directly onto the seat. Gently wipe the leather surface in a circular motion. Work in small sections (e.g., one seat cushion at a time).
- Agitate (If Needed): For heavily soiled areas, use a soft-bristled brush to gently agitate the cleaner. Be careful not to scrub too hard, as this can damage the leather's finish.
- Wipe Away Residue: Use a clean, damp microfiber cloth to wipe away any remaining cleaner residue. Ensure the cloth is only damp, not soaking wet.
- Dry: Use a dry microfiber cloth to thoroughly dry the leather surface.
- Condition: Once the leather is completely dry, apply a leather conditioner according to the manufacturer's instructions. This will rehydrate the leather and protect it from drying and cracking. Apply sparingly and buff with a clean microfiber cloth.
Real-World Use: Basic Troubleshooting Tips
- Stains: Address stains as quickly as possible. The longer a stain sits, the harder it will be to remove. Specific stain removers may be required for certain types of stains (e.g., ink, grease).
- Cracking: Preventative maintenance is key. Regular conditioning will help to keep the leather supple and prevent cracking. If cracking is already present, a leather repair kit may be needed.
- Fading: Park your car in the shade or use a sunshade to protect the leather from UV damage, which can cause fading. Leather dyes or restoration kits can be used to restore faded leather.
- Sticky Residue: Sometimes, cleaning can leave a sticky residue. This is usually due to using too much cleaner or not properly rinsing the surface. Re-clean the area with a slightly damp microfiber cloth and then dry thoroughly.
- Water Spots: If water gets on the leather, wipe it up immediately to prevent water spots. If spots do appear, try gently rubbing them with a damp microfiber cloth.
Safety – Protecting Yourself and Your Leather
While cleaning leather seats is generally safe, there are a few precautions to keep in mind:
- Chemical Sensitivity: Always wear gloves if you have sensitive skin or are allergic to chemicals.
- Ventilation: Work in a well-ventilated area to avoid inhaling fumes from the cleaning products.
- Avoid Harsh Chemicals: Never use bleach, ammonia, or other harsh chemicals on leather. These can strip the leather of its natural oils and cause irreparable damage.
- Electrical Components: Be careful not to get water or cleaner on any electrical components under the seats (e.g., seat heaters, airbags).
- Airbag Sensors: Certain cleaners might damage the airbag sensors in the seats. Always disconnect the car battery before working on the seats if you are using liquid cleaners and you are unsure of potential interactions.
Regular cleaning and conditioning are crucial for maintaining the beauty and longevity of your leather car seats. By following these steps, you can keep your leather looking its best for years to come.
We have a detailed diagram outlining the leather seat cleaning process, including recommended products and troubleshooting tips. Contact us, and we'll happily provide you with a downloadable copy!