Inspection And Replacement Of The Crankshaft Harmonic Balancer On A 240sx
The crankshaft harmonic balancer, often simply called the harmonic balancer or crankshaft pulley, is a vital component in your Nissan 240SX's engine. Its primary function is to dampen torsional vibrations in the crankshaft, preventing engine damage and ensuring smooth operation. Think of it as a carefully tuned shock absorber for your engine's rotating assembly.
Understanding Torsional Vibration
To understand the importance of the harmonic balancer, we must first grasp the concept of torsional vibration. During each power stroke, the force of combustion slams down on the piston, pushing the connecting rod and causing the crankshaft to twist. This twisting force isn't uniform; it's a sudden, sharp jolt. Imagine twisting a long metal rod repeatedly – it will oscillate back and forth. The crankshaft behaves similarly, experiencing vibrations along its length. These vibrations are known as torsional vibrations.
If these torsional vibrations aren't controlled, they can lead to catastrophic consequences. Excessive vibrations can cause:
- Crankshaft fatigue and failure: Constant twisting and untwisting can weaken the metal, leading to cracks and eventually a broken crankshaft.
- Bearing damage: Vibrations can overload bearings, causing premature wear and failure.
- Reduced engine performance: Inefficient power transfer due to energy lost in the vibrations.
- Increased noise and vibration: A noticeable increase in engine noise and vibration felt throughout the vehicle.
The harmonic balancer is designed to counteract these harmful vibrations, extending the life of your engine and ensuring optimal performance.
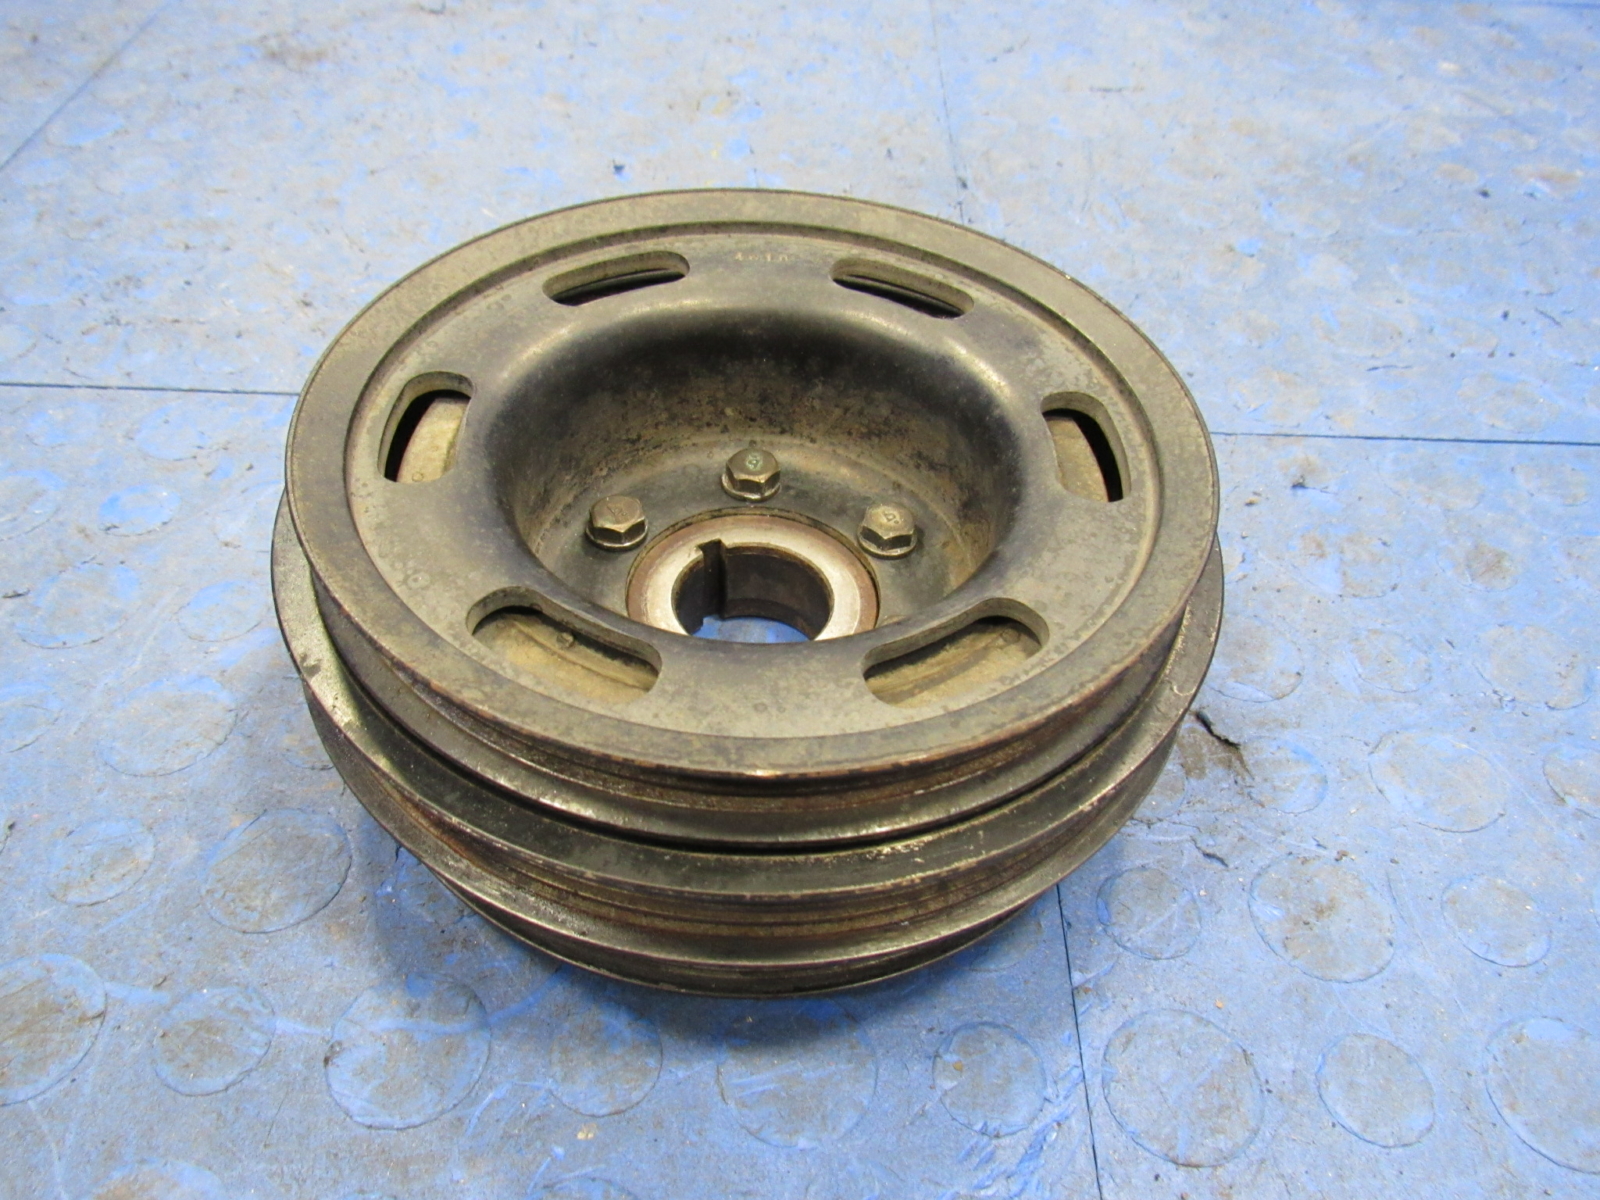
Anatomy of a Harmonic Balancer
A typical harmonic balancer consists of two main parts:
- The Hub: This is the central portion of the balancer, typically made of cast iron or steel. It's keyed to the crankshaft and rotates with it.
- The Inertia Ring: This is a heavier ring, usually made of steel or cast iron, that is isolated from the hub by a layer of elastomer, typically rubber. This elastomer acts as a damping material.
The magic happens in the elastomer layer. As the crankshaft twists and vibrates, the inertia ring resists these vibrations due to its mass and inertia. This resistance creates friction within the elastomer, converting the vibrational energy into heat. This process dampens the vibrations and prevents them from reaching critical levels.
Inspection: Identifying a Failing Harmonic Balancer
Regular inspection of the harmonic balancer is crucial for preventative maintenance. Here's what to look for:
- Visual Inspection: Carefully examine the elastomer layer. Look for cracks, dry rot, swelling, or signs of separation from the hub or inertia ring. Even small cracks can indicate a weakening of the elastomer and a loss of damping ability. Also, check for any signs of the inertia ring slipping relative to the hub. A misaligned timing mark can sometimes be a clue.
- Runout Check: Use a dial indicator to measure the runout of the balancer while the engine is running. Excessive runout indicates the balancer is warped or damaged. Refer to the factory service manual for the specific allowable runout for your 240SX's engine (typically the KA24DE). Exceeding this specification means the balancer needs replacement.
- Performance Symptoms: Pay attention to any unusual engine vibrations, especially at idle or low speeds. A failing balancer can cause noticeable shaking or roughness. Also, listen for unusual noises from the front of the engine. While these symptoms can be caused by other issues, a failing harmonic balancer should be considered.
Important Safety Note: Never attempt to inspect the harmonic balancer while the engine is running without proper safety precautions. Keep your hands and tools clear of rotating parts. It is highly recommended to have a helper turn off the engine at any sign of danger.
Replacement Procedure: Step-by-Step Guide
Replacing the harmonic balancer is a fairly straightforward task, but it requires the right tools and a methodical approach. Always consult your 240SX's factory service manual for specific instructions and torque specifications.
Tools Required:
- Socket set
- Wrenches
- Harmonic balancer puller
- Torque wrench
- Penetrating oil
- New harmonic balancer
- (Optional) New crankshaft bolt
Step-by-Step Instructions:
- Disconnect the Negative Battery Cable: Safety first! This prevents accidental electrical shorts during the process.
- Remove Accessory Belts: Loosen the tension on the accessory belts (power steering, alternator, air conditioning) and remove them from the crankshaft pulley. Take note of the belt routing for reinstallation.
- Remove the Crankshaft Pulley Bolt: This is often the most challenging step. The crankshaft bolt is typically very tight. Use penetrating oil liberally and allow it to soak for some time. You'll need to immobilize the crankshaft to prevent it from turning. Special tools are available to hold the pulley while you loosen the bolt, but you can sometimes use a breaker bar with a long extension resting against the frame of the car, then briefly bump the starter to break the bolt loose. Important: Use extreme caution with this method, as it can be dangerous if not done correctly.
- Attach the Harmonic Balancer Puller: Select the appropriate puller arms and bolts to fit your harmonic balancer. Securely attach the puller to the balancer.
- Remove the Harmonic Balancer: Slowly and evenly tighten the puller's center bolt to pull the balancer off the crankshaft. Avoid using excessive force, as this can damage the crankshaft or the puller. If the balancer is stuck, reapply penetrating oil and allow it to soak longer. Never hammer on the balancer to remove it, as this could damage the crankshaft thrust bearings.
- Inspect the Crankshaft: Once the balancer is removed, carefully inspect the crankshaft snout for any signs of damage, such as cracks, burrs, or wear. Clean the snout thoroughly with a wire brush.
- Install the New Harmonic Balancer: Apply a thin coat of oil to the inside of the new balancer and the crankshaft snout. Carefully slide the balancer onto the crankshaft, ensuring it is properly aligned with the keyway.
- Install the Crankshaft Bolt: Install a new crankshaft bolt if recommended by the manufacturer. Apply a thread locker (such as Loctite) to the bolt threads.
- Torque the Crankshaft Bolt: Torque the crankshaft bolt to the factory-specified torque value using a torque wrench. It is often necessary to use an angle gauge to further tighten the bolt to a specified angle. Accuracy is critical here, as improper torque can lead to bolt failure or damage to the crankshaft.
- Reinstall Accessory Belts: Reinstall the accessory belts, ensuring they are properly routed and tensioned.
- Reconnect the Negative Battery Cable: Reconnect the negative battery cable.
- Start the Engine and Check for Proper Operation: Start the engine and listen for any unusual noises or vibrations. Check the timing with a timing light to ensure the balancer is properly aligned.
Post-Installation Check
After completing the replacement, it is prudent to perform a thorough check to ensure everything is functioning correctly. Monitor the engine for any unusual vibrations or noises. Check the accessory belt alignment and tension. If any issues are detected, revisit the installation steps and verify all connections and torques are correct.
Conclusion
The harmonic balancer is a relatively simple component, but its role in protecting your engine from destructive torsional vibrations is paramount. By understanding its function, regularly inspecting its condition, and following proper replacement procedures, you can ensure the longevity and performance of your 240SX's engine. Remember to always consult your vehicle's service manual for specific instructions and torque specifications. Safe motoring!