Installation And Geometry Correction With Drop Knuckles On A Nissan 240sx
Installation And Geometry Correction With Drop Knuckles On A Nissan 240SX
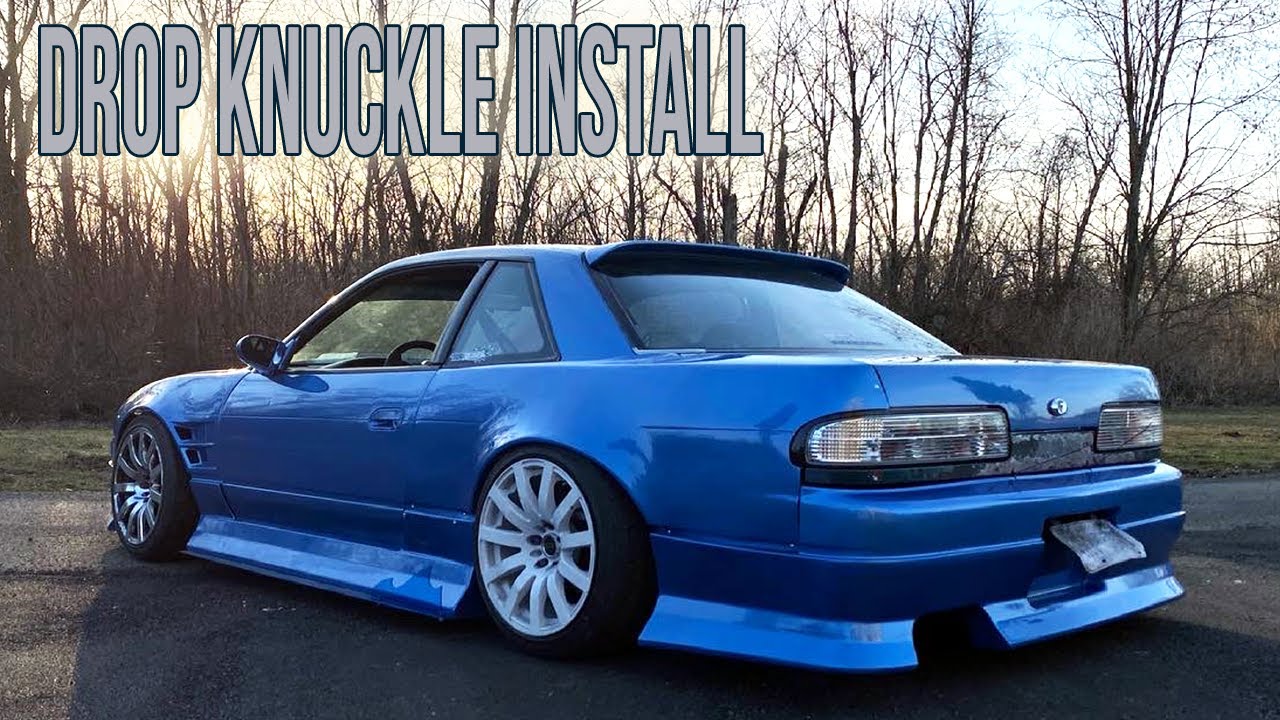
The Nissan 240SX, known for its drift-ready chassis and affordability, is a popular platform for modification. One common modification is the installation of drop knuckles. Drop knuckles, also known as spindle drop kits, are designed to lower the vehicle's ride height without significantly impacting suspension geometry or spring preload. This article will explore the installation process and the crucial geometry corrections needed after installing drop knuckles on a Nissan 240SX.
Understanding Drop Knuckles and Their Benefits
Before diving into the installation, it's important to understand what drop knuckles are and why enthusiasts choose them.
- Lowering the Center of Gravity: Drop knuckles physically relocate the wheel hub mounting point higher on the spindle. This effectively lowers the vehicle without compressing the springs as much, which helps maintain suspension travel and ride quality.
- Improved Roll Center: By lowering the center of gravity, drop knuckles can improve the vehicle's roll center, leading to reduced body roll and enhanced handling, especially during cornering.
- Maintaining Suspension Travel: Unlike lowering springs alone, drop knuckles minimize the impact on available suspension travel, preventing bottoming out over bumps and improving overall ride comfort.
- Aesthetic Appeal: A lower stance simply looks good. Many 240SX owners are after the lowered look to improve the appearance of their vehicles.
However, installing drop knuckles isn't a simple bolt-on affair. It significantly alters suspension geometry, requiring careful adjustments to maintain optimal handling and prevent premature tire wear.
Installation Process (General Guide - Professional Installation Recommended)
Disclaimer: Installing drop knuckles involves modifying safety-critical components of your vehicle. Improper installation can lead to serious injury or death. It is strongly recommended that you have a qualified mechanic perform this installation. This guide is for informational purposes only.
The following steps are a general overview. The specific steps may vary depending on the brand and design of your drop knuckles.
Tools and Materials Required:
- New drop knuckles (verify compatibility with your 240SX model year)
- Jack and jack stands
- Wheel chocks
- Socket set and wrenches (metric)
- Torque wrench
- Ball joint separator (pickle fork or ball joint press)
- Hammer
- Penetrating oil
- New cotter pins
- Brake cleaner
- Optional: Anti-seize compound
- Optional: Alignment tools (camber gauge, toe plates)
Step-by-Step Installation:
- Preparation: Securely chock the rear wheels and loosen the lug nuts on the front wheels. Jack up the front of the car and support it on jack stands placed on secure points on the chassis. Remove the front wheels.
- Disassembly: Disconnect the ABS sensor (if equipped) and brake lines from the stock knuckle. Carefully remove the brake caliper and rotor and set them aside. Be careful not to damage the brake lines.
- Disconnect Suspension Components: Use the ball joint separator to disconnect the tie rod end, lower control arm ball joint, and upper control arm ball joint from the stock knuckle. Penetrating oil can be helpful in loosening seized components.
- Remove the Stock Knuckle: Once all suspension components are disconnected, carefully remove the stock knuckle from the vehicle.
- Prepare the New Drop Knuckle: Inspect the new drop knuckle for any damage. Apply anti-seize compound to the threads of any bolts that will be re-used.
- Install the New Drop Knuckle: Carefully install the new drop knuckle in the reverse order of removal. Ensure that all ball joints are properly seated and secured.
- Reconnect Suspension Components: Reconnect the tie rod end, lower control arm ball joint, and upper control arm ball joint to the new drop knuckle. Torque all fasteners to the manufacturer's specifications. Use new cotter pins where applicable.
- Reinstall Brakes and ABS: Reinstall the brake rotor, caliper, and ABS sensor (if equipped). Bleed the brakes to ensure proper brake function.
- Reinstall Wheels: Reinstall the wheels and torque the lug nuts to the manufacturer's specifications.
- Repeat on the Other Side: Repeat steps 2-9 on the other side of the vehicle.
- Lower the Vehicle: Carefully lower the vehicle to the ground.
Geometry Correction After Drop Knuckle Installation
Installing drop knuckles will drastically change the suspension geometry of your 240SX. Addressing these changes is crucial for proper handling and tire wear. Here are the key areas that require attention:
Camber:
Drop knuckles typically induce negative camber, meaning the top of the tire leans inward. While some negative camber is desirable for performance, excessive negative camber will lead to uneven tire wear on the inside edge. Adjustable upper control arms are often necessary to correct camber after installing drop knuckles. These arms allow you to fine-tune the camber angle to achieve the desired setting. A good starting point is -2 to -3 degrees of negative camber for performance applications. Using a camber gauge or having a professional alignment performed will give you an accurate reading.
Toe:
Toe refers to the direction the front wheels point relative to each other. Drop knuckles can significantly affect toe, often resulting in toe-out (wheels pointing away from each other). Incorrect toe settings can cause rapid tire wear and unstable handling. Adjustable tie rods are essential for correcting toe after installing drop knuckles. Adjusting the tie rod length allows you to bring the wheels back into proper alignment. A slight amount of toe-in (wheels pointing slightly towards each other) is generally recommended for stability. Again, a professional alignment is highly recommended for accurate toe adjustment.
Caster:
Caster refers to the angle of the steering axis relative to vertical. While drop knuckles themselves don't directly affect caster as much as camber and toe, it's still important to check and adjust caster if necessary. Proper caster helps with steering stability and straight-line tracking. Adjustable tension rods (also known as caster arms) can be used to adjust caster. The ideal caster setting depends on the intended use of the vehicle, but generally, more positive caster provides better stability at higher speeds.
Roll Center Correction (Optional):
While drop knuckles improve roll center compared to simply lowering with springs, further optimization is possible. Roll center adjusters (RCAs) are designed to raise the roll center back towards its ideal position. RCAs are typically installed between the lower control arm and the knuckle. Installing RCAs can further improve handling and reduce body roll, particularly in aggressive driving situations.
Professional Alignment is Essential
After installing drop knuckles and adjustable suspension components, a professional wheel alignment is absolutely necessary. A qualified alignment technician has the tools and expertise to accurately measure and adjust camber, toe, and caster to the optimal settings for your vehicle and driving style. An alignment machine provides precise measurements that are impossible to achieve with DIY methods. Neglecting alignment after installing drop knuckles will lead to:
- Rapid and uneven tire wear
- Poor handling and instability
- Increased fuel consumption
- Potential damage to other suspension components
Conclusion
Installing drop knuckles on a Nissan 240SX can be a worthwhile modification for improving handling and aesthetics. However, it's not a task to be taken lightly. Proper installation and geometry correction are crucial for ensuring safety, performance, and longevity of your tires and suspension components. Remember to prioritize safety, consider professional installation, and always get a professional alignment after installing drop knuckles. By taking these steps, you can enjoy the benefits of a lowered 240SX without compromising handling or reliability.