Installation And Performance Analysis Of Nismo Engine Mounts For The Nissan 240sx
The Nissan 240SX, a darling of the drift and tuner communities, is known for its responsive handling and robust SR20DET or KA24DE engines. While these engines are relatively reliable, the factory engine mounts, particularly on older models, can become a weak point. Worn or damaged engine mounts contribute to excessive engine movement, vibration, and potentially affect drivetrain alignment, impacting overall performance. Upgrading to stiffer engine mounts, such as those offered by NISMO, can offer improvements in throttle response and handling, but it also comes with trade-offs. This guide delves into the installation process and performance characteristics of NISMO engine mounts for the 240SX, offering a detailed analysis for the discerning enthusiast.
Understanding the Role of Engine Mounts
Before diving into the installation, it's crucial to understand the function of engine mounts. They serve as the interface between the engine and the chassis, performing several critical tasks:
- Isolating Vibration: Factory engine mounts are typically made of rubber, designed to dampen vibrations generated by the engine and prevent them from transmitting directly to the cabin. This improves ride comfort.
- Supporting Engine Weight: Engine mounts bear the significant weight of the engine and transmission, preventing them from sagging or contacting other components.
- Controlling Engine Movement: Under acceleration, braking, and cornering, the engine experiences significant forces. Engine mounts limit this movement, preventing the engine from rocking excessively and potentially damaging surrounding components or altering drivetrain geometry.
NISMO engine mounts, while still incorporating rubber, utilize a much stiffer compound and often feature a revised design. This results in reduced engine movement but at the cost of increased vibration transmitted to the chassis.
NISMO Engine Mount Advantages
The key benefits of upgrading to NISMO engine mounts include:
- Improved Throttle Response: By minimizing engine movement, power transfer from the engine to the transmission is more direct, resulting in quicker throttle response. The engine's rotational inertia is translated more efficiently to the drivetrain.
- Enhanced Handling: Reduced engine movement can improve chassis stability during aggressive cornering. Less engine movement translates to a more predictable and stable platform.
- Reduced Wheel Hop: Stiffer mounts can help mitigate wheel hop under hard acceleration by maintaining better drivetrain alignment.
- Increased Drivetrain Longevity: While seemingly counterintuitive, limiting excessive engine movement can reduce stress on other drivetrain components like the transmission and driveshaft.
Potential Drawbacks
It's equally important to acknowledge the drawbacks:
- Increased Vibration: The primary downside is increased vibration transferred to the cabin. This can be noticeable at idle and low speeds. Some drivers find the increased NVH (Noise, Vibration, and Harshness) unacceptable for daily driving.
- Potential for Increased Noise: The increased vibration can also lead to increased noise levels inside the car.
- Possible Transmission of More Vibration to Other Components: Stiffer mounts could place additional stress on components that were designed to be isolated by the soft factory mounts.
- Cost: NISMO parts are generally more expensive than aftermarket alternatives.
Installation Procedure: A Step-by-Step Guide
Disclaimer: This guide is for informational purposes only. Consult a qualified mechanic if you are not comfortable performing this installation yourself. Improper installation can damage your vehicle.
Tools Required:
- Jack and Jack Stands
- Wheel Chocks
- Socket Set (Metric)
- Wrench Set (Metric)
- Torque Wrench
- Penetrating Oil
- Engine Support Bar or Engine Hoist
- Floor Jack with a piece of wood
- Safety Glasses
- Gloves
Step 1: Preparation
Safely lift the vehicle and secure it on jack stands. Use wheel chocks to prevent the car from rolling. Disconnect the negative terminal of the battery. Thoroughly spray all engine mount bolts with penetrating oil several hours or even a day before starting the work. This will significantly ease removal and prevent bolt breakage.
Step 2: Support the Engine
This is the most critical step. You MUST support the engine before removing the engine mounts. Use either an engine support bar spanning the engine bay or an engine hoist. An alternative, but riskier, method is to use a floor jack with a block of wood placed under the oil pan. Exercise extreme caution if using the floor jack method. Raise the jack just enough to take the weight off the engine mounts, but not so much that you lift the entire car.
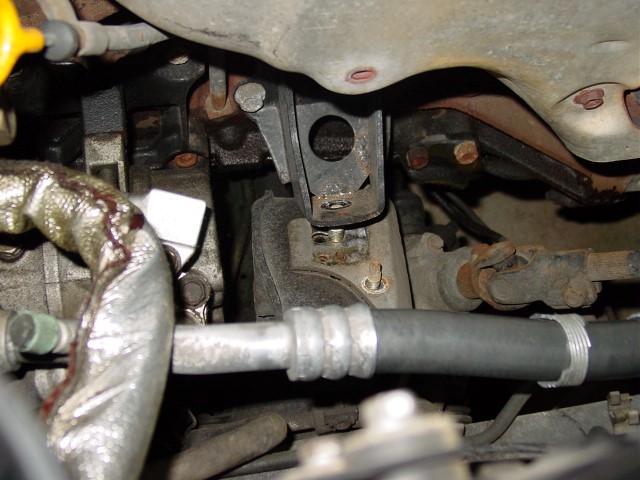
Step 3: Remove the Old Engine Mounts
Locate the engine mounts on either side of the engine. The process is similar for both sides. First, disconnect any wiring or hoses attached to the engine mount bracket. Then, loosen and remove the bolts securing the engine mount to the engine bracket and the chassis. Some bolts may be difficult to access. Be patient and use penetrating oil liberally. Once all bolts are removed, carefully lower the engine (using the engine support bar, hoist, or floor jack) enough to remove the old engine mount. Pay close attention to the position of the old mounts and any shims that might be present; you'll need to replicate this with the new NISMO mounts.
Step 4: Install the NISMO Engine Mounts
Position the new NISMO engine mount in the same orientation as the old mount. Install any shims that were present on the original mount. Secure the engine mount to the engine bracket and the chassis using the provided hardware (or reuse the original hardware if it's in good condition). Torque the bolts to the manufacturer's specified torque settings. Crucially, ensure that the mounts are correctly aligned before fully tightening the bolts.
Step 5: Repeat for the Other Side
Repeat steps 3 and 4 for the engine mount on the opposite side of the engine.
Step 6: Finalize the Installation
Carefully raise the engine (using the support bar, hoist, or floor jack) back to its normal position. Ensure that all wiring and hoses are reconnected. Double-check that all bolts are properly torqued. Reconnect the negative terminal of the battery.
Step 7: Test Drive
Lower the vehicle and take it for a test drive. Pay attention to any unusual noises or vibrations. Recheck the torque of the engine mount bolts after the first few drives.
Performance Analysis and Expected Results
After installing NISMO engine mounts, you should notice a tangible improvement in throttle response. The engine will feel more connected to the drivetrain, and acceleration will feel more immediate. You might also observe a slight improvement in handling, particularly during aggressive maneuvers. However, be prepared for an increase in NVH. The vibrations will be most noticeable at idle and low speeds.
A dyno test might reveal a very marginal increase in power reaching the wheels. The primary benefit is not necessarily increased horsepower, but rather more efficient power delivery. By reducing drivetrain slop and engine movement, more of the engine's power is effectively transferred to the wheels.
Furthermore, examine the engine bay closely after the first few runs. Look for any signs of binding or contact between the engine and surrounding components due to the reduced engine movement. Pay attention to the condition of hoses and wiring that might be stressed by the stiffer mounts.
Long-Term Considerations:
Regularly inspect the engine mounts for signs of wear or damage. While NISMO mounts are generally more durable than stock mounts, they are still subject to wear and tear. Also, monitor other components in the drivetrain for increased wear. While unlikely, the added stress from stiffer mounts could accelerate wear on items like the transmission mounts, driveshaft, or differential mounts.
Conclusion
Installing NISMO engine mounts on a Nissan 240SX can be a worthwhile upgrade for enthusiasts seeking improved throttle response and handling. However, it's essential to be aware of the potential drawbacks, particularly the increased vibration. By carefully following the installation procedure and performing regular maintenance, you can reap the benefits of this upgrade while minimizing the negative side effects. The decision ultimately depends on your individual driving style and tolerance for increased NVH. Weigh the pros and cons carefully to determine if NISMO engine mounts are the right choice for your 240SX.