Installation Guide For A Hydraulic E-brake Kit In A Nissan 240sx
So, you're looking to install a hydraulic e-brake in your Nissan 240SX? Excellent choice! A hydraulic e-brake, often referred to as a hydro, is a game-changer for drifting, rally, or even just precise car control on the track. It offers significantly improved braking power compared to the stock cable-operated system. This guide will walk you through the process step-by-step, providing tips and tricks along the way to ensure a successful installation. Keep in mind, while this guide aims to be comprehensive, proper mechanical knowledge and understanding of hydraulic systems are crucial. If you're unsure about any step, consult a professional. We are not responsible for any damages caused during this installation.
Understanding the Project and Required Tools
Before we dive in, let's clarify what this project entails. You'll be essentially adding a separate braking circuit solely for the rear wheels, activated by a hand-operated lever. This circuit bypasses the stock e-brake cable system and utilizes hydraulic pressure for much stronger and more immediate lock-up.
Tools You'll Need:
- Safety Glasses and Gloves: Absolutely essential! Brake fluid is corrosive and can damage your eyes and skin.
- Wrenches: Metric, specifically 10mm, 12mm, 14mm, 17mm (Sizes may vary depending on your kit).
- Line Wrenches (Flare Nut Wrenches): To prevent rounding off brake line fittings. These are critical. Get a set!
- Adjustable Wrench: For larger fittings, if needed.
- Socket Set: With extensions and swivel adapters.
- Screwdrivers: Phillips and flathead.
- Pliers: Regular and potentially some needle-nose.
- Tube Cutter: A proper brake line cutter will give you clean, burr-free cuts. An absolute must for modifying brake lines.
- Flaring Tool: 37 degree AN flaring tool. You'll need this to create new flares on the brake lines to connect to the hydro e-brake.
- Drill and Drill Bits: For mounting the e-brake handle.
- Deburring Tool: For cleaning up the inside of cut brake lines.
- Brake Fluid: DOT 3 or DOT 4 (check your kit's instructions). Make sure to only use fresh, unopened brake fluid.
- Brake Line: Enough to run from the master cylinder, to the e-brake, and then to the rear brakes. Typically -3AN size.
- Fittings: Various AN fittings (straight, 45 degree, 90 degree) to connect the brake lines to the master cylinder, e-brake, and rear brake calipers. The correct sizes will depend on your specific setup and the ports on your e-brake.
- Jack and Jack Stands: Never work under a car supported only by a jack.
- Wheel Chocks: For added safety.
- Brake Bleeder Kit or Assistant: For bleeding the brakes after installation. A vacuum bleeder is highly recommended.
- Shop Rags: Lots of them! For cleaning up spills.
- Penetrating Oil: For loosening stubborn bolts.
- Measuring Tape: For measuring brake lines and fitting locations.
Approximate Cost:
The cost of a hydraulic e-brake kit can vary significantly depending on the brand, quality, and included components. Expect to spend anywhere from $200 to $800+ for the kit itself. Add to that the cost of tools (if you don't already have them) and brake fluid, fittings, and lines (approximately $100-$300). If you opt for professional installation, labor costs can range from $300 to $800, depending on the shop's hourly rate and the complexity of the installation.
Step-by-Step Installation Guide
- Preparation:
- Park your 240SX on a level surface and engage the parking brake (the stock one, ironically).
- Chock the rear wheels.
- Loosen the lug nuts on the rear wheels.
- Jack up the rear of the car and securely support it with jack stands.
- Remove the rear wheels.
- Disconnecting the Stock E-Brake Cables:
Locate the e-brake cables where they attach to the rear calipers. Disconnect the cables from the calipers. You might need some penetrating oil to loosen the connections. Next, trace the cables forward to where they connect to the handbrake lever inside the car. Disconnect the cables from the lever mechanism. Finally, remove the cables from the car.
Tip: Take pictures of how everything is connected *before* you start disconnecting it. This can be invaluable if you get stuck later.
- Installing the Hydraulic E-Brake Handle:
This is where kit-specific instructions become crucial. Most kits will require you to drill mounting holes in the transmission tunnel or a similar location. Choose a location that is easily accessible and allows for comfortable operation of the e-brake lever. Ensure there is enough clearance underneath the car for the e-brake handle's base and any associated hardware.
Tip: Before drilling, double-check your measurements and use a center punch to create a pilot hole. This will prevent the drill bit from wandering.
Once the holes are drilled, secure the e-brake handle to the chassis using the provided hardware. Ensure it's mounted securely and doesn't wobble.
- Running the Brake Lines:
This is the most time-consuming and critical part of the installation. You'll need to run brake lines from the master cylinder (or a dedicated brake reservoir, depending on your kit) to the e-brake handle and then from the e-brake handle to the rear brake calipers.
Routing: Plan your routing carefully. Avoid sharp bends and keep the lines away from exhaust pipes, suspension components, and other moving parts. Use existing holes in the chassis whenever possible to secure the lines. Use zip ties or brake line clamps to prevent the lines from sagging or rubbing.
Cutting and Flaring: Measure the required length of each brake line carefully. Use a proper tube cutter to cut the lines. Deburr the inside of the cut lines to remove any sharp edges. This is crucial for preventing leaks. Now, use the 37 degree AN flaring tool to create flares on the ends of the brake lines to connect to the fittings. Ensure that the flares are properly formed and free of cracks or imperfections. Poorly flared lines *will* leak!
Tip: It's often easier to run the lines first and then cut and flare them to the correct length. Leave a little extra slack to allow for adjustments.
Connecting Fittings: Use the correct AN fittings to connect the brake lines to the master cylinder, e-brake handle, and rear brake calipers. Use Teflon tape on the threads of the fittings to ensure a leak-proof seal. Tighten the fittings securely, but avoid over-tightening, which can damage the threads.
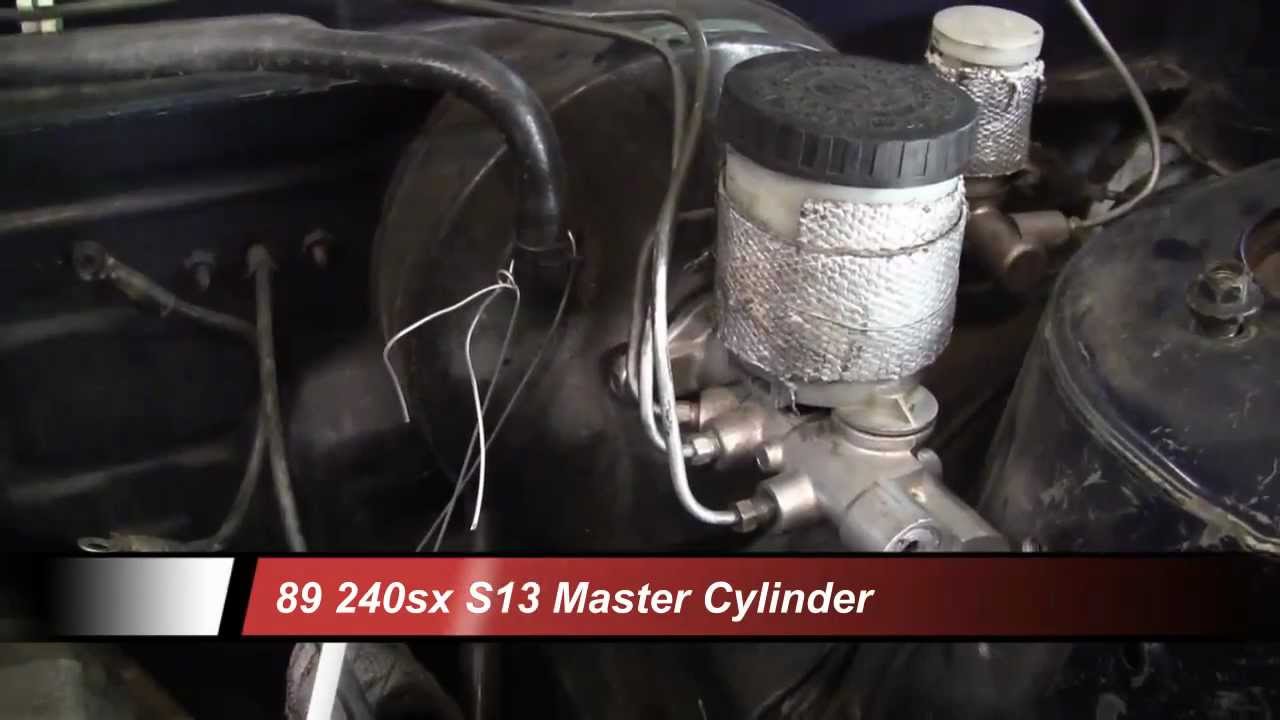
Connecting the Master Cylinder/Reservoir: Depending on your kit, you will either connect the e-brake directly to the existing master cylinder or use a standalone reservoir. Kits that use a separate reservoir are generally easier to install and maintain.
- Connecting to the Rear Calipers:
Disconnect the stock brake lines from the rear calipers. Connect the new brake lines from the hydraulic e-brake to the rear calipers using the appropriate AN fittings. Make sure that the lines are securely connected and free of leaks.
Tip: Some kits may require you to modify the rear brake calipers to accept the new brake lines. Follow the instructions provided with your kit carefully.
- Bleeding the Brakes:
This is arguably the most important step. You must bleed the brakes thoroughly to remove all air from the hydraulic system. Air in the system will result in a spongy brake pedal and reduced braking performance.
Procedure: Start by bleeding the master cylinder or reservoir (if applicable). Then, bleed each rear brake caliper, starting with the one furthest from the e-brake handle. Use a brake bleeder kit or have an assistant pump the brake pedal while you open and close the bleeder screw on the caliper. Continue bleeding until you see clear, bubble-free fluid coming out of the bleeder screw.
Tip: Keep the master cylinder or reservoir topped up with brake fluid during the bleeding process. Running it dry will introduce more air into the system and you'll have to start over.
- Testing and Adjusting:
After bleeding the brakes, pump the e-brake handle several times to ensure that it feels firm and responsive. Check for leaks at all connections. If you find any leaks, tighten the fittings or replace them if necessary.
Adjust the e-brake handle to your preference.
Take the car for a test drive in a safe area to ensure that the e-brake is working properly. Start slowly and gradually increase the speed as you gain confidence. Pay attention to how the car behaves when you apply the e-brake. It should lock the rear wheels smoothly and predictably.
Troubleshooting Tips
- Leaking Fittings: Double-check that all fittings are properly tightened and that the flares are correctly formed. Use Teflon tape on the threads of the fittings to ensure a leak-proof seal. If the leaks persist, replace the fittings or re-flare the brake lines.
- Spongy Brake Pedal: This indicates air in the hydraulic system. Bleed the brakes again, paying close attention to the master cylinder or reservoir.
- E-Brake Not Locking the Wheels: Check that the brake lines are properly connected and that the e-brake handle is adjusted correctly. If the problem persists, the e-brake master cylinder may be faulty.
- Difficulty Bleeding the Brakes: Make sure that the bleeder screws are not clogged and that the brake lines are not kinked. Use a vacuum bleeder to help remove air from the system.
Installing a hydraulic e-brake in your Nissan 240SX can be a rewarding project that significantly improves your car's performance and handling. By following this guide and taking your time, you can achieve a professional-quality installation. Remember to prioritize safety and consult a professional if you're unsure about any step. Good luck, and happy drifting!