Installation Guide For Nismo-branded Engine And Transmission Mounts
Upgrading your engine and transmission mounts is a common modification for Nissan enthusiasts looking to improve performance and reduce drivetrain slop. Nismo, Nissan's performance division, offers high-quality mounts designed to withstand increased power and provide a more direct driving experience. This comprehensive guide provides step-by-step instructions for installing Nismo engine and transmission mounts. Please note: While this guide provides general instructions, specific steps may vary depending on your vehicle model and engine type. Always consult your vehicle's service manual for detailed specifications and torque values.
Preparation and Safety
Before you begin, safety is paramount. Disconnect the negative battery terminal to prevent electrical shorts. Gather all necessary tools and materials. Work in a well-lit and ventilated area. If you are not comfortable performing this installation, seek assistance from a qualified mechanic.
Tools and Materials Required:
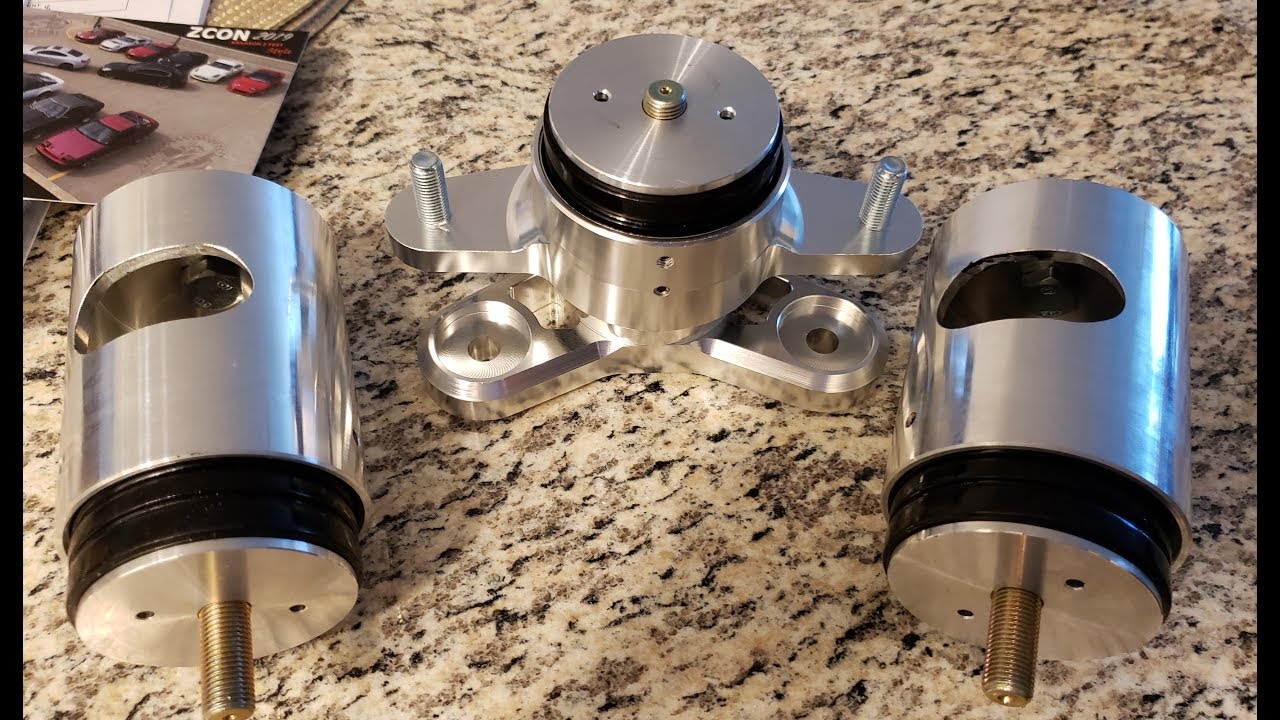
- Nismo Engine Mounts (left and right)
- Nismo Transmission Mount
- Socket set (metric)
- Wrench set (metric)
- Torque wrench
- Floor jack
- Jack stands (at least two)
- Wheel chocks
- Penetrating oil (e.g., PB Blaster)
- Pry bar (optional)
- Wooden block or similar (for supporting the engine)
- Gloves
- Safety glasses
- Vehicle service manual (recommended)
Step-by-Step Installation Guide
1. Vehicle Preparation
Begin by securing the vehicle. Engage the parking brake and chock the rear wheels. Loosen the lug nuts on the front wheels but do not remove them yet.
2. Lifting the Vehicle
Use a floor jack to lift the front of the vehicle. Position the jack under the designated jacking points outlined in your vehicle's service manual. Raise the vehicle high enough to allow ample working space. Securely place jack stands under the frame rails or other designated support points. Never work under a vehicle supported only by a jack. Once the jack stands are in place, slowly lower the vehicle onto them. Remove the floor jack.
3. Accessing the Engine Mounts
Depending on your vehicle model, you may need to remove underbody panels or other components to access the engine mounts. Refer to your service manual for specific instructions. Spray penetrating oil onto the engine mount bolts and nuts to help loosen them.
4. Supporting the Engine
This is a critical step. Before removing the engine mounts, you must support the engine to prevent it from dropping. Position the floor jack with a wooden block underneath the engine oil pan (or a designated support point). Carefully raise the jack until it slightly supports the engine's weight. Do not lift the engine excessively; you only need to relieve the pressure on the mounts. Ensure the wooden block is positioned to distribute the weight evenly and avoid damaging the oil pan.
5. Removing the Old Engine Mounts
Now, you can begin removing the old engine mounts. Start by loosening the bolts and nuts securing the mounts to the engine block and the chassis. Use the appropriate sized sockets and wrenches. In some cases, you may need to use a pry bar to gently separate the mount from the engine or chassis. Be cautious not to damage any surrounding components. Once all fasteners are removed, carefully extract the old engine mounts.
6. Installing the New Nismo Engine Mounts
Install the new Nismo engine mounts in the reverse order of removal. Ensure the mounts are properly aligned and seated correctly. Apply a small amount of anti-seize lubricant to the threads of the bolts and nuts. Hand-tighten the fasteners initially. Once the mounts are in position, use a torque wrench to tighten the fasteners to the manufacturer's specified torque values. These values are crucial for ensuring proper clamping force and preventing premature failure. Consult your vehicle's service manual for the correct torque specifications.
7. Removing Engine Support
Once the new engine mounts are securely installed and torqued to specification, carefully lower the floor jack supporting the engine. Ensure the engine is resting properly on the new mounts. Remove the floor jack and wooden block.
8. Accessing and Removing the Transmission Mount
Locate the transmission mount. It's typically located beneath the transmission, connecting it to the chassis. Similar to the engine mounts, spray penetrating oil onto the transmission mount bolts and nuts.
9. Supporting the Transmission
Use the floor jack with a wooden block to gently support the transmission. Position the block to distribute weight evenly and avoid damaging the transmission pan. Raise the jack just enough to relieve pressure on the transmission mount.
10. Removing the Old Transmission Mount
Remove the bolts and nuts securing the old transmission mount. Note the orientation of the mount for proper installation of the new one. Extract the old transmission mount.
11. Installing the New Nismo Transmission Mount
Install the new Nismo transmission mount in the reverse order of removal. Ensure the mount is properly aligned and seated correctly. Apply a small amount of anti-seize lubricant to the threads of the bolts and nuts. Hand-tighten the fasteners initially. Then, use a torque wrench to tighten the fasteners to the manufacturer's specified torque values. Again, consult your vehicle's service manual for these specifications.
12. Removing Transmission Support
Carefully lower the floor jack supporting the transmission. Ensure the transmission is resting properly on the new mount. Remove the floor jack and wooden block.
13. Final Checks and Reassembly
Double-check all bolts and nuts to ensure they are properly tightened. Reinstall any underbody panels or other components that were removed to access the mounts. Make sure all wiring harnesses and hoses are properly secured and not interfering with the new mounts or other components.
14. Lowering the Vehicle
Raise the vehicle slightly with the floor jack, remove the jack stands, and carefully lower the vehicle to the ground. Torque the lug nuts to the manufacturer's specified torque values.
15. Final Inspection
Reconnect the negative battery terminal. Start the engine and listen for any unusual noises or vibrations. Check for any leaks. Take the vehicle for a short test drive to ensure the new mounts are functioning correctly. If you notice any issues, immediately stop and investigate.
Important Considerations:
- Torque Specifications: Adhering to the correct torque specifications is crucial. Over-tightening can damage the bolts or mounts, while under-tightening can lead to loosening and premature failure. Always refer to your vehicle's service manual.
- Compatibility: Ensure the Nismo engine and transmission mounts are compatible with your specific vehicle model and engine type.
- Break-In Period: New mounts may require a short break-in period. You might experience slightly increased vibrations initially, which should diminish over time.
- Professional Installation: If you are not comfortable performing this installation yourself, it is highly recommended to seek assistance from a qualified mechanic.
- Inspection: Periodically inspect your engine and transmission mounts for any signs of wear or damage. Replace them as needed.
- OEM vs. Aftermarket: While Nismo offers improved performance over stock mounts, understand that they may transmit more vibration into the cabin. This is a common trade-off for increased performance.
Troubleshooting:
If you encounter any problems during or after the installation, here are some common troubleshooting tips:
- Excessive Vibration: This could indicate that the mounts are too stiff for your application or that they are not properly installed.
- Knocking Noises: This could indicate that the mounts are loose or that they are contacting other components.
- Difficulty Shifting: This could indicate that the transmission mount is not properly aligned.
By following these steps carefully, you can successfully install Nismo engine and transmission mounts and enjoy the benefits of improved performance and a more connected driving experience. Remember to prioritize safety and consult your vehicle's service manual for specific instructions and torque values. Enjoy the enhanced driving experience!