Installation Guide For Widebody Aerodynamic Kits On A Nissan 240sx
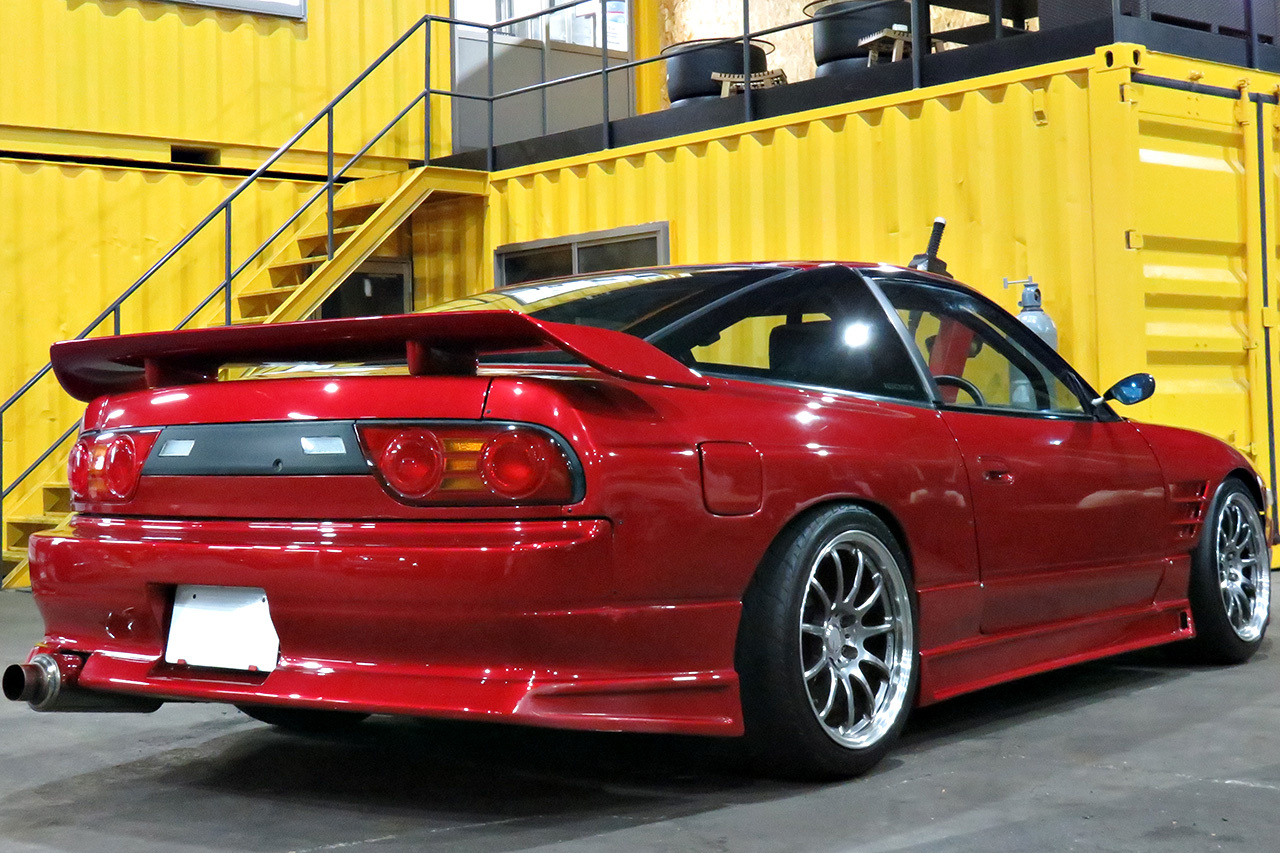
So, you're ready to transform your Nissan 240SX into a head-turning machine with a widebody aerodynamic kit? Excellent choice! A well-executed widebody can dramatically enhance both the aesthetics and performance of your S-chassis. However, tackling this project requires patience, precision, and a good understanding of automotive basics. This isn't a weekend project for the faint of heart, but with the right approach and preparation, you can achieve professional-looking results. Let's dive into the process.
Before You Begin: Planning and Preparation
Before you even think about unboxing that shiny new kit, take a deep breath and meticulously plan your attack. Rushing into this will almost certainly lead to headaches and potentially costly mistakes.
1. Kit Inspection and Compatibility:
The very first step is a thorough inspection of your widebody kit. Carefully unwrap each piece and compare it to the included parts list (if there is one). Look for any signs of damage during shipping, such as cracks, chips, or warping. Contact the seller immediately if you find anything amiss. It's also crucial to verify that the kit is specifically designed for your year and model of 240SX. Even slight variations in design can create major fitment issues later on.
2. Tools and Equipment:
Having the right tools makes all the difference. Here's a comprehensive list of what you'll need:
- Basic Hand Tools: Sockets, wrenches, screwdrivers (Phillips and flathead), pliers, wire cutters/strippers.
- Measuring Tools: Tape measure, ruler, level, combination square. A laser level can be extremely helpful for aligning panels.
- Cutting Tools: Angle grinder with cutting discs, reciprocating saw (Sawzall), Dremel tool with cutting and sanding bits. Safety glasses and a face shield are absolutely essential!
- Sanding Tools: Sandpaper (various grits from 80 to 400), sanding block, orbital sander (optional).
- Bodywork Tools: Body filler (Bondo or similar), spreading knives, mixing board.
- Welding Equipment (Optional, but recommended for some modifications): MIG welder, welding helmet, gloves. If you're not comfortable welding, consider outsourcing this to a professional.
- Fasteners: Rivets, self-tapping screws, bolts, nuts, washers (ensure they are compatible with the kit material – fiberglass, polyurethane, etc.).
- Adhesives: Panel bonding adhesive (like 3M Panel Bonding Adhesive), automotive-grade sealant.
- Safety Gear: Safety glasses, face shield, dust mask, gloves. Your health and safety are paramount!
- Vehicle Lift or Jack and Jack Stands: Essential for accessing the underside of the car. Never work under a vehicle supported only by a jack!
3. Test Fitting is Key:
Before you even think about cutting or drilling, test fit every single piece of the widebody kit. This is the most critical step in the entire process. Use clamps, tape, or temporary fasteners to hold the panels in place. Look for any areas where the kit doesn't align properly with the body of the car. Mark these areas with a marker or grease pencil. Pay close attention to gaps, overlaps, and areas where the kit interferes with existing body panels, door operation, or wheel clearance.
4. Addressing Imperfections:
Widebody kits, especially fiberglass ones, rarely fit perfectly straight out of the box. Be prepared to make modifications. Common issues include:
- Gaps: These can often be filled with body filler or addressed by adjusting the mounting points.
- Overlaps: These will require trimming or sanding down the overlapping material.
- Warpage: Minor warpage can sometimes be corrected with heat (heat gun) and careful bending. Severe warpage may require more extensive bodywork.
Installation Process: Step-by-Step
Now that you've planned and prepared, it's time to get your hands dirty. Remember to work methodically and double-check your measurements before making any irreversible cuts.
1. Body Panel Preparation:
In most cases, you'll need to cut or modify your existing fenders and quarter panels to accommodate the widebody kit. This is where the angle grinder and reciprocating saw come into play. Mark the cutting lines based on your test fitting and the instructions (if provided) for your specific kit. Cut carefully and gradually, leaving a small amount of extra material. You can always remove more, but you can't put it back!
After cutting, use the grinder with a sanding disc to smooth out the edges and remove any sharp burrs. Apply rust preventative to any exposed metal to prevent corrosion.
2. Mounting the Widebody Panels:
The method of mounting the widebody panels will vary depending on the kit and your personal preference. Common methods include:
- Rivets: Rivets are a simple and effective way to secure panels, especially fiberglass ones. Drill holes through the widebody panel and the underlying body panel, then insert and set the rivets.
- Self-Tapping Screws: These are another easy option, but they may not be as strong as rivets.
- Bolts and Nuts: This method provides the most secure attachment, but it requires drilling larger holes and access to both sides of the panel.
- Panel Bonding Adhesive: This is a strong and permanent way to bond panels, but it requires careful surface preparation and clamping. Follow the manufacturer's instructions carefully.
When mounting the panels, start with a few key mounting points to ensure proper alignment. Then, gradually work your way around the panel, adding more fasteners as needed. Constantly check the fit and alignment as you go.
3. Bodywork and Finishing:
Once the panels are securely mounted, it's time to address any remaining gaps or imperfections. This involves using body filler to smooth out transitions and create a seamless look. Apply thin layers of filler, allowing each layer to dry completely before sanding. Use progressively finer grits of sandpaper to achieve a smooth, even surface.
After the bodywork is complete, prime the entire area with automotive primer. This will provide a uniform surface for painting and help the paint adhere properly.
4. Painting:
Painting is the final step in the installation process. You can either paint the widebody panels yourself or take them to a professional body shop. If you're painting yourself, be sure to use high-quality automotive paint and follow the manufacturer's instructions carefully. Apply several thin coats of paint, allowing each coat to dry completely before applying the next. After the paint is dry, you can apply a clear coat to protect the paint and give it a glossy finish.
5. Wheel and Tire Fitment:
With your newly widened stance, your stock wheels and tires likely won't cut it anymore. You'll need to invest in wider wheels and tires to fill out the arches. Use a wheel fitment calculator to determine the correct offset and width. Consider the desired look and the overall handling characteristics you're aiming for. You may also need to roll or pull the inner fenders to prevent rubbing.
Common Challenges and Solutions
Even with meticulous planning, you're likely to encounter some challenges along the way. Here are some common issues and how to address them:
- Poor Fitment: As mentioned earlier, poor fitment is a common issue with widebody kits. The key is patience and persistence. Test fit repeatedly, make incremental adjustments, and don't be afraid to use body filler to smooth out imperfections.
- Panel Warpage: Warped panels can be a real headache. Use a heat gun to gently warm the panel and carefully bend it into shape. Be careful not to overheat the panel, as this can cause it to distort further.
- Rust: Cutting and modifying your existing body panels can expose bare metal, which is susceptible to rust. Apply rust preventative to any exposed metal surfaces to prevent corrosion.
- Door Interference: The widebody panels may interfere with the operation of your doors. Carefully trim or adjust the panels to ensure that the doors open and close smoothly.
- Wheel Rubbing: Even with the right wheels and tires, you may still experience wheel rubbing, especially on lowered cars. Roll or pull the inner fenders to create more clearance.
Estimated Costs
The cost of installing a widebody kit on your 240SX can vary widely depending on several factors, including the quality of the kit, the complexity of the installation, and whether you're doing the work yourself or hiring a professional.
- Widebody Kit: $500 - $3000+ (depending on brand, material, and design)
- Materials (Body Filler, Primer, Paint, Fasteners): $200 - $500
- Tools (if you don't already have them): $100 - $500+
- Professional Installation (if you hire someone): $1000 - $5000+ (depending on the shop and the complexity of the job)
- Wheels and Tires: $1000 - $4000+
Therefore, you can expect to spend anywhere from $2800 to $12500+ on a complete widebody conversion. Remember to factor in potential unforeseen costs, such as repairing damaged body panels or addressing unexpected fitment issues.
Final Thoughts
Installing a widebody kit on your Nissan 240SX is a challenging but rewarding project. With careful planning, meticulous execution, and a bit of elbow grease, you can transform your S-chassis into a true work of art. Don't be afraid to ask for help from experienced friends or professionals if you get stuck. And most importantly, enjoy the process! The finished product will be well worth the effort.
Remember: Safety First! Always wear appropriate safety gear and work in a well-ventilated area. If you're unsure about any aspect of the installation, consult a professional. Happy wrenching!