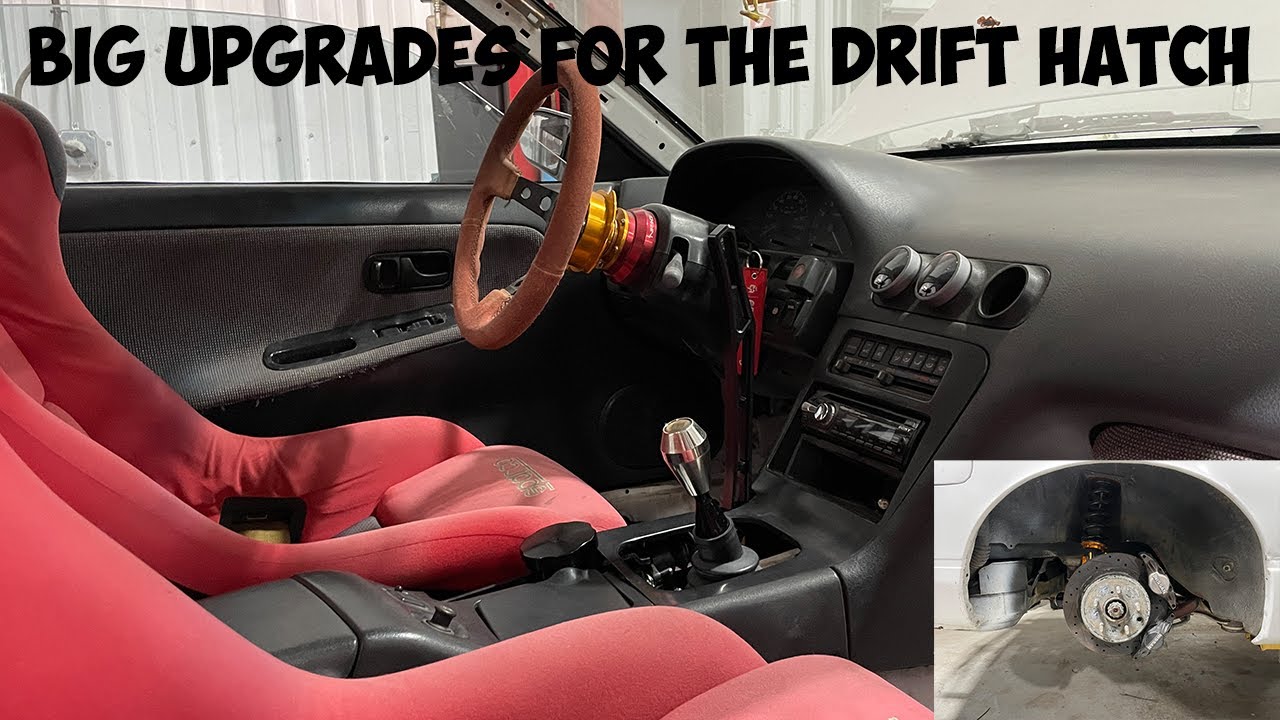
Installation Of A Dual-caliper Hydraulic Handbrake System On A 240sx
Alright, let's talk about installing a dual-caliper hydraulic handbrake system on your 240SX. This is a popular modification for drifting and other motorsports, offering significantly improved rear wheel locking compared to the stock e-brake. It's not a job for the faint of heart, requiring a good understanding of brake systems and some fabrication skills, but with patience and the right tools, it's definitely achievable at home. We'll break down each step, explaining the technical aspects along the way.
Understanding the System
Before we dive in, let's clarify what we're dealing with. A dual-caliper hydraulic handbrake replaces your stock mechanical e-brake with a hydraulic system. This means we're using brake fluid pressure, not cables, to actuate the rear brakes. The "dual-caliper" part means you'll be adding a second set of calipers dedicated solely to the handbrake function, leaving your primary brake system untouched. This provides independent control and prevents wear on your main braking components when using the handbrake.
Here's a breakdown of the main components:
- Hydraulic Handbrake Lever Assembly: This is the lever you'll pull to engage the handbrake. It contains a master cylinder that converts mechanical force into hydraulic pressure.
- Dual-Caliper Brackets: These brackets mount to your rear hubs and allow you to install the secondary calipers. These are crucial and must be precisely made to ensure proper caliper alignment.
- Secondary Calipers: These calipers are dedicated to the handbrake system. Often, smaller, lighter calipers are used specifically for this purpose.
- Brake Lines and Fittings: These connect the handbrake master cylinder to the secondary calipers. You'll need to select appropriate fittings for your components and ensure they are properly sealed. We're dealing with brake fluid under pressure, so leaks are a serious safety concern.
- Brake Fluid Reservoir (Optional): Some handbrake setups come with their own reservoir; others tap into the existing brake system reservoir. We'll discuss pros and cons later.
Tools and Materials You'll Need
Make sure you have all the necessary tools and materials before starting. This will save you time and frustration.
- Safety Glasses and Gloves: Brake fluid is corrosive. Protect yourself!
- Wheel Chocks: Safety first.
- Jack and Jack Stands: To safely lift and support the vehicle.
- Wrenches (Metric): A comprehensive set is essential.
- Sockets (Metric): Again, a full set.
- Line Wrenches (Flare Nut Wrenches): Crucial for loosening brake line fittings without rounding them off.
- Brake Line Cutter: For clean cuts on your brake lines.
- Brake Line Flaring Tool (Double Flare): For creating proper flares on the cut brake lines. A double flare is critical for brake systems to ensure a leak-proof seal.
- Brake Fluid: Use the correct DOT rating fluid for your vehicle (DOT 3 or DOT 4).
- Brake Bleeder Kit (Vacuum or Pressure): For bleeding the brake system after installation.
- Torque Wrench: For tightening bolts to the correct specifications.
- Drill and Drill Bits: For modifying brackets or chassis if needed (highly likely!).
- Grinder or File: For smoothing edges and modifying brackets.
- Welder (MIG or TIG): If you need to modify or fabricate brackets extensively. If you're not comfortable welding, have a professional do it. Incorrect welding can lead to catastrophic failure.
- Penetrating Oil: For loosening stubborn bolts.
- Shop Rags: For cleaning up spills.
Step-by-Step Installation Guide
- Preparation:
- Park your 240SX on a level surface, engage the parking brake (the original one!), and chock the front wheels.
- Loosen the lug nuts on both rear wheels.
- Jack up the rear of the car and securely support it with jack stands placed on the frame rails.
- Remove both rear wheels.
- Disconnect the negative terminal of your battery. This is good practice when working on electrical or hydraulic systems.
- Remove the Existing E-Brake Cables:
- Locate the point where the e-brake cables connect to the rear calipers.
- Carefully disconnect the cables from the calipers. You may need to use penetrating oil to loosen any corroded connections.
- Follow the cables to the handbrake lever inside the car and disconnect them there as well. Remove the cables entirely.
- Install the Dual-Caliper Brackets:
- This is where things get specific to your chosen bracket design. Carefully read the instructions that came with your brackets.
- Typically, you'll need to remove the rear hubs or trailing arms to install the brackets. This often involves removing the existing calipers and rotors.
- Ensure the brackets are mounted securely and aligned correctly. Misalignment will lead to uneven brake pad wear and poor braking performance. Use a straight edge and measuring tools to verify alignment.
- Torque all bolts to the manufacturer's specifications.
- Install the Secondary Calipers:
- Mount the secondary calipers onto the dual-caliper brackets.
- Ensure they are oriented correctly (check for proper pad clearance and brake line routing).
- Torque the mounting bolts to the manufacturer's specifications.
- Install the Hydraulic Handbrake Lever Assembly:
- Choose a suitable location for the handbrake lever assembly inside the car. Consider ergonomics and accessibility.
- Mount the assembly securely to the chassis. This is critical! A weak mounting point can lead to the handbrake failing under pressure. Reinforce the mounting area if necessary.
- Run the Brake Lines:
- This is a crucial step that requires careful planning and execution.
- Measure and cut the brake lines to the appropriate lengths. Remember to leave some slack to accommodate suspension movement.
- Use the brake line flaring tool to create double flares on the cut ends of the brake lines. This ensures a proper seal.
- Connect the brake lines from the handbrake master cylinder to the secondary calipers. Use appropriate fittings to ensure a leak-proof connection. Consider using flexible brake lines for added durability and ease of routing.
- Secure the brake lines to the chassis using clips or zip ties to prevent them from rubbing against other components.
- Connect to the Brake Fluid Reservoir:
- If your handbrake system has its own reservoir, fill it with fresh brake fluid.
- If it taps into the existing brake system reservoir, ensure the connection is secure and leak-proof.
- Important: Consider the pros and cons of each method. A separate reservoir isolates the handbrake system, preventing potential issues from affecting the main brake system. However, it requires more space and adds complexity. Tapping into the existing reservoir is simpler but could potentially drain the main brake system if a leak occurs in the handbrake system.
- Bleed the Brake System:
- This is essential to remove air from the brake lines. Air in the system will result in a spongy feel and reduced braking performance.
- Use a brake bleeder kit (vacuum or pressure) to bleed the system.
- Start with the caliper furthest from the master cylinder and work your way closer.
- Continuously check the brake fluid level in the reservoir and top it off as needed.
- Continue bleeding until clear, bubble-free fluid comes out of each bleeder valve.
- Test and Adjust:
- With the car still on jack stands, pump the handbrake lever several times to build pressure.
- Check for any leaks at all connections. If you find any leaks, tighten the fittings or replace them if necessary.
- Lower the car and test the handbrake in a safe area. Start slowly and gradually increase the speed.
- Adjust the handbrake lever to achieve the desired locking force. Some handbrake assemblies have adjustable linkage or pressure settings.
Important Considerations and Troubleshooting
- Brake Line Quality: Don't cheap out on brake lines! Use high-quality lines and fittings that are designed for hydraulic brake systems.
- Bracket Fitment: Double-check the fitment of your dual-caliper brackets. If they don't fit properly, you may need to modify them or purchase a different set.
- Pad Selection: Choose brake pads that are compatible with your calipers and driving style. Aggressive pads will provide more stopping power but may also wear out faster.
- Bleeding Issues: If you're having trouble bleeding the system, try tapping on the calipers and brake lines to dislodge any trapped air bubbles. You can also try gravity bleeding by opening the bleeder valves and allowing the fluid to drain slowly.
- Handbrake Lever Adjustment: Experiment with different lever adjustments to find the sweet spot where the handbrake engages quickly and effectively without being too sensitive.
- ABS Interference: On some 240SX models with ABS, the hydraulic handbrake may interfere with the ABS system. Consider disabling the ABS system if you experience any issues. However, be aware that disabling ABS will remove its safety benefits.
- Professional Installation: If you are not comfortable with any of these steps, seek professional help from a qualified mechanic. Improper installation of a hydraulic handbrake system can be dangerous.
Installing a dual-caliper hydraulic handbrake system is a challenging but rewarding project. By following these steps and taking your time, you can significantly improve the braking performance of your 240SX. Remember to prioritize safety and double-check your work. Good luck!