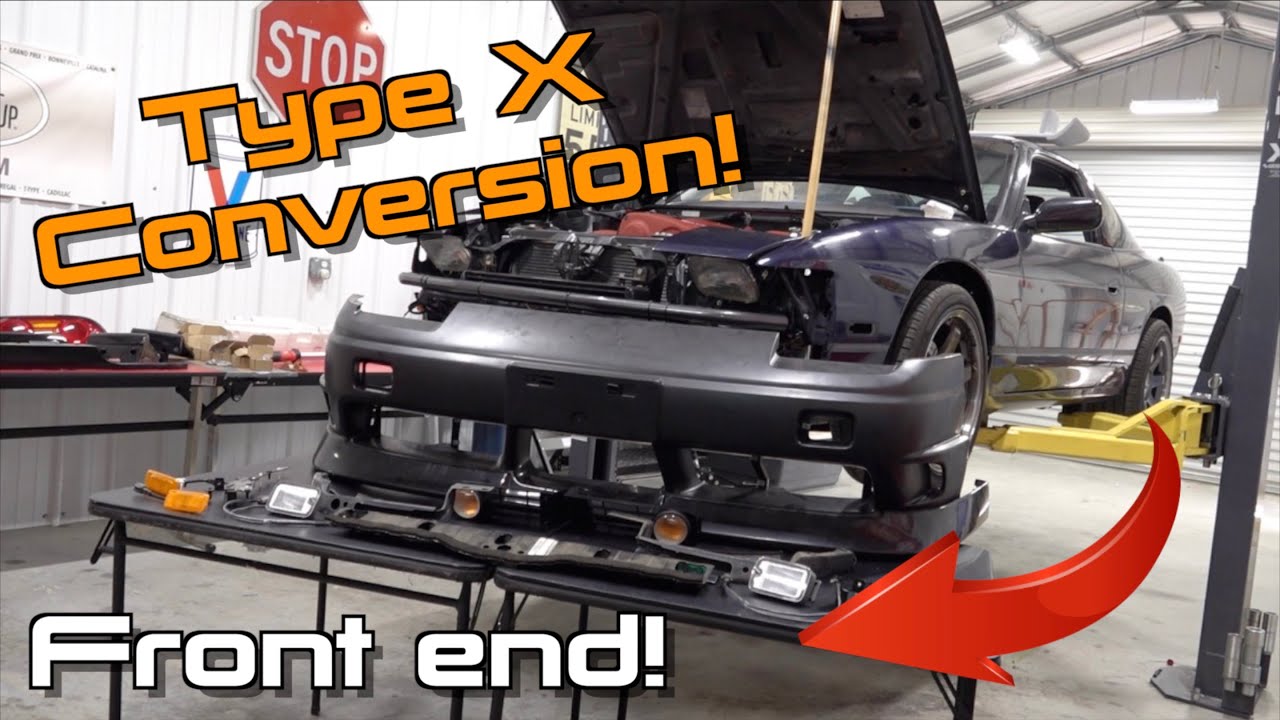
Installation Of A Jdm 180sx Type X Front Bumper On A Nissan 240sx
So, you've got yourself a genuine JDM 180SX Type X front bumper for your Nissan 240SX? Awesome! It's a fantastic upgrade that really transforms the look of your car. However, slapping it on isn't always a completely straightforward process. While the 240SX and 180SX share a lot of similarities, there are a few potential snags you might encounter. This article aims to walk you through the common issues and their solutions, making your bumper swap as smooth as possible.
Potential Problems and Solutions:
1. Fitment Issues Around the Headlights:
This is probably the most common problem. The 240SX and 180SX have slightly different headlight designs, which can affect how the bumper sits. The Type X bumper might appear to rub or not sit flush against the 240SX headlights.
Solution: There are a few approaches you can take here, ranging from simple adjustments to minor modifications.
a) Adjustment and Shimming:
Start by loosening all the bumper mounting bolts – the ones holding the bumper to the bumper support and the fender liners. This allows you some wiggle room. Try to gently push and maneuver the bumper into the best possible position. You might find that simply adjusting the mounting points can alleviate minor rubbing.
If there's still a gap or rubbing, consider using shims. You can use washers or even small pieces of rubber or plastic to create space between the bumper and the mounting points. Experiment with shims of varying thicknesses to find the right balance. Focus on the area where the bumper is making contact with the headlight surround.
Tools Needed: Socket set, wrench set, various washers/shims.
Approximate Cost: $5 - $20 (for shims and washers).
b) Headlight Adjustments:
Sometimes, the issue isn't the bumper itself but rather the headlight alignment. 240SX headlights have adjusters that allow you to tweak their vertical and horizontal position. Try adjusting the headlights slightly to create more clearance. Refer to your 240SX repair manual or online resources for specific instructions on headlight adjustment.
Tools Needed: Screwdriver (Phillips or flathead, depending on your headlight design).
Approximate Cost: Free (assuming you have the screwdriver).
c) Minor Bumper Modification (Last Resort):
If adjustment and shimming aren't enough, you might need to consider minor modification to the bumper. This should only be done if you're comfortable working with fiberglass or plastic body panels. This could involve carefully sanding down a small area on the inside of the bumper where it's making contact with the headlight surround. Use a fine-grit sandpaper and take your time to avoid damaging the bumper. Be sure to prime and paint the modified area afterward to prevent degradation.
Tools Needed: Sandpaper (various grits), respirator, primer, paint (matching bumper color), masking tape, safety glasses.
Approximate Cost: $30 - $100 (depending on the paint and materials used).
2. Turn Signal Wiring Differences:
The JDM 180SX uses different connectors and wiring configurations for the turn signals compared to the USDM 240SX. Simply plugging in your 240SX turn signal harnesses might not work, or worse, could damage your electrical system.
Solution: You have two main options here: wiring adapters or splicing.
a) Wiring Adapters:
The easiest and recommended method is to purchase wiring adapters specifically designed for converting 240SX turn signals to 180SX connectors. These adapters plug directly into your existing 240SX harness and then into the 180SX turn signal. They maintain the integrity of your factory wiring and are reversible if you ever decide to go back to the original bumper.
Tools Needed: None (usually plug-and-play).
Approximate Cost: $20 - $50 per adapter set.
b) Splicing and Wiring:
If you can't find adapters or prefer a more DIY approach, you can splice the wires. This involves cutting the existing 240SX turn signal connectors and wiring them directly to the 180SX turn signal connectors. You'll need to identify the correct wires for ground, power, and signal. Use a multimeter to verify the correct wiring before making any permanent connections.
Important: Use proper wiring techniques, including soldering and heat shrinking, to ensure a secure and reliable connection. Poorly spliced wires can lead to electrical shorts and failures.
Tools Needed: Wire stripper, wire crimper, soldering iron, solder, heat shrink tubing, heat gun, multimeter, electrical tape.
Approximate Cost: $15 - $30 (for wiring supplies).
Warning: Incorrect wiring can damage your vehicle's electrical system. If you are not comfortable working with electrical wiring, seek professional assistance.
3. Bumper Support Compatibility:
The 240SX and 180SX bumper supports are slightly different. While the Type X bumper should bolt up to your existing 240SX bumper support, you might find that the fit isn't perfect. There might be slight gaps or the bumper might not sit as securely as it should.
Solution: Evaluate the fit and make minor adjustments if necessary.
a) Inspect and Adjust:
Once the bumper is loosely bolted on, take a close look at how it aligns with the bumper support. Check for any areas where it's not making proper contact or where there are excessive gaps. You might be able to improve the fit by loosening the bumper support bolts and adjusting its position slightly. Sometimes, simply tightening the bolts in a different sequence can help.
Tools Needed: Socket set, wrench set.
Approximate Cost: Free (assuming you have the tools).
b) Bumper Support Modification (Rare):
In some rare cases, you might need to slightly modify the bumper support to achieve a better fit. This could involve bending or trimming small sections of the support. However, be extremely careful not to compromise its structural integrity. The bumper support is designed to absorb impact in the event of a collision, so any modifications should be minimal and carefully considered.
Caution: Modifying the bumper support can affect its ability to protect you in a collision. Do so at your own risk.
Tools Needed: Vise grips, metal cutter (e.g., angle grinder or hacksaw), safety glasses, gloves.
Approximate Cost: $20 - $50 (depending on the tools you need).
4. Securing the Bumper:
Once you've addressed the fitment, wiring, and bumper support issues, make sure the bumper is securely attached to the car. Use all the original mounting points and bolts. Double-check that everything is tightened to the correct torque specifications. Consider adding extra fasteners or zip ties in discreet locations for added security, especially if you've had to make any modifications.
Tools Needed: Socket set, wrench set, torque wrench, zip ties (optional).
Approximate Cost: Free (assuming you have the tools).
5. Painting and Finishing:
If your Type X bumper is unpainted, you'll need to paint it to match your car. This is best left to a professional body shop, as achieving a perfect color match and a smooth, durable finish requires specialized equipment and expertise. However, if you're experienced with automotive painting, you can tackle it yourself.
Tools Needed (for DIY painting): Sandpaper (various grits), primer, paint (matching car color), clear coat, masking tape, spray gun or aerosol cans, respirator, safety glasses, tack cloth.
Approximate Cost: $100 - $500+ (depending on whether you paint it yourself or have it done professionally).
By addressing these potential issues and following these solutions, you'll be well on your way to successfully installing your JDM 180SX Type X front bumper and giving your 240SX that iconic look. Remember to take your time, be patient, and don't be afraid to seek professional help if you get stuck. Good luck!