Installation Of A Spin-turn Knob (drift Button) On The 240sx Handbrake
So, you're thinking about installing a spin-turn knob, also known as a drift button, on your 240SX's handbrake? Excellent choice! It's a popular modification that allows for smoother, more controlled initiations when you're practicing your drifting techniques. However, before you go full send, let's walk through the process and address some common questions and concerns you might have.
This article will provide a step-by-step guide, highlighting potential pitfalls and offering practical tips to ensure a successful installation. We'll cover everything from the necessary tools to the potential complications you might encounter, and even touch on the estimated costs involved. Let's dive in!
What is a Spin-Turn Knob and Why Install One?
A spin-turn knob, simply put, replaces the stock button on your handbrake lever. The original button engages a ratcheting mechanism, locking the handbrake in place at various levels of engagement. This is great for parking and general use. However, when drifting, you often need to quickly engage and disengage the handbrake to initiate or correct a slide. The stock button can be cumbersome in these situations.
A spin-turn knob bypasses this ratcheting mechanism. By pressing the knob, you completely disconnect the locking system, allowing you to freely move the handbrake lever up and down without it catching. This results in a much smoother and faster handbrake operation, crucial for controlled drifting.
Think of it like this: the stock handbrake is designed for parking, while the spin-turn knob is designed for precision control during dynamic driving.
Tools and Materials Required
Before you start tearing into your center console, make sure you have all the necessary tools and materials on hand. This will save you a lot of frustration and potential delays.
- Spin-Turn Knob: Obviously! Ensure you purchase one specifically designed for the 240SX or a universal one that you can adapt. Check online retailers like Amazon, eBay, or dedicated drifting parts suppliers.
- Socket Set: A standard socket set with various sizes will be needed to remove the center console. Sizes will typically range from 10mm to 14mm.
- Wrench Set: Similar to the socket set, a wrench set provides extra leverage for those stubborn bolts.
- Screwdrivers: Both Phillips head and flathead screwdrivers will be necessary for removing trim pieces and accessing the handbrake assembly.
- Pliers: Standard pliers and needle-nose pliers will come in handy for manipulating small parts and clips.
- Hammer: A rubber mallet can be helpful for gently persuading stubborn trim pieces without damaging them.
- Punch or Small Rod: Used to push out the retaining pin that holds the stock handbrake button in place.
- Drill (Possibly): Depending on the spin-turn knob you purchase, you might need to drill a small hole to secure it properly. Refer to the manufacturer's instructions.
- Safety Glasses: Always protect your eyes when working on your car.
- Work Gloves: Protect your hands from sharp edges and grease.
- Penetrating Oil (WD-40 or similar): To loosen any rusty or seized bolts.
- Shop Rags: For wiping up spills and keeping your workspace clean.
Step-by-Step Installation Guide
Now, let's get down to the installation. This guide assumes you're working on a relatively stock 240SX. If you have aftermarket seats, harnesses, or other modifications, you may need to adapt these steps accordingly.
Step 1: Prepare the Vehicle
Park your 240SX on a level surface and engage the parking brake (yes, the one you're about to modify!). Disconnect the negative terminal of your battery to prevent any electrical mishaps. This is a crucial safety precaution.
Step 2: Remove the Center Console
This is often the most time-consuming part of the process. Locate the screws or bolts that secure the center console. These are usually found around the shifter, the rear of the console, and sometimes under the armrest (if equipped). Carefully remove all the screws and bolts. Be patient and methodical; forcing anything can lead to broken plastic.
Once all the fasteners are removed, gently lift and maneuver the center console out of the car. You might need to disconnect any electrical connectors for things like the cigarette lighter or power windows before you can fully remove it. Remember to label any connectors you disconnect to make reassembly easier.
Step 3: Access the Handbrake Assembly
With the center console removed, you should have clear access to the handbrake lever and its assembly. Locate the stock handbrake button. It's usually a small, round button on the end of the lever.
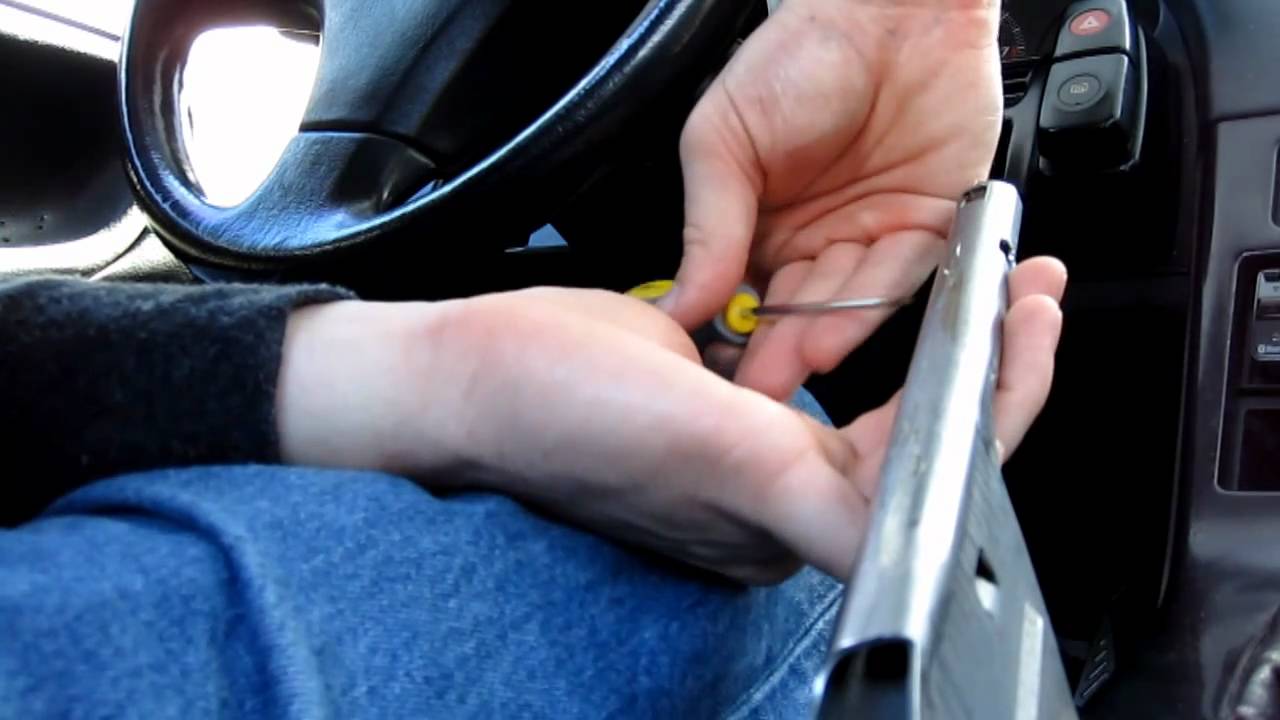
Step 4: Remove the Stock Handbrake Button
This is where the punch or small rod comes in. Look closely at the handbrake lever near the button. You should see a small retaining pin that holds the button in place. Use the punch and hammer to gently tap this pin out. Be careful not to damage the lever itself.
Once the pin is removed, the stock button should slide out. If it's stuck, try using a small amount of penetrating oil to loosen it up. Don't force it!
Step 5: Install the Spin-Turn Knob
Now, it's time to install the spin-turn knob. Refer to the instructions provided by the manufacturer of your specific knob. Generally, you'll slide the spin-turn knob into the handbrake lever in place of the stock button.
Some spin-turn knobs are designed to be a direct replacement and will simply slide in and be secured with a set screw. Others might require you to drill a small hole in the lever to accommodate a securing bolt. If drilling is required, measure twice and drill once! Use the correct size drill bit and be careful not to drill through any wires or other components.
Step 6: Secure the Spin-Turn Knob
Once the knob is in place, secure it according to the manufacturer's instructions. This might involve tightening a set screw, installing a bolt, or using some other method. Ensure the knob is securely fastened and doesn't wobble or move. This is critical for safe and reliable operation.
Step 7: Reassemble the Center Console
Now that the spin-turn knob is installed, it's time to reassemble the center console. Reconnect any electrical connectors you disconnected earlier, making sure you connect them correctly. Carefully maneuver the center console back into place and secure it with the screws and bolts you removed earlier.
Step 8: Reconnect the Battery
Reconnect the negative terminal of your battery. This will restore power to your car.
Step 9: Test the Handbrake
Before you hit the streets, test the handbrake thoroughly. Make sure it engages and disengages smoothly and that the spin-turn knob allows for free movement of the lever. Also, check that the handbrake light on your dashboard illuminates when the handbrake is engaged and turns off when it's disengaged.
Potential Problems and Solutions
Even with careful planning, you might encounter some issues during the installation process. Here are a few common problems and their solutions:
- Stripped Screws or Bolts: If you strip a screw or bolt while removing the center console, use a screw extractor or try using a rubber band or steel wool to fill the gap and provide more grip for the screwdriver.
- Broken Plastic Trim: Plastic trim can become brittle with age and can easily break. Be extra careful when removing trim pieces. If you do break something, you might be able to repair it with epoxy or replace it altogether.
- Spin-Turn Knob Doesn't Fit: If the spin-turn knob doesn't fit properly, double-check that you ordered the correct one for your 240SX. If it's a universal knob, you might need to modify it slightly to make it fit.
- Handbrake Doesn't Engage Properly: If the handbrake doesn't engage properly after installing the spin-turn knob, check that the cable is properly adjusted. You might need to tighten or loosen the cable to achieve the correct tension.
Estimated Costs
The cost of installing a spin-turn knob on your 240SX can vary depending on several factors, including the cost of the knob itself, the tools you need, and whether you hire a professional to do the work.
- Spin-Turn Knob: $20 - $100 (depending on brand and quality)
- Tools: If you already have a basic set of tools, you might not need to spend any additional money. However, if you need to purchase tools, expect to spend $50 - $100 for a decent set.
- Professional Installation: If you decide to hire a professional mechanic to install the spin-turn knob, expect to pay $100 - $300 for labor.
Therefore, the total cost of installing a spin-turn knob can range from $20 to $400, depending on your circumstances.
Final Thoughts
Installing a spin-turn knob on your 240SX is a relatively straightforward project that can significantly improve your drifting experience. By following these steps and taking your time, you can successfully install a spin-turn knob and enjoy the benefits of smoother and more controlled handbrake operation. Remember to prioritize safety and double-check your work. Happy drifting!