Installation Of An Aftermarket Head Unit In A Nissan 240sx
So, you're looking to ditch that decades-old radio in your Nissan 240SX for something a little more modern? Maybe you want Bluetooth, maybe Apple CarPlay or Android Auto, or maybe you just want something that *actually works*. Swapping out the head unit in a 240SX is a pretty common upgrade, and while it's not rocket science, there are a few things you should know before diving in. This guide will walk you through some common problems people encounter and provide solutions to ensure a smooth installation.
Common Problems & Solutions When Installing an Aftermarket Head Unit in a 240SX
Problem 1: The Original Wiring Harness is a Mess (or Missing!)
This is probably the most frequent headache. The 240SX is an older car, and over the years, things can get…modified. You might find that the original wiring harness has been hacked apart, wires are corroded, or even completely missing. This makes connecting the new head unit a real challenge.
Solution: First, carefully inspect the wiring situation. Can you identify the original wires? If so, you're in luck! You can purchase an aftermarket wiring harness adapter specifically designed for the 240SX. These adapters plug into the factory harness (if it's still there and intact) and provide color-coded wires that match the wires on your new head unit. This eliminates the need for splicing and makes the installation much easier and cleaner.
If the original harness is completely gone or too badly damaged, you'll need to identify the wires coming from the car's body harness – power (12V constant and 12V switched), ground, illumination, antenna, and speaker wires (front left, front right, rear left, rear right). A wiring diagram for your year 240SX is *absolutely essential* for this. You can usually find these online with a quick search. Once you've identified the wires, you can connect them to the corresponding wires on your new head unit harness. Always use proper crimp connectors or solder and heat shrink tubing to ensure secure and reliable connections. Cheap electrical tape is a recipe for future problems.
Practical Tip: Consider using a multimeter to confirm the function of each wire before connecting anything. This will prevent accidental shorts and damage to your new head unit. Make sure you have the ignition on to test the switched power wire.
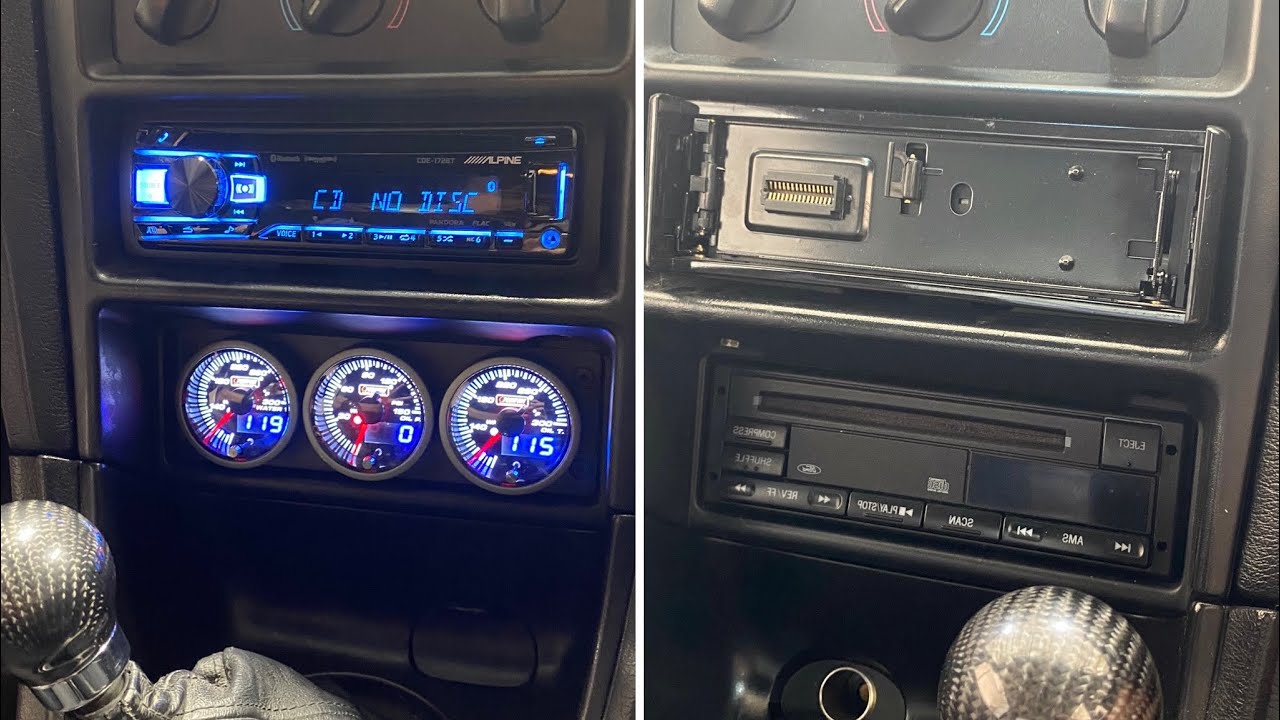
Problem 2: The Head Unit Doesn't Fit Properly
The 240SX uses a DIN-sized head unit. While most aftermarket head units are also DIN-sized, there can be slight variations, or you might be upgrading to a double-DIN unit. This can lead to fitment issues.
Solution: For a single-DIN replacement, you might need a dash kit designed specifically for the 240SX. These kits provide a frame that fills the gaps around the new head unit, giving it a clean, factory-like appearance. They also usually include mounting brackets to secure the head unit to the dash.
If you're installing a double-DIN head unit, the solution is a bit more involved. The 240SX's radio opening is typically too small for a double-DIN unit, meaning you'll need to modify the dash. This often involves carefully cutting away some of the plastic trim behind the radio opening. This is where patience and the right tools are critical.
Practical Tip: Before you start cutting, test-fit the double-DIN head unit to see exactly where you need to trim. Use a Dremel tool or a similar rotary tool with a cutting wheel for clean and precise cuts. Go slow and check your progress frequently to avoid accidentally removing too much material.
Problem 3: No Sound (or Sound Only From Some Speakers)
This is a common issue, especially after dealing with a questionable wiring situation. There are several potential causes for this:
Solution:
- Check your wiring: Double-check that all the speaker wires are correctly connected to the corresponding speaker outputs on your head unit. Make sure there are no loose connections or shorts.
- Fading Issues: The internal fader on the head unit might not be properly adjusted. Check the head unit settings to see if the sound is faded to one side or the front/rear. Set the fader to the center position to ensure equal sound from all speakers.
- Factory Amplifier: The 240SX doesn't typically have a factory amplifier, but it's worth checking. If there is one, you might need to bypass it or integrate it properly with the new head unit. This usually involves connecting the amplifier turn-on wire from the head unit to the amplifier's remote turn-on wire.
- Speaker Impedance Mismatch: Ensure that the impedance (ohms) of your speakers is compatible with the head unit. Most aftermarket head units are designed for 4-ohm speakers. Using speakers with a lower impedance can damage the head unit.
- Blown Fuses: Check the fuses in both your car and the head unit. A blown fuse can prevent the head unit from powering on or sending a signal to the speakers.
Practical Tip: Use a speaker tester (available online or at auto parts stores) to verify that each speaker is working correctly. This will help you isolate the problem to the wiring or the head unit itself.
Problem 4: Antenna Issues (Poor Reception or No Reception)
Getting good radio reception in an older car can sometimes be tricky.
Solution: First, ensure that the antenna wire from the car is properly connected to the antenna input on the new head unit. Sometimes, you might need an antenna adapter to make the connection. If you're still having trouble, check the antenna itself. The antenna mast might be damaged or corroded, or the antenna wire might be broken.
If the antenna is in good condition, you might need an amplified antenna adapter. These adapters boost the radio signal, improving reception. They require a 12V power source, which can usually be tapped from the head unit's wiring harness. Make sure the ground is also properly connected. A poor ground on the antenna amplifier can be a source of noise and static.
Practical Tip: Test the antenna connection with a multimeter to ensure there's continuity between the antenna mast and the antenna wire connector. If there's no continuity, the antenna wire is likely broken and needs to be replaced.
Problem 5: Dim or Non-Functional Illumination
Many aftermarket head units have a wire designed to connect to the car's illumination circuit. This allows the head unit's display to dim when the headlights are turned on.
Solution: Ensure that the illumination wire from the head unit is properly connected to the corresponding wire in the car's wiring harness. Refer to your 240SX wiring diagram to locate the correct wire. If the illumination is still not working, check the dimmer switch in your car. It might be faulty, preventing the illumination signal from reaching the head unit. You can test the dimmer switch with a multimeter to see if it's outputting a variable voltage as you adjust the dimmer.
Practical Tip: Some head units have a setting that allows you to adjust the brightness manually. Check the head unit's settings menu to see if you can adjust the brightness independently of the car's illumination system.
Tools & Approximate Costs
Here's a list of tools you'll likely need for this project:
- Screwdrivers (Phillips and flathead)
- Wire strippers and crimpers
- Pliers
- Multimeter
- Dremel tool (for double-DIN installations)
- Soldering iron and solder (optional, but recommended for secure connections)
- Heat shrink tubing
- Wiring diagram for your 240SX
- Aftermarket wiring harness adapter (if applicable)
- Dash kit (if applicable)
Approximate costs:
- Aftermarket head unit: $100 - $500+ (depending on features)
- Wiring harness adapter: $10 - $30
- Dash kit: $15 - $40
- Tools (if you don't already have them): $50 - $100+
Labor costs (if you choose to have a professional install it): $100 - $300 (depending on the complexity of the installation)
Installing an aftermarket head unit in your 240SX can breathe new life into your car's audio system. By understanding the potential problems and following these solutions, you can ensure a successful installation and enjoy your new tunes on the road. Remember to take your time, be patient, and double-check your work. If you're not comfortable with any part of the process, don't hesitate to seek help from a qualified mechanic or car audio professional.