Installation Of Arp Extended Wheel Studs On A Nissan 240sx
So, you're thinking about upgrading to ARP extended wheel studs on your Nissan 240SX? Smart move. Longer studs provide a significant safety margin when using wheel spacers, running aggressive wheel offsets, or even just torquing your wheels properly. This isn't a beginner job, but if you're comfortable with basic automotive tools and understand the principles of wheel bearing maintenance, you can absolutely tackle this at home. This guide will walk you through the process step-by-step, ensuring you get the job done right. We'll cover everything from preparation to torque specs, so you can hit the track or street with confidence.
Understanding the Task
Before we dive in, let's clarify what we're doing. We're replacing the factory wheel studs with longer, stronger ARP (Automotive Racing Products) extended studs. The key difference is not just the length. ARP studs are made from a much higher-strength alloy, offering significantly better resistance to fatigue and failure, especially under the stresses of racing or aggressive driving. This involves removing the hub assembly from the vehicle, pressing out the old studs, and pressing in the new ones. Then, reinstalling everything, ensuring correct bearing preload and proper torque.
Tools and Materials Required
Having the right tools is crucial. Trying to shortcut this job with the wrong equipment can lead to damage, injury, or an unsafe outcome. Here’s a comprehensive list:
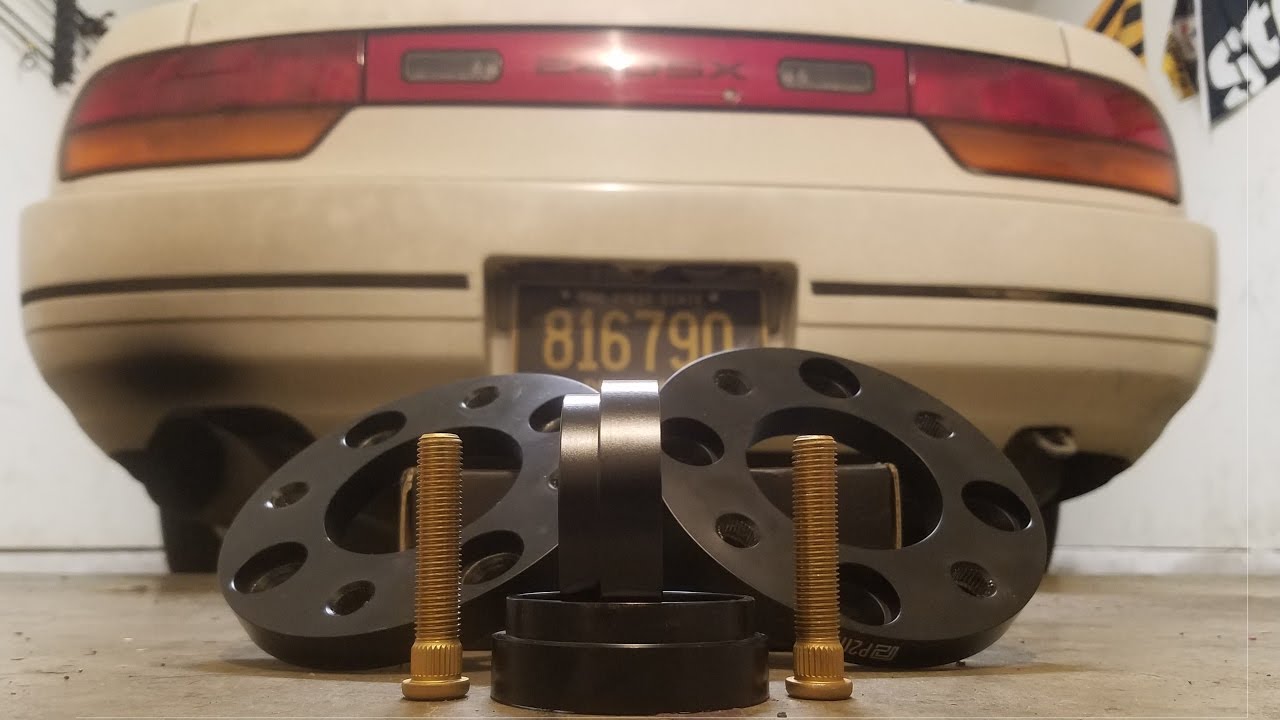
- ARP Extended Wheel Stud Kit: Ensure you get the correct kit for your 240SX (S13 or S14 chassis) and your desired length. Double-check the thread pitch as well (usually 12x1.25).
- Jack and Jack Stands: Always use jack stands! Safety first.
- Wheel Chocks: Place these behind the rear wheels to prevent rolling.
- Lug Wrench: For removing the wheels.
- Brake Caliper Wrench or Socket: For removing the calipers.
- Brake Line Wrench (Flare Nut Wrench): This is *essential* to avoid rounding off the brake line fitting.
- Impact Wrench (optional but highly recommended): Speeds up the hub removal process.
- Socket Set (Metric): Including deep sockets for the axle nut.
- Torque Wrench: For correctly torquing the axle nut, caliper bolts, and lug nuts.
- Hammer: For persuasion (use judiciously).
- Punch or Drift: To help knock out the old studs.
- Wheel Bearing Grease: For repacking the wheel bearings (if necessary).
- Penetrating Oil (e.g., PB Blaster): To loosen rusted bolts.
- Hub Puller (Slide Hammer): This is often needed to remove the hub.
- Hydraulic Press: Absolutely necessary for pressing out the old studs and pressing in the new ones. Do not attempt this without a press.
- Appropriate Sized Sockets or Adapters for Pressing: You'll need sockets or metal tubes slightly larger than the stud head to press them out and slightly smaller than the stud head to press them in.
- Gloves and Eye Protection: Protect yourself!
- Brake Cleaner: To clean up components.
- Shop Rags: For general cleaning.
- Anti-Seize Compound: For the new studs (lightly).
Step-by-Step Installation Guide
1. Preparation and Disassembly
a. Safety First: Chock the rear wheels, loosen the lug nuts on the wheel you're working on, jack up the car, and securely place it on jack stands.
b. Wheel and Caliper Removal: Remove the wheel. Carefully remove the brake caliper, taking care not to damage the brake lines. Use a brake line wrench to disconnect the brake line from the caliper (if necessary for clearance) and cap the line to prevent fluid loss. Support the caliper out of the way with wire or bungee cords – don't let it dangle by the brake line.
c. Rotor Removal: Remove the brake rotor. It may be stuck due to rust; use penetrating oil and a few taps with a hammer to loosen it. Be careful not to damage the rotor.
d. Hub Removal: This is often the trickiest part. Remove the cotter pin and loosen (but don't remove entirely) the axle nut. Use a hub puller (slide hammer) to pull the hub assembly from the spindle. This may require some patience and persistence. If it's particularly stubborn, apply penetrating oil and let it soak for a while. Completely remove the axle nut.
2. Hub Disassembly and Stud Replacement
a. Pressing Out the Old Studs: This is where the hydraulic press comes in. Position the hub assembly in the press with the old studs facing down. Use a socket or metal tube that's slightly larger than the stud head. Press the studs out one by one. They should come out with a reasonable amount of force. If you encounter excessive resistance, double-check your setup and ensure you're pressing on the stud head and not the hub itself.
b. Inspecting the Hub and Bearings: Now's the time to inspect the hub and wheel bearings. Check for any signs of damage, excessive wear, or play. If the bearings feel rough or gritty, now is the time to replace them. Replacing wheel bearings requires specialized tools and is beyond the scope of this article, but it's a good idea to assess their condition while you have everything apart.
c. Pressing In the New Studs: Clean the hub thoroughly. Lightly apply anti-seize compound to the splines of the new ARP studs. Position the hub in the press with the new studs facing up. Use a socket or metal tube that's slightly smaller than the stud head to support the hub. Press the new studs into the hub until they are fully seated. Make sure the stud heads are flush with the hub. This is critical for proper wheel seating. Apply consistent pressure and double-check the stud seating frequently.
3. Reassembly
a. Reinstalling the Hub: Carefully reinstall the hub assembly onto the spindle. Make sure the axle splines engage properly. Install the axle nut. Torque the axle nut to the manufacturer's specified torque (check your 240SX service manual) *while rotating the hub*. This ensures proper bearing preload. Once torqued, install a new cotter pin through the axle nut.
b. Reinstalling the Rotor and Caliper: Reinstall the brake rotor. Reconnect the brake line to the caliper (if you disconnected it earlier) and torque the fitting to the manufacturer's specified torque. Reinstall the brake caliper and torque the caliper bolts to the manufacturer's specified torque. Ensure the brake pads are properly seated.
c. Bleeding the Brakes: If you disconnected the brake line, you'll need to bleed the brakes to remove any air from the system. Follow the proper brake bleeding procedure for your 240SX.
d. Reinstalling the Wheel: Reinstall the wheel and hand-tighten the lug nuts. Lower the car to the ground and torque the lug nuts to the manufacturer's specified torque in a star pattern. Do not overtighten! Overtightening can damage the studs or warp the rotors.
4. Final Checks and Torquing
a. Double-Check Everything: Before driving the car, double-check that all bolts and nuts are properly torqued. Make sure the brake pedal feels firm and that the brakes are functioning correctly.
b. Re-Torque Lug Nuts: After driving a short distance (50-100 miles), re-torque the lug nuts. This is important to ensure they remain properly tightened as the wheels settle.
Important Considerations and Troubleshooting
- Wheel Bearing Preload: Proper wheel bearing preload is essential for bearing life and safety. Incorrect preload can lead to premature bearing failure. If you're unsure about the proper preload procedure for your 240SX, consult a service manual or seek professional assistance.
- Stuck Hub: If the hub is severely stuck, you may need to use heat or a more aggressive hub puller. Be extremely careful when using heat near brake lines or other flammable components.
- Damaged Threads: If you damage the threads on the spindle or axle, you may need to chase the threads with a thread chaser or, in severe cases, replace the spindle or axle.
- ABS Sensor: Be careful not to damage the ABS sensor (if equipped) during the hub removal and reinstallation process.
- Torque Specifications: Always use the manufacturer's specified torque specifications for all bolts and nuts. Using the wrong torque can lead to damage or failure.
Conclusion
Installing ARP extended wheel studs is a worthwhile upgrade for any 240SX owner who values performance and safety. By following these steps carefully and taking your time, you can successfully complete this project at home. Remember to prioritize safety and double-check your work before driving the car. Enjoy the added peace of mind that comes with knowing your wheels are securely attached with high-quality ARP studs!