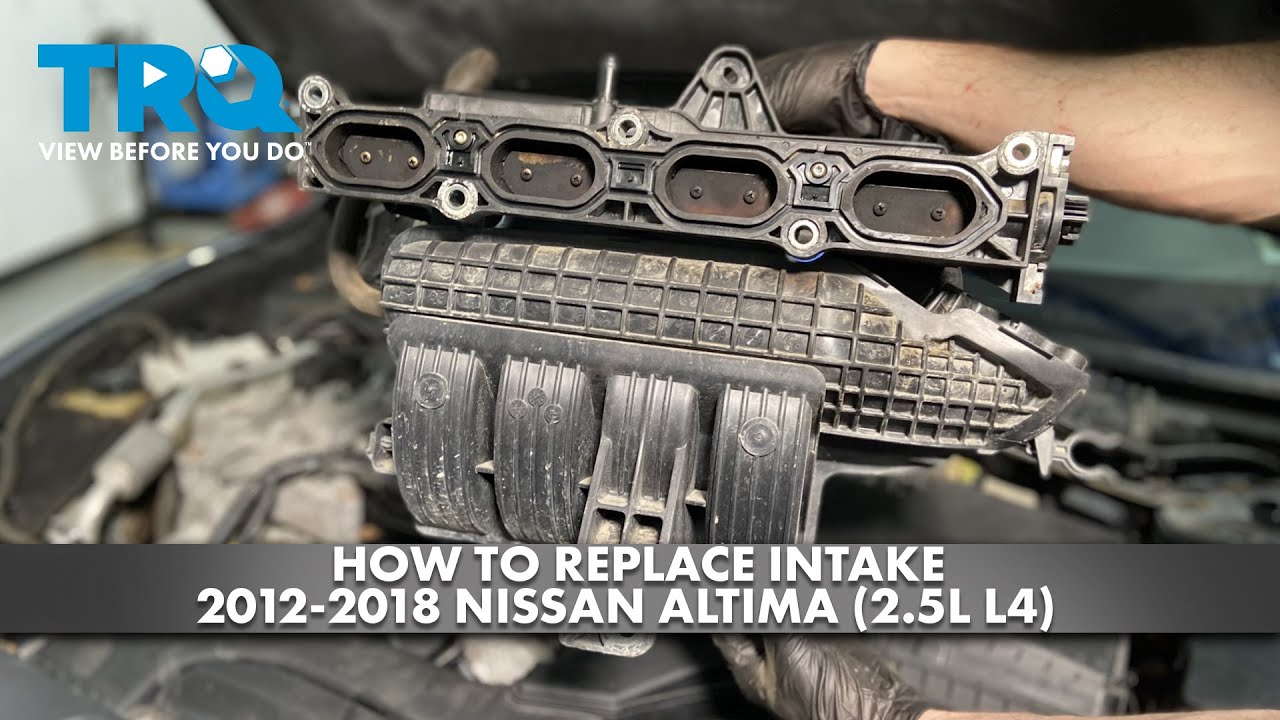
Intake Manifold Nissan Altima
Alright, let's dive into the intake manifold on your Nissan Altima. It's a critical component for engine performance, and understanding its function and common issues can save you time and money. This isn't just about slapping on a new part; it's about understanding *why* it works and how to troubleshoot problems.
What is the Intake Manifold and Why Does it Matter?
The intake manifold, in simple terms, is a series of tubes that distribute air to the engine's cylinders. Think of it as the lungs of your car. But it's more complex than just a pipe. Its design directly impacts engine performance, fuel efficiency, and emissions. It's bolted directly to the cylinder head(s).
Specifically, the intake manifold's job is to:
- Distribute Air: Provide a pathway for air to enter the combustion chamber, ensuring each cylinder receives a sufficient and consistent airflow.
- Mixing (indirect injection only): In older port fuel injection (PFI) systems, fuel injectors spray fuel into the intake manifold, and the manifold is responsible for mixing the air and fuel into a homogeneous mixture. Modern direct injection engines inject fuel directly into the cylinder, so this function is reduced.
- Optimize Airflow (tuning): Many intake manifolds are designed to create a resonant effect (Helmholtz resonance) or use runners of varying lengths to optimize airflow for different engine speeds (RPMs). This improves the volumetric efficiency of the engine, allowing it to "breathe" better.
Understanding volumetric efficiency is key. It's a measure of how well the engine fills its cylinders with air during each intake stroke. A higher volumetric efficiency means more air, which, when combined with the proper amount of fuel, translates to more power.
Types of Intake Manifolds on Altima Engines
Altimas have used various engines over the years, and consequently, different intake manifold designs. Common Altima engines and intake manifold types include:
- QR25DE (2.5L Inline-4): Found in many Altimas from the early 2000s to the mid-2010s. These typically have a plastic intake manifold. They often feature a variable intake manifold system (VIS) to optimize airflow at different RPM ranges.
- VQ35DE (3.5L V6): Used in higher-trim Altimas. These engines usually have an aluminum intake manifold with a more complex design to accommodate the V6 configuration. Variable intake systems are also common on the VQ35DE.
- VQ35DD (3.5L V6 - Direct Injection): Found in newer Altimas. The intake manifold design is different to accommodate the direct injection system and focus solely on airflow since fuel is injected directly into the cylinders.
The specific design details can vary from year to year within each engine family, but the core principles remain the same.
Common Intake Manifold Problems
Like any engine component, the intake manifold can experience problems. Here are some of the most frequent issues you might encounter:
- Vacuum Leaks: This is the most common problem. Cracks, loose bolts, or failing gaskets can cause air to leak into the intake manifold after the mass airflow sensor (MAF). This "unmetered" air throws off the air/fuel mixture, leading to a variety of symptoms, including:
- Rough idling
- Poor fuel economy
- Hesitation during acceleration
- Check engine light (often with codes related to lean conditions, such as P0171 or P0174)
- Cracked Manifold: Especially common on plastic manifolds due to heat cycling and age. Cracks can lead to significant vacuum leaks.
- Faulty Variable Intake System (VIS): If your Altima has a VIS (also called an intake manifold runner control (IMRC)), the actuators, valves, or solenoids that control the runner lengths can fail. This can result in a loss of power at certain RPMs and a check engine light. Diagnostic Trouble Codes (DTCs) associated with the VIS are common indicators.
- Clogged or Dirty Runners: Over time, especially in port fuel injected engines, carbon deposits and oil residue can build up inside the intake manifold runners, restricting airflow. This is less common in direct injection engines where fuel isn't sprayed into the manifold.
Diagnosing Intake Manifold Issues
Before you start tearing things apart, a proper diagnosis is crucial. Here's a step-by-step approach:
- Visual Inspection: Carefully examine the intake manifold for any visible cracks, damage, or loose connections. Pay close attention to the gaskets where the manifold meets the cylinder head and throttle body.
- Listen for Vacuum Leaks: With the engine running, listen for a hissing sound near the intake manifold. A mechanic's stethoscope or a length of hose can help pinpoint the source of the leak.
- Smoke Test: A smoke test is a very effective way to find vacuum leaks. A smoke machine introduces a visible smoke into the intake system. Any leaks will be immediately apparent as smoke escapes.
- Spray Test: Carefully spray small amounts of a combustible fluid (like brake cleaner or starting fluid) around the intake manifold gaskets and vacuum lines. If the engine RPM changes (usually increases) when you spray a particular area, you've likely found a vacuum leak. Caution: Use extreme care when working with flammable fluids. Avoid spraying near hot engine components and have a fire extinguisher nearby.
- Scan for Diagnostic Trouble Codes (DTCs): Use an OBD-II scanner to check for any stored DTCs. While not all DTCs directly point to the intake manifold, they can provide valuable clues. Codes related to lean conditions, misfires, or VIS malfunctions are often associated with intake manifold problems.
- Check VIS Operation: If your Altima has a VIS, use a scan tool to monitor the operation of the VIS actuators and solenoids. You can also manually actuate the system to see if the valves are moving freely. Refer to your vehicle's service manual for specific testing procedures.
Repairing or Replacing the Intake Manifold
Once you've identified the problem, you can proceed with the repair or replacement.
- Replacing Gaskets: Replacing intake manifold gaskets is a common repair. Make sure to use high-quality gaskets and follow the manufacturer's torque specifications when tightening the intake manifold bolts. Over-tightening can warp the manifold or damage the threads in the cylinder head.
- Repairing Cracks (Plastic Manifolds): Small cracks in plastic manifolds can sometimes be repaired with epoxy designed for automotive plastics. However, this is often a temporary fix, and replacing the manifold is the more reliable option.
- Replacing the Manifold: Replacing the entire intake manifold is often necessary if it's severely cracked or damaged. When choosing a replacement manifold, consider whether you want to use a new OEM (Original Equipment Manufacturer) manifold or an aftermarket option. Aftermarket manifolds can offer improved performance, but be sure to choose a reputable brand and ensure compatibility with your vehicle.
- Cleaning the Manifold: If the runners are clogged with carbon deposits, you can clean the manifold using a solvent-based cleaner. Disassemble the manifold as much as possible and thoroughly scrub the runners to remove any buildup. Be sure to rinse the manifold thoroughly and allow it to dry completely before reinstalling it. Note: Gasket replacement is essential after cleaning.
Removal and Installation Tips
Removing and installing an intake manifold can be a moderately complex task, depending on the engine and vehicle model. Here are some general tips:
- Disconnect the Battery: Always disconnect the negative battery cable before working on any electrical components.
- Label Everything: Before disconnecting any hoses or wiring, label them clearly to ensure you can reconnect them properly. Take photos for reference.
- Follow Torque Specifications: Use a torque wrench to tighten the intake manifold bolts to the manufacturer's specifications. This is crucial to prevent leaks and damage.
- Use New Gaskets: Always use new intake manifold gaskets when reinstalling the manifold.
- Clean the Mating Surfaces: Ensure the cylinder head and intake manifold mating surfaces are clean and free of debris before installing the new gaskets.
- Prime the Fuel System: After reconnecting the fuel lines, prime the fuel system by turning the ignition key to the "on" position for a few seconds before starting the engine.
Performance Upgrades
While most people replace their intake manifold due to failure, some choose to upgrade for performance gains. Aftermarket intake manifolds are often designed with larger runners and improved airflow characteristics to increase horsepower and torque. However, upgrading the intake manifold alone may not result in significant performance gains without other modifications, such as a performance exhaust, upgraded fuel injectors, and a custom engine tune. Important: Research thoroughly before upgrading. Make sure the new manifold is compatible with your engine, and be aware that some aftermarket manifolds may require modifications to other components.
Disclaimer: Automotive repair can be dangerous. Always wear appropriate safety gear, work in a well-ventilated area, and consult a qualified mechanic if you are unsure about any aspect of the repair. Refer to your vehicle's service manual for specific instructions and torque specifications.