Ls Swap Radiator Cooling Capacity And Mounting Solutions
So, you're diving into the exhilarating world of LS swaps, huh? Fantastic! You're about to inject some serious horsepower and modern reliability into a classic or even a more modern ride. But before you start shredding tires, let's talk about something absolutely critical: cooling. Specifically, radiator cooling capacity and mounting solutions tailored for LS swaps. Skimping on this crucial aspect can lead to overheating, component failure, and a very unhappy engine – and nobody wants that.
Understanding Cooling Requirements for LS Swaps
LS engines, while generally robust, are sensitive to overheating. They run hotter than many older engines, and pushing them harder (as most LS swap enthusiasts do!) exacerbates the issue. Therefore, simply reusing the original radiator from your swapped vehicle is often a recipe for disaster. We need to carefully consider the BTU (British Thermal Unit) rejection rate required by your LS engine.
BTU rejection essentially measures how much heat the cooling system needs to dissipate per hour. A stock LS engine typically requires a cooling capacity of around 35,000 to 45,000 BTUs. However, this number can increase significantly based on several factors:
- Engine Horsepower: Higher horsepower means more combustion and therefore more heat. A heavily modified, high-horsepower LS will demand significantly more cooling.
- Operating Environment: Are you driving in a hot climate? Are you frequently towing or driving aggressively? These conditions increase the load on the cooling system.
- Vehicle Weight and Aerodynamics: A heavier vehicle or one with poor aerodynamics requires more engine power to move, generating more heat.
- Forced Induction (Turbocharging or Supercharging): Forced induction dramatically increases cylinder pressures and temperatures, requiring a substantial cooling upgrade.
As a general rule, adding about 10-15% of cooling capacity above the estimated minimum is a good safety margin. It's far better to have too much cooling than not enough. Some aftermarket radiators even include ratings like "HP Rating" or "Maximum Horsepower Support" which can give you a quick reference. However, always verify this with a BTU calculation if possible.
Calculating Cooling Needs: A Simplified Approach
While precise BTU calculations are complex, here's a simplified method to estimate your cooling needs:
- Determine Engine Horsepower: This is your baseline.
- Consider Modifications: If you've modified the engine (cam, heads, exhaust, etc.), estimate the increase in horsepower.
- Factor in Operating Conditions: Add 10-20% for hot climates or heavy use.
- Choose a Radiator: Select a radiator rated for the total estimated horsepower or with a BTU rating exceeding your estimated needs.
Example: Let's say you have an LS1 engine making 400 horsepower and plan to drive it in a moderately hot climate. You might want a radiator rated for at least 450-500 horsepower or with a BTU rating around 50,000 BTUs.
Radiator Types and Materials
Now that we know about cooling capacity, let's discuss radiator construction. The two main types are:
- Copper/Brass Radiators: These were common in older vehicles. They are relatively inexpensive but less efficient at heat transfer than aluminum. They are also heavier.
- Aluminum Radiators: These are the go-to choice for most LS swaps. Aluminum is an excellent conductor of heat, and these radiators are generally lighter and more durable than copper/brass.
Within aluminum radiators, you'll find two core designs:
- Single-Core Radiators: These have a single row of tubes for coolant flow. They are typically used for lower horsepower applications.
- Dual-Core Radiators: These have two rows of tubes, significantly increasing cooling capacity. They are recommended for most LS swaps, especially those with higher horsepower or demanding operating conditions.
For most LS swap applications, a dual-core aluminum radiator is the best choice, offering the optimal balance of cooling performance, weight, and durability. Some high-performance applications might even benefit from triple- or even quad-core radiators, but these can introduce flow restrictions and require powerful fans.
Radiator Mounting Solutions
Mounting your new radiator can be one of the more challenging aspects of an LS swap, as the radiator's dimensions and mounting points rarely line up perfectly with the original vehicle's setup. Here are some common solutions:
- Universal Radiator Mounting Kits: These kits typically include adjustable brackets and hardware that can be adapted to fit a variety of vehicles. They are a good starting point for custom installations.
- Custom-Fabricated Brackets: For a truly seamless installation, you can fabricate custom brackets from steel or aluminum. This requires welding and metalworking skills but allows for precise placement and a clean appearance.
- Adapter Plates: Some manufacturers offer adapter plates that allow you to use the original radiator mounting points with a new, slightly larger radiator.
- Direct-Fit Radiators: These radiators are designed to bolt directly into specific vehicles, often using the original mounting hardware. They are the easiest option but may be more expensive.
Key Considerations for Mounting:
- Clearance: Ensure adequate clearance between the radiator and other components, such as the engine, hoses, and chassis.
- Airflow: Position the radiator to maximize airflow through the core. Avoid obstructions that could impede airflow.
- Structural Integrity: Ensure that the mounting brackets are strong enough to support the radiator's weight and withstand vibrations.
- Grounding: If using an aluminum radiator, ensure it is properly grounded to prevent galvanic corrosion.
Radiator Support Modifications
In some cases, you may need to modify the radiator support (the structural member that holds the radiator) to accommodate a larger radiator. This might involve cutting and welding the support to create more space. This requires careful planning and execution to avoid compromising the structural integrity of the vehicle.
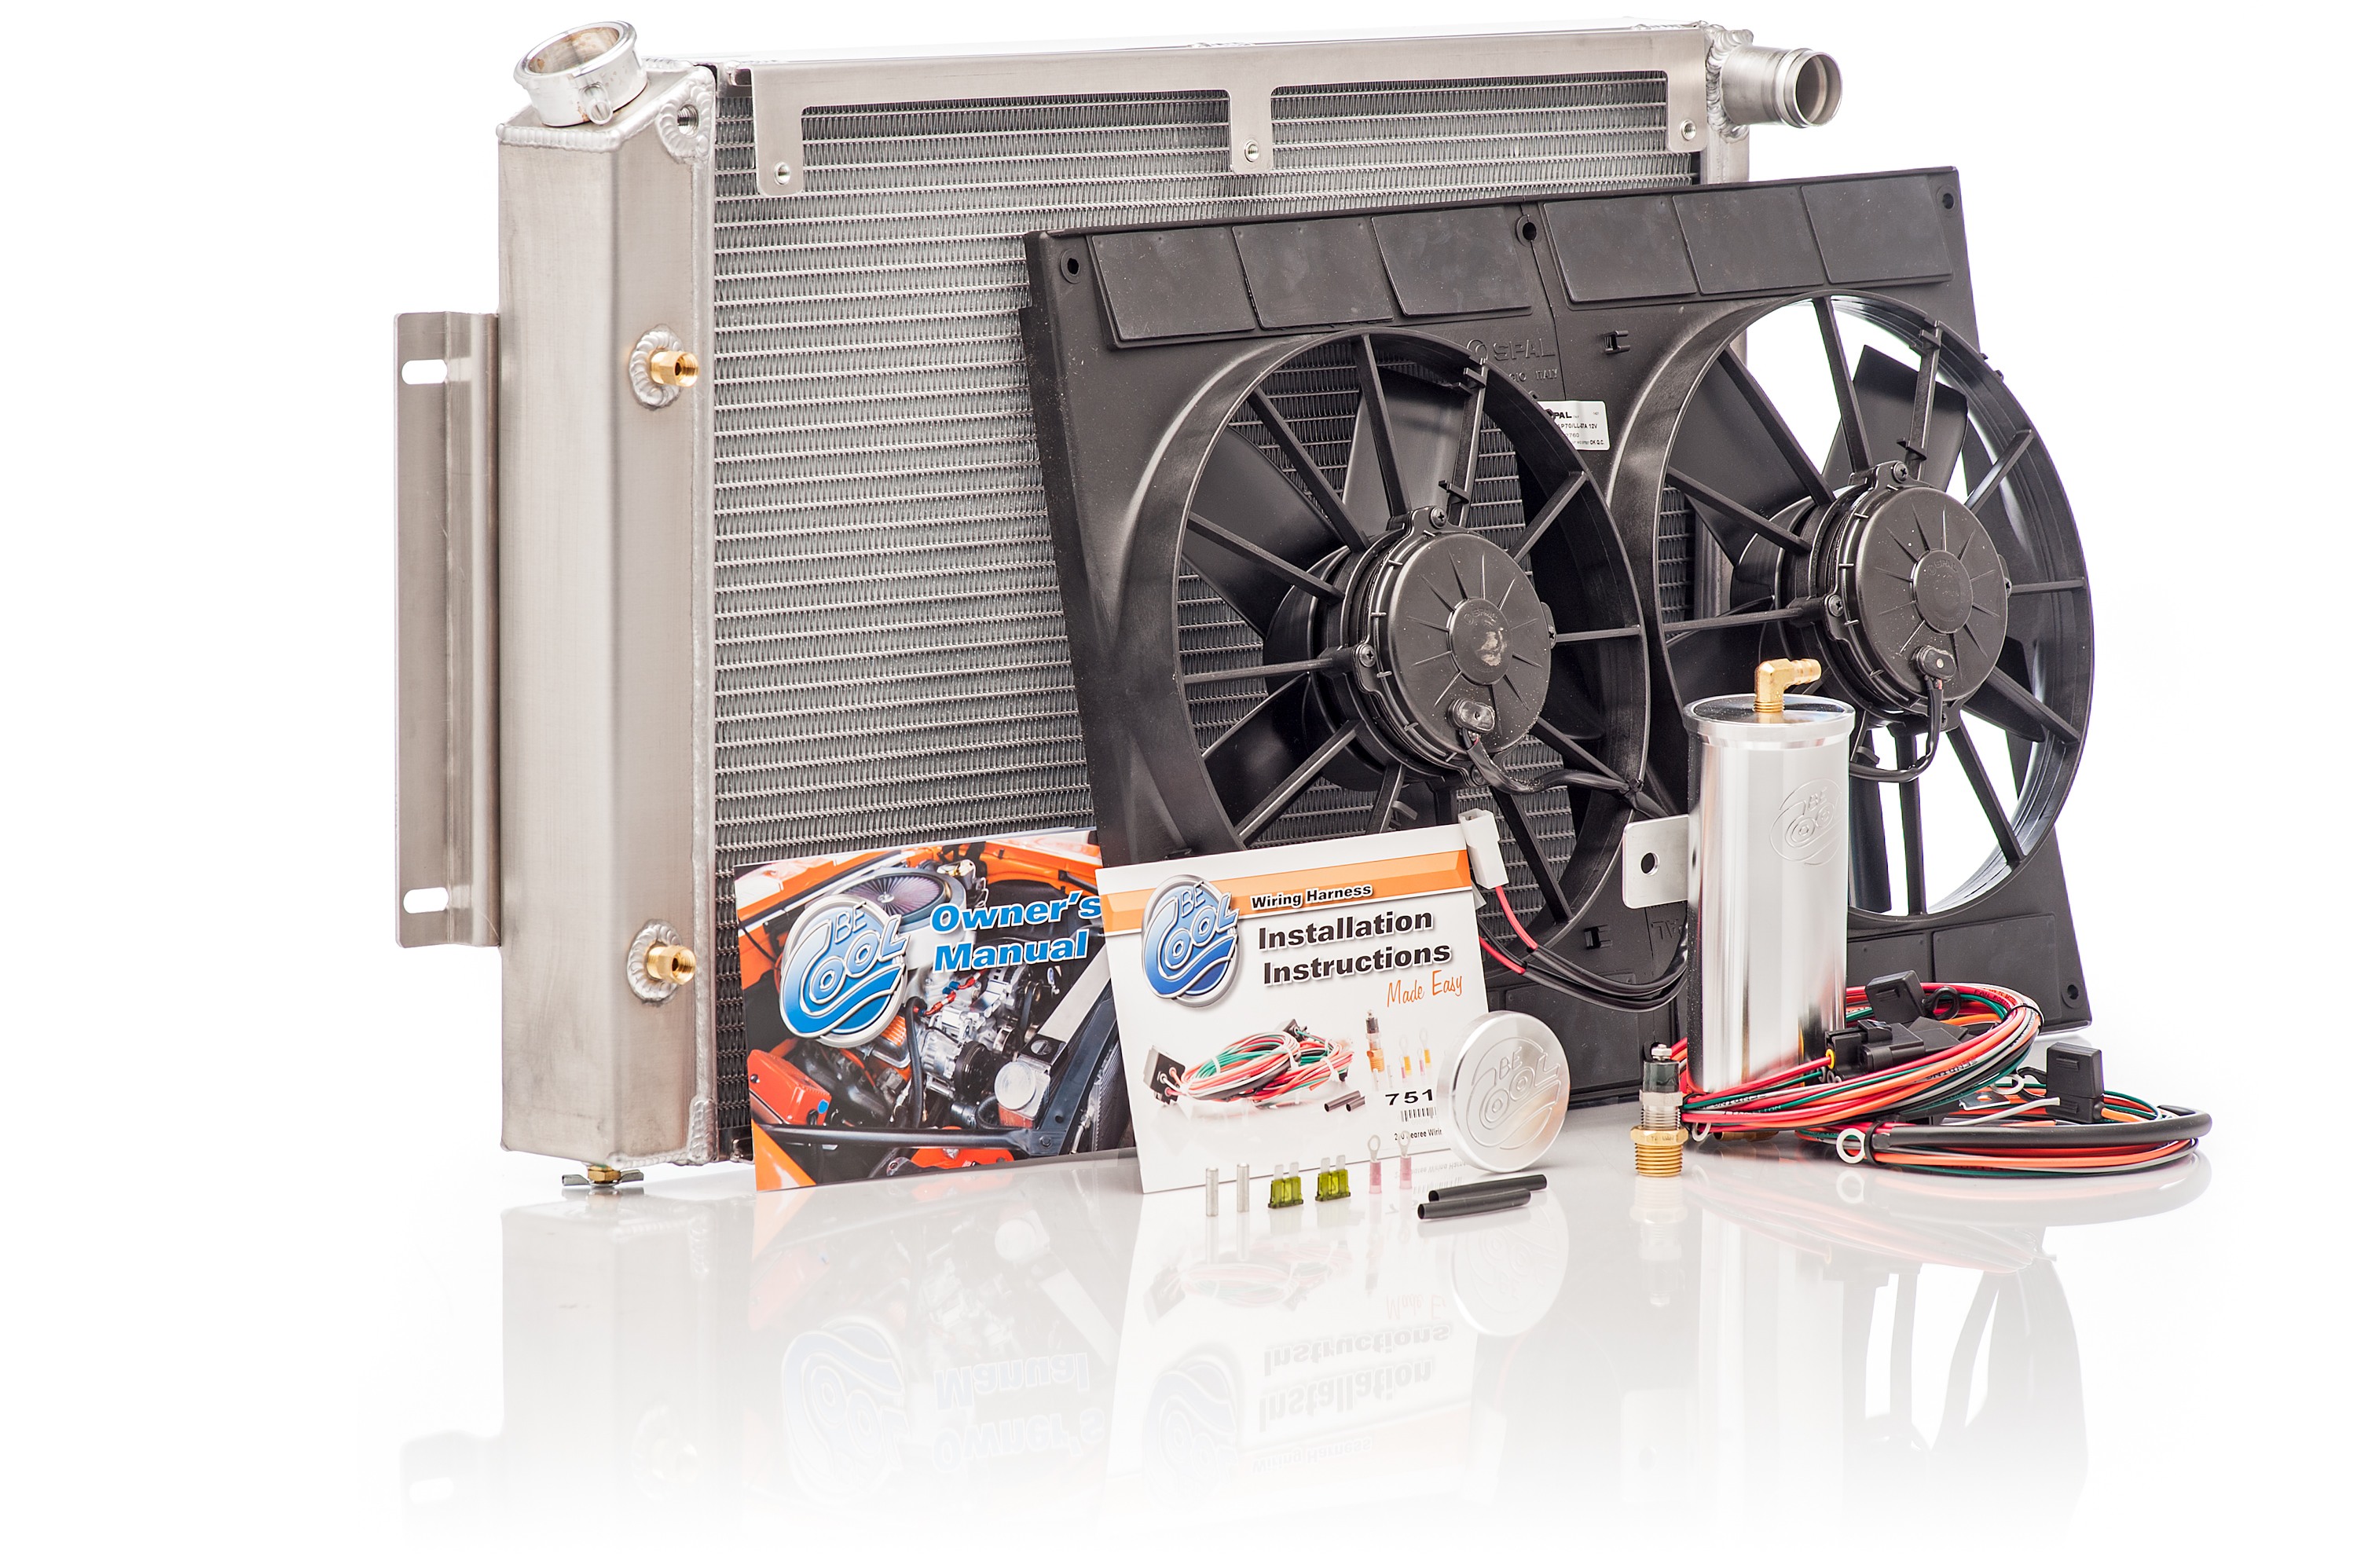
Electric Fans and Fan Shrouds
An effective electric fan is crucial for optimal cooling, especially at low speeds or when idling. Here's what you need to know:
- CFM (Cubic Feet per Minute): This rating indicates the amount of air the fan can move. A general guideline is to choose a fan with a CFM rating equal to or greater than the engine's horsepower. For example, a 400-horsepower engine should have a fan capable of moving at least 4000 CFM.
- Number of Fans: Single or dual fan setups are common. Dual fans can provide more even airflow across the radiator core.
- Fan Controller: A fan controller allows you to adjust the fan speed based on engine temperature. This improves fuel economy and reduces fan noise when full cooling isn't needed. PWM (Pulse Width Modulation) controllers are the most sophisticated, offering precise fan speed control.
- Fan Shroud: A fan shroud is a critical component that directs airflow through the entire radiator core. Without a shroud, the fan will only pull air from the immediate area behind it, leaving much of the radiator unused. Use a shroud that covers as much of the radiator core as possible.
Puller fans (mounted behind the radiator, pulling air through) are generally more efficient than pusher fans (mounted in front of the radiator, pushing air through), but space constraints may dictate your choice.
Hoses and Fittings
Don't overlook the importance of high-quality hoses and fittings. Use hoses specifically designed for coolant, as regular rubber hoses can deteriorate quickly. Stainless steel braided hoses offer excellent durability and aesthetics, but they require specialized fittings. Ensure that all fittings are properly tightened to prevent leaks.
Coolant Selection
Choose a coolant that is compatible with your engine and cooling system. Traditional green coolant (ethylene glycol) is a common choice, but some modern engines require OAT (Organic Acid Technology) coolants. Consult your engine manufacturer's recommendations. It’s also important to use distilled water, as tap water contains minerals that can corrode the cooling system.
Troubleshooting Cooling Issues
Even with a properly sized radiator and fan, overheating can still occur. Here are some common troubleshooting steps:
- Check Coolant Level: Ensure the coolant is at the proper level.
- Inspect for Leaks: Look for any signs of coolant leaks.
- Test the Thermostat: A faulty thermostat can prevent coolant from flowing properly.
- Check the Water Pump: A failing water pump can reduce coolant flow.
- Verify Fan Operation: Ensure the fan is turning on at the correct temperature.
- Check for Air Pockets: Air pockets in the cooling system can cause overheating. Bleed the system to remove air.
- Radiator Cap: Test the radiator cap to ensure it is holding the correct pressure.
By carefully selecting the right radiator, mounting it properly, and ensuring adequate airflow, you can keep your LS-swapped ride running cool and reliably for years to come. Remember to take your time, do your research, and don't be afraid to ask for help from experienced LS swap enthusiasts. Happy wrenching!
Important Reminder: Always prioritize safety when working on your vehicle. Wear appropriate safety gear, and disconnect the battery before working on the electrical system. If you're not comfortable with any of these procedures, consult a qualified mechanic.