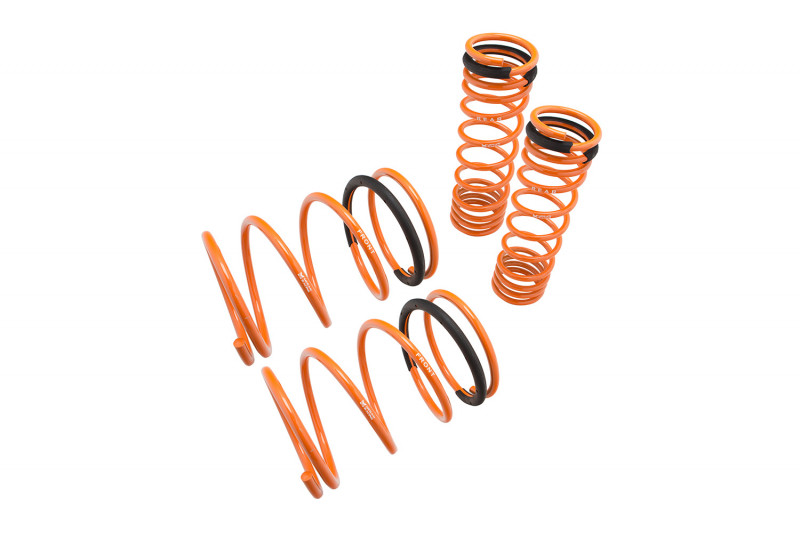
Megan Racing Lowering Springs 240sx
So, you've got a 240sx and you've installed some Megan Racing lowering springs – excellent choice! Lowering your ride is a fantastic way to improve its stance, handling, and overall aesthetic. However, sometimes the installation doesn't go perfectly smooth, or you might run into some issues down the road. This article will cover some common problems encountered after installing Megan Racing lowering springs on your 240sx and provide practical solutions to get you back on the road, enjoying your car.
Common Issues After Installing Lowering Springs
1. Ride Quality is Harsher Than Expected
One of the most frequent complaints after installing lowering springs is a significant drop in ride comfort. Lowering springs are generally stiffer than stock springs, so some increase in firmness is expected. However, if the ride is excessively harsh, several factors could be at play:
- Spring Rate Mismatch: While Megan Racing springs are designed for the 240sx, they may not be perfectly suited to your driving style or the condition of your roads. Consider the spring rate. Higher spring rates (measured in lbs/in or kg/mm) will naturally result in a stiffer ride.
- Damper/Shock Compatibility: This is a critical point. Your stock shocks might not be adequately dampening the stiffer springs. Lowering springs have a higher spring rate and shorter travel than OEM springs, this can overload OEM shocks and cause them to prematurely fail. If your dampers cannot keep up, your suspension will constantly be bouncing, leading to a jarring experience. Replacing your shocks with units designed for lowered vehicles is almost always necessary. Bilstein, Koni, and KYB are popular choices.
- Incorrect Installation: Double-check that the springs are seated correctly in their perches and that all bolts are torqued to the manufacturer's specifications. Improperly installed springs can bind or cause excessive preload.
- Worn Suspension Components: Before installing the lowering springs, were your ball joints, tie rod ends, and bushings in good condition? Worn components will amplify the effects of the stiffer springs, making the ride even harsher.
- Tire Pressure: Often overlooked, tire pressure can significantly impact ride quality. Make sure your tires are inflated to the recommended pressure (check the sticker on your door jamb or your owner's manual). Overinflated tires contribute to a harsh ride.
Solution:
*Inspect and Replace Worn Components:* Start by thoroughly inspecting your suspension components for wear and tear. Replace any worn ball joints, tie rod ends, or bushings. Consider upgrading to polyurethane bushings for improved durability and handling (though these will generally increase NVH - Noise Vibration Harshness).
*Upgrade Your Dampers/Shocks:* This is highly recommended. Invest in shocks specifically designed for lowered vehicles. Look for adjustable dampers that allow you to fine-tune the rebound and compression damping to match the spring rate. This will significantly improve ride quality and handling.
*Re-Torque Everything:* Double-check that all suspension bolts are torqued to the correct specifications. Use a torque wrench and consult your service manual.
*Adjust Tire Pressure:* Experiment with slightly lower tire pressures (within safe limits) to see if it improves ride comfort. A few PSI can make a noticeable difference.
2. Suspension Noise (Clunking, Squeaking, Popping)
Annoying suspension noises after installing lowering springs are a common concern. These noises can range from subtle squeaks to loud clunks and pops. Here's what could be causing them:
- Loose Hardware: As with the harsh ride, improperly torqued bolts are a frequent culprit. Suspension components move a lot, and if the bolts aren't tight, they can shift and create noise.
- Spring Binding: If the springs aren't seated correctly in the perches, they can bind and release, creating a popping or clunking sound.
- Damper Issues: A failing or incorrectly installed damper can also cause noise. Internal damage or leaking fluid can lead to clunking sounds.
- Clearance Issues: With a lowered vehicle, you might have less clearance between suspension components, exhaust pipes, or other parts of the chassis. These can rub together and create noise.
- Sway Bar End Links: Often overlooked, the sway bar end links can wear out or break, causing a clunking sound, especially when going over bumps.
Solution:
*Comprehensive Inspection:* Start with a visual inspection. Look for signs of rubbing, loose hardware, or damaged components.
*Torque Check (Again!):* Retorque everything. Pay special attention to the strut/shock mount bolts, the lower control arm bolts, and the sway bar end link bolts.
*Inspect Spring Seats:* Make sure the springs are properly seated in their perches. If necessary, disassemble the suspension and reseat the springs.
*Check for Rubbing:* Look for areas where suspension components might be rubbing against the chassis or other parts of the car. Address any clearance issues by slightly adjusting the offending component (if possible) or using spacers (use with caution!).
*Sway Bar End Links:* Inspect the sway bar end links for play or damage. Replace them if necessary.
3. Uneven Ride Height
If one side of your 240sx sits noticeably lower than the other after installing lowering springs, it's a sign that something isn't right. This is not only aesthetically displeasing but can also affect handling.
- Incorrect Spring Installation: Make sure you didn't accidentally swap the springs from one side to the other. While uncommon, sometimes springs are subtly different lengths or have slightly different spring rates.
- Worn Strut Mounts: Worn strut mounts can compress unevenly, leading to uneven ride height.
- Bent Suspension Components: If your car has been in an accident or subjected to significant impacts, a bent control arm or other suspension component could be causing the unevenness.
- Weight Distribution: While unlikely to be the sole cause, excessive weight on one side of the car (e.g., from a large audio system) could contribute to a slight difference in ride height.
Solution:
*Verify Spring Placement:* Double-check that the springs are installed on the correct sides of the car. Refer to the Megan Racing instructions (if available) or compare the springs side-by-side.
*Inspect Strut Mounts:* Examine the strut mounts for signs of wear or damage. Replace them if necessary. Consider upgrading to aftermarket strut mounts for improved performance and durability.
*Professional Inspection:* If you suspect bent suspension components, take your car to a reputable alignment shop for a thorough inspection. They can use specialized equipment to identify any bent parts.
*Corner Balancing (Advanced):* For serious enthusiasts, corner balancing involves adjusting the ride height at each corner of the car to optimize weight distribution and handling. This requires specialized equipment and expertise.
4. Alignment Issues
Installing lowering springs significantly alters your car's suspension geometry, which almost always throws the alignment out of whack. Driving with misaligned suspension can lead to premature tire wear, poor handling, and reduced fuel efficiency.
Solution:
*Professional Alignment:* Immediately after installing lowering springs, take your car to a reputable alignment shop for a four-wheel alignment. Be sure to tell them that you've installed lowering springs, as they may need to adjust the alignment settings to compensate for the lowered ride height. Request a printout of the "before" and "after" alignment specifications. Pay attention to the camber, caster, and toe settings.
*Camber Adjustment (If Necessary):* Depending on how much you've lowered your car, you might need adjustable camber plates or camber bolts to bring the camber back into the optimal range. Excessive negative camber can cause uneven tire wear.
Tools and Approximate Costs
Here's a general idea of the tools you'll need and the approximate costs involved in addressing these issues. Prices can vary depending on your location and the specific parts you choose.
- Tools:
- Jack and Jack Stands
- Socket Set (Metric)
- Wrench Set (Metric)
- Torque Wrench
- Spring Compressor (for removing and installing springs)
- Penetrating Oil
- Alignment Tools (optional, for DIY alignment)
- Approximate Costs:
- Alignment: $80 - $150
- New Shocks/Dampers (set of 4): $400 - $1500+ (depending on brand and adjustability)
- New Strut Mounts (pair): $50 - $200
- New Ball Joints (pair): $50 - $150
- New Tie Rod Ends (pair): $40 - $120
- New Bushings (full set): $100 - $500+ (depending on material and brand)
- Professional Labor (if you're not doing the work yourself): $50 - $150+ per hour
Important Note: Working on suspension components can be dangerous if you're not familiar with proper safety procedures. If you're not comfortable performing these tasks yourself, it's best to take your car to a qualified mechanic.
By addressing these common issues and following these solutions, you can ensure that your Megan Racing lowering springs provide the improved handling and stylish look you're after without sacrificing ride quality or causing other problems. Good luck, and enjoy the ride!