Nissan 240sx Center Console: Restoration Guide
The Nissan 240SX, especially the S13 and S14 generations, is a legendary platform for drifting, tuning, and all-around automotive fun. A common area of wear and tear, however, is the center console. Sun damage, cracks, broken tabs, and general grime can make even a well-maintained 240SX feel tired. This guide will walk you through a comprehensive restoration of your 240SX center console, covering everything from removal and cleaning to repair and reinstallation.
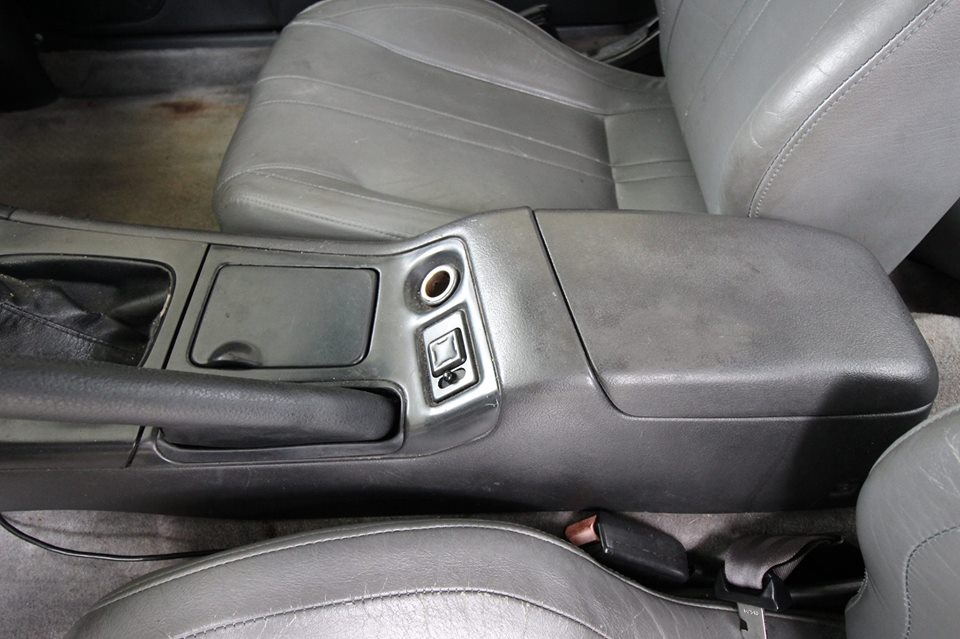
Assessment and Preparation
Before you even think about wrenching, take a good, hard look at your center console. Identify all the problem areas: cracks, broken mounting points, faded plastic, worn-out upholstery (if applicable), and any missing hardware. This assessment will dictate the scope of your restoration project.
Essential Tools and Materials:
- Phillips head screwdriver
- Flathead screwdriver (various sizes)
- Socket set (metric)
- Panel popper tool (or trim removal tool)
- Plastic cleaner and degreaser
- Sandpaper (various grits, e.g., 120, 220, 400)
- Plastic epoxy or adhesive
- Bondo or plastic filler (for larger repairs)
- Primer (specifically for plastic)
- Paint (SEM Color Coat recommended for plastic)
- Clear coat (optional, for extra durability)
- Microfiber cloths
- Heat gun (optional, for reshaping warped plastic)
- New hardware (screws, clips, etc. - check compatibility beforehand)
- Upholstery materials (if reupholstering)
- Contact cement (if reupholstering)
Safety First: Disconnect the negative terminal of your battery before starting any electrical work. This prevents accidental shorts and potential damage to your car's electrical system.
Center Console Removal
The removal process varies slightly between the S13 and S14, but the principles remain the same. We'll cover the general procedure applicable to both, highlighting key differences where they exist.
- Shift Knob Removal: Unscrew the shift knob. This is usually a simple counter-clockwise rotation. For automatic transmissions, consult your service manual as removal procedures may differ.
- E-Brake Boot Removal: Gently pry up the e-brake boot surround. Use a panel popper tool to avoid damaging the surrounding plastic. It's typically held in place by clips.
- Ashtray/Cigarette Lighter Removal: Remove the ashtray and unplug the cigarette lighter connector. Some models may have screws securing the ashtray housing.
- Remove Surrounding Trim: Using your panel popper, carefully remove any surrounding trim pieces that overlap or secure the center console. This might include pieces around the radio, HVAC controls, or glove box. Pay close attention to the order of removal; taking pictures as you go can be incredibly helpful for reassembly.
- Unscrew Mounting Hardware: Locate all the screws securing the center console to the floor and dashboard. These are usually located in the ashtray housing, under the e-brake boot, and along the sides of the console. Make sure you have the correct size screwdriver; stripping these screws can be a major headache. Use penetrating oil if screws are seized.
- Disconnect Electrical Connectors: Before completely removing the console, check for any remaining electrical connectors, such as those for the power windows, hazard lights, or alarm system. Carefully disconnect these connectors, taking note of their locations.
- Remove the Console: With all hardware and connectors detached, gently lift and remove the center console from the vehicle. Be careful not to snag any wires or damage surrounding components.
S13 vs. S14 Differences: The S14 often has more complex wiring related to the climate control system, requiring extra care during removal. The S13 has a slightly simpler console design, but the age of the plastics means they can be more brittle and prone to breaking.
Cleaning and Inspection
With the center console removed, thoroughly clean it with a plastic cleaner and degreaser. This will remove years of accumulated dirt, grime, and protectant buildup. Use a soft brush to get into crevices and around switches.
Now, inspect the console even more closely. Look for:
- Cracks: Note the size, location, and severity of any cracks.
- Broken Tabs: These are common culprits, especially the tabs that secure the console to the dashboard or floor.
- Warping: Sun exposure and heat can cause the plastic to warp, making it difficult to reinstall the console properly.
- Fading and Discoloration: UV rays can fade the plastic, resulting in an uneven or unsightly appearance.
- Damage to Upholstery: If your console has upholstered sections, check for tears, stains, or wear.
Repairing Cracks and Broken Tabs
Crack Repair: For small cracks, plastic epoxy or adhesive is your best bet. Clean the area around the crack thoroughly with isopropyl alcohol. Apply the epoxy carefully, ensuring it penetrates the crack. Clamp the pieces together while the epoxy cures according to the manufacturer's instructions. Once cured, sand the repair smooth with progressively finer grit sandpaper.
For larger cracks or missing sections, you'll need to use a plastic filler like Bondo. Clean and prepare the area as above. Apply the filler in thin layers, allowing each layer to dry completely before applying the next. Overfill slightly, as you'll be sanding it down later. Once fully cured, sand the filler to match the surrounding contours of the console. Feather the edges of the repair for a seamless blend.
Broken Tab Repair: Recreating broken tabs can be challenging but is often necessary for a proper reinstall. You can use a combination of plastic epoxy, filler, and reinforcement materials like fiberglass cloth or metal mesh. Create a mold of the missing tab using clay or modeling putty. Apply epoxy and filler to the broken area, insert the reinforcement material, and then press the mold into place. Allow the epoxy and filler to cure completely before removing the mold. Sand the repaired tab to match the original shape and size.
Dealing with Warping
Minor warping can sometimes be corrected with a heat gun. Apply heat carefully and evenly to the warped area, using your hands or a soft cloth to gently reshape the plastic. Be extremely cautious not to overheat the plastic, as this can cause it to melt or distort further. Work slowly and patiently, checking the fit frequently.
For severe warping, the heat gun method may not be sufficient. In these cases, you may need to consider sourcing a replacement console from a junkyard or online marketplace.
Painting and Finishing
Once all repairs are complete, it's time to paint the console. This will restore its original color and protect the plastic from further UV damage.
- Surface Preparation: Thoroughly clean the console again with a wax and grease remover. Sand the entire surface with 400-grit sandpaper to create a smooth, even surface for the primer to adhere to.
- Priming: Apply several thin coats of plastic primer, allowing each coat to dry completely before applying the next. This will help the paint adhere properly and prevent it from peeling or chipping.
- Painting: Apply several thin coats of SEM Color Coat or similar plastic-specific paint. These paints are designed to flex with the plastic and resist cracking. Use even strokes and avoid applying too much paint in one area, as this can cause runs or drips. Always test the paint color in an inconspicuous area first.
- Clear Coating (Optional): Apply several thin coats of clear coat for added durability and shine. This will protect the paint from scratches and UV damage.
Reupholstering (If Applicable)
If your center console has upholstered sections, now is the time to reupholster them. Remove the old upholstery carefully, taking note of how it was attached (e.g., staples, adhesive). Cut new upholstery to the same size and shape as the old, allowing for extra material to wrap around the edges. Apply contact cement to both the console and the back of the upholstery. Allow the cement to tack up for a few minutes, then carefully align the upholstery and press it into place. Use staples or other fasteners to secure the upholstery around the edges.
Reinstallation
Reinstallation is essentially the reverse of removal. Carefully reinstall the center console, making sure to reconnect all electrical connectors and secure all mounting hardware. Double-check that all switches and controls are functioning properly before completing the installation. Pay close attention to the fitment of the console and ensure that it sits flush with the surrounding trim pieces.
Final Touches
Once the center console is reinstalled, give it a final cleaning and apply a plastic protectant to help prevent future fading and damage. Take a step back and admire your work! You've successfully restored your 240SX center console, bringing new life to your interior and enhancing the overall driving experience.
Troubleshooting Tips:
- Loose Fitment: If the console doesn't fit snugly, check for broken mounting tabs or warped plastic.
- Electrical Issues: Double-check all electrical connectors to ensure they are properly connected.
- Squeaks and Rattles: Use foam tape or silicone lubricant to eliminate any squeaks or rattles.