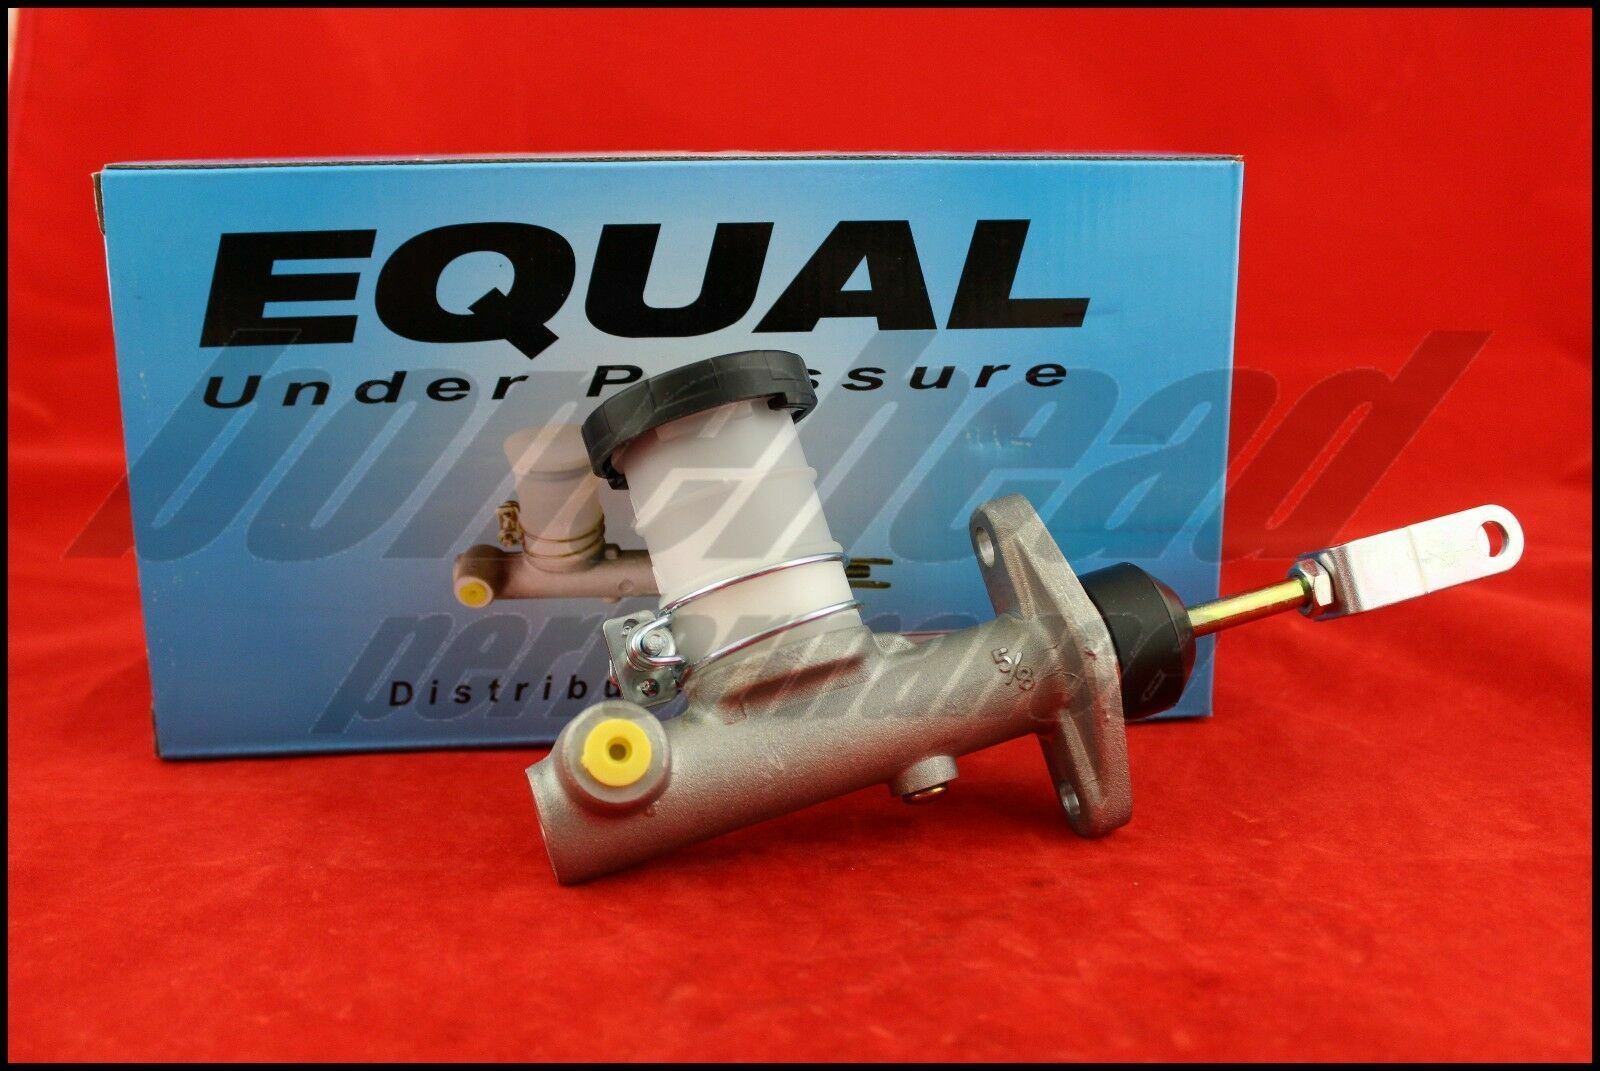
Nissan 240sx Clutch Master Cylinder
The Nissan 240SX, a drift-scene icon and a favorite among tuners, is a relatively simple car to work on. However, like any vehicle of its age, certain components are prone to wear and tear. One such component is the clutch master cylinder. Understanding its function, potential problems, and how to address them is crucial for maintaining a reliable and enjoyable driving experience. This article will delve into the intricacies of the 240SX clutch master cylinder, providing you with the knowledge to diagnose issues and potentially perform repairs yourself.
Function of the Clutch Master Cylinder
At its core, the clutch master cylinder is a hydraulic pump. Its primary function is to convert the mechanical force from your foot pressing the clutch pedal into hydraulic pressure, which is then transmitted to the clutch slave cylinder. This hydraulic pressure ultimately actuates the clutch fork, disengaging the clutch disc from the flywheel and allowing you to shift gears. Think of it as the heart of your car's clutch actuation system.
Here's a breakdown of the process:
- You depress the clutch pedal.
- This movement pushes a pushrod into the clutch master cylinder.
- Inside the cylinder, the pushrod acts on a piston.
- The piston forces hydraulic fluid (typically brake fluid DOT 3 or DOT 4) through the hydraulic line.
- This pressurized fluid travels to the clutch slave cylinder, located on the transmission.
- The pressurized fluid pushes the slave cylinder's piston, which in turn moves the clutch fork.
- The clutch fork disengages the clutch, allowing you to shift gears.
Key Components
Understanding the individual parts of the clutch master cylinder is essential for diagnosis and repair:
- Cylinder Body: The main housing that contains all the internal components. Typically made of cast iron or aluminum.
- Piston: The moving component that creates hydraulic pressure. It's pushed by the pushrod.
- Seals (Cup Seals): These rubber seals prevent fluid from leaking past the piston, ensuring pressure is maintained. Deteriorated seals are the most common cause of master cylinder failure.
- Reservoir: A container that holds the hydraulic fluid. It's typically located above the master cylinder and connected by a hose.
- Pushrod: Connects the clutch pedal to the piston. Its length is often adjustable to fine-tune clutch engagement.
- Fluid Outlet Port: Where the pressurized fluid exits the master cylinder and travels to the slave cylinder.
- Return Spring: Returns the piston to its original position when the clutch pedal is released.
Common Problems with 240SX Clutch Master Cylinders
Given the age of most 240SXs, clutch master cylinder issues are common. Here are some telltale signs:
- Spongy Clutch Pedal: This is often the first sign of a problem. It indicates air in the hydraulic system or internal leakage within the master cylinder. The pedal may feel soft and require excessive travel to engage the clutch.
- Clutch Pedal Sticking to the Floor: This can occur if the internal seals are badly worn, preventing the piston from returning to its original position. It can also be caused by a binding or damaged pushrod.
- Difficulty Shifting: If the clutch isn't fully disengaging due to insufficient hydraulic pressure, you'll struggle to shift gears, especially into first or reverse. You might hear grinding noises.
- Fluid Leaks: Check around the master cylinder body, the pushrod seal, and the connection to the reservoir. Leaks indicate seal failure and necessitate replacement. Also, check the firewall where the master cylinder mounts for signs of brake fluid eating away at the paint, an indicator of a leak.
- Low Fluid Level in the Reservoir: While a low fluid level can indicate a leak elsewhere in the system (slave cylinder or hydraulic line), it could also be due to internal leakage in the master cylinder, with the fluid bypassing the seals and entering the brake booster (if equipped).
Diagnosing Clutch Master Cylinder Issues
Before replacing the master cylinder, it's important to rule out other potential causes. Here's a step-by-step diagnostic approach:
- Check Fluid Level and Condition: Ensure the reservoir is filled to the proper level. Dark or contaminated fluid indicates the need for a fluid flush and potentially a master cylinder rebuild or replacement.
- Bleed the Clutch System: Air in the system can mimic master cylinder issues. Bleeding removes trapped air and restores proper hydraulic pressure. A spongy pedal after bleeding still points to a master cylinder problem.
- Inspect for Leaks: Thoroughly examine the master cylinder, slave cylinder, and hydraulic lines for any signs of fluid leaks.
- Inspect the Clutch Pedal Assembly: Check for any binding or damage to the clutch pedal linkage, pushrod, or pedal bushings. A worn bushing can introduce play and affect the feel of the clutch.
- Perform a Pressure Test (Advanced): Using a hydraulic pressure gauge connected to the bleeder screw on the slave cylinder, you can measure the pressure produced by the master cylinder. Compare the reading to the factory specifications (if available). A low pressure reading confirms a master cylinder issue. This method is more complex and requires specialized tools.
Replacing the Clutch Master Cylinder
If your diagnosis points to a faulty master cylinder, replacement is often the best course of action. While rebuilding is possible with a rebuild kit, the cost and potential for error often make replacement a more practical solution for the DIY mechanic. Here's a general guide (always consult your 240SX repair manual for specific instructions):
- Gather Tools and Materials: You'll need wrenches, sockets, flare nut wrenches (essential for brake lines), brake fluid (DOT 3 or DOT 4), a new clutch master cylinder, rags, and potentially a brake bleeder kit.
- Disconnect the Battery: This is a standard safety precaution when working on any automotive system.
- Drain the Reservoir: Use a syringe or turkey baster to remove as much fluid as possible from the clutch master cylinder reservoir.
- Disconnect the Hydraulic Line: Use a flare nut wrench to loosen the hydraulic line fitting at the master cylinder. Flare nut wrenches are designed to prevent rounding off the fitting, which is crucial. Be prepared for some fluid to spill.
- Disconnect the Reservoir Hose: Detach the hose connecting the reservoir to the master cylinder.
- Remove the Pushrod Clevis Pin: This pin connects the pushrod to the clutch pedal. Remove the pin and carefully detach the pushrod.
- Unbolt the Master Cylinder: Remove the bolts holding the master cylinder to the firewall.
- Install the New Master Cylinder: Mount the new master cylinder to the firewall, ensuring it's properly aligned.
- Connect the Pushrod: Attach the pushrod to the clutch pedal and secure it with the clevis pin. Adjust the pushrod length as needed, referencing your repair manual for specifications.
- Connect the Reservoir Hose: Attach the hose connecting the reservoir to the master cylinder.
- Connect the Hydraulic Line: Carefully tighten the hydraulic line fitting using a flare nut wrench.
- Fill the Reservoir: Fill the reservoir with fresh brake fluid (DOT 3 or DOT 4).
- Bleed the Clutch System: Bleed the clutch system thoroughly to remove any air. This is crucial for proper clutch operation.
- Test Drive: After bleeding, test drive the vehicle to ensure the clutch engages and disengages smoothly and that shifting is normal.
Important Considerations
- Bleeding the Clutch: Bleeding can be tricky. A pressure bleeder or vacuum bleeder can make the process easier. Alternatively, you can use the traditional two-person method: one person pumps the clutch pedal while the other opens and closes the bleeder screw on the slave cylinder. Repeat until no air bubbles are present in the fluid.
- Bench Bleeding: It's often beneficial to bench bleed the new master cylinder before installing it. This involves filling the cylinder with fluid and pumping the piston to remove air bubbles before connecting it to the hydraulic system. This can simplify the bleeding process after installation.
- Hydraulic Line Condition: While replacing the master cylinder, consider inspecting the hydraulic line for cracks or damage. Replacing a damaged line at the same time can prevent future problems.
- Slave Cylinder Condition: If the master cylinder failed due to age and wear, the clutch slave cylinder is likely in a similar condition. Consider replacing both at the same time for a more reliable clutch system.
Upgrading the Clutch Master Cylinder
For those looking to improve their clutch feel or accommodate a more aggressive clutch setup, upgrading the master cylinder is an option. Some aftermarket master cylinders offer a larger bore size, which can provide a firmer pedal feel and improved clutch engagement. However, be aware that a larger bore can also make the pedal feel heavier.
When choosing an aftermarket master cylinder, ensure it's compatible with your 240SX and your existing clutch system. Read reviews and consider the experiences of other 240SX owners before making a purchase. Also consider that upgrading both master and slave cylinder may be needed for optimal results.
Disclaimer: This article is intended as a general guide. Always consult your vehicle's repair manual for specific instructions and safety precautions. If you are not comfortable performing these repairs yourself, seek the assistance of a qualified mechanic.