Nissan 240sx Clutch Replacement
So, you're experiencing some clutch issues with your Nissan 240sx? You're not alone. The clutch on a 240sx, especially one that sees some spirited driving, is a wear item. Let's walk through some common signs your clutch might need replacing and what's involved in getting it done.
Identifying Clutch Problems in Your 240sx
First, let's diagnose the issue. Several symptoms can indicate a failing clutch. Recognizing them early can prevent further damage and potentially save you money in the long run.
Clutch Slippage
This is perhaps the most common sign. Slippage happens when the clutch disc can no longer effectively grip the flywheel and pressure plate. You'll typically notice this under acceleration, especially in higher gears. The engine RPMs will climb rapidly, but your car won't accelerate proportionally. It feels like the engine is working hard, but the power isn't being transferred to the wheels.
How to test for clutch slippage: In a higher gear (4th or 5th) at a relatively low RPM (around 2000 RPM), floor the accelerator. If the RPMs surge upwards without a corresponding increase in speed, your clutch is likely slipping.
Clutch Chatter
Chatter is a vibration or shudder felt when engaging the clutch, especially in first gear or reverse. It can feel like the car is hopping or shaking as you release the clutch pedal. This is often caused by uneven wear on the clutch disc, a warped flywheel, or contamination (like oil or grease) on the friction surfaces.
Difficulty Shifting
If you're finding it increasingly difficult to shift gears, especially into first or reverse, your clutch might not be fully disengaging. This can be due to a worn-out clutch disc, a problem with the clutch hydraulics (master or slave cylinder), or even a stretched clutch cable (if your 240sx hasn't been converted to hydraulic). Hard shifting can also damage your synchros in the long run, which is a far more involved and expensive repair.
High Clutch Pedal Engagement Point
As your clutch wears, the engagement point on the pedal tends to move higher. If you find yourself having to lift the pedal almost all the way up before the clutch engages, it's a good indication that the clutch disc is nearing the end of its life. This means the friction material is worn thin, reducing the amount of grip.
Burning Smell
A distinct burning smell, similar to burning rubber or brakes, is a telltale sign of a slipping clutch. This smell occurs when the clutch disc is slipping excessively, generating a lot of heat and burning the friction material. This is a serious symptom and should be addressed immediately. Continuing to drive with a burning clutch can damage the flywheel and pressure plate beyond repair.
The Clutch Replacement Process
Replacing the clutch on a 240sx is a fairly involved process, but it's something a mechanically inclined individual with the right tools and patience can tackle. It generally involves removing the transmission to access the clutch assembly.
Tools and Materials Needed:
- Socket set and wrenches: Metric sizes, including sockets for the transmission bolts and pressure plate.
- Torque wrench: Essential for tightening bolts to the correct specifications.
- Floor jack and jack stands: Safety first! Always use jack stands when working under a car.
- Transmission jack: Makes lowering and raising the transmission much easier and safer. A regular floor jack *can* be used with careful strapping, but a transmission jack is highly recommended.
- Clutch alignment tool: To center the clutch disc during installation.
- Penetrating oil: For stubborn bolts.
- Brake cleaner: To clean the flywheel and pressure plate surfaces.
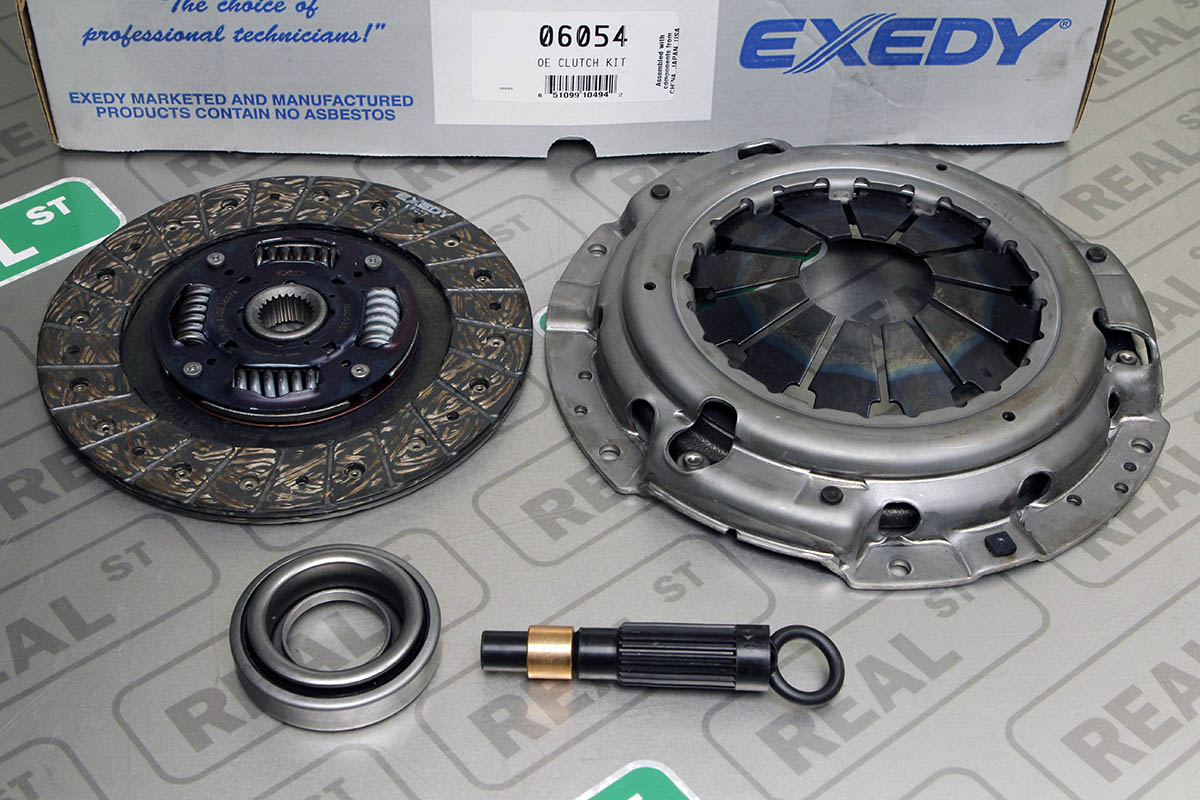
- New clutch kit: Includes the clutch disc, pressure plate, and throw-out bearing. Consider replacing the pilot bushing as well.
- Flywheel resurfacing: Highly recommended to ensure proper clutch engagement.
- Optional: New rear main seal (good preventative maintenance while the transmission is out).
- Optional: New transmission fluid.
Step-by-Step Overview:
- Preparation: Disconnect the battery. Safely raise the vehicle and secure it on jack stands.
- Draining Fluids: Drain the transmission fluid (if replacing).
- Disconnecting Components: Disconnect the driveshaft, exhaust system (at least the portion near the transmission), shifter linkage, clutch hydraulic line (or cable), and any wiring harnesses attached to the transmission.
- Supporting the Engine: Use an engine support bar or jack to support the engine.
- Removing the Transmission: Unbolt the transmission from the engine. This can be tricky due to the tight space and bolt locations. Carefully lower the transmission using the transmission jack.
- Removing the Clutch Assembly: With the transmission removed, you'll have access to the clutch assembly. Unbolt the pressure plate from the flywheel (loosen the bolts gradually in a star pattern). Remove the pressure plate and clutch disc. Inspect the flywheel.
- Flywheel Resurfacing: Take the flywheel to a machine shop for resurfacing. This ensures a smooth, flat surface for the new clutch disc to engage with. This is crucial for proper clutch operation and longevity.
- Installing the New Clutch: Install the new pilot bushing (if replacing). Install the new clutch disc and pressure plate, using the clutch alignment tool to center the disc. Torque the pressure plate bolts to the manufacturer's specifications in a star pattern.
- Installing the New Throw-Out Bearing: Install the new throw-out bearing onto the transmission input shaft.
- Reinstalling the Transmission: Carefully align and reinstall the transmission. Bolt it back to the engine and torque the bolts to the correct specifications.
- Reconnecting Components: Reconnect the driveshaft, exhaust system, shifter linkage, clutch hydraulic line (or cable), and wiring harnesses.
- Refilling Fluids: Refill the transmission with fresh fluid (if drained).
- Bleeding the Clutch (Hydraulic Systems): Bleed the clutch hydraulic system to remove any air bubbles.
- Testing: Lower the vehicle and test the clutch operation. Ensure smooth engagement and disengagement.
Important Considerations and Tips
- Flywheel Inspection: Before resurfacing, carefully inspect the flywheel for cracks or excessive wear. If it's severely damaged, it should be replaced.
- Rear Main Seal: Since you're already deep into the engine, consider replacing the rear main seal. This is a common source of leaks and is much easier to access with the transmission removed.
- Clutch Kit Quality: Don't cheap out on the clutch kit. A quality clutch kit will provide better performance and last longer. Research different brands and choose one that suits your driving style and power level. Exedy, ACT, and Competition Clutch are popular choices.
- Hydraulic System Inspection: If your 240sx has a hydraulic clutch system, inspect the master and slave cylinders for leaks. Replacing them proactively can prevent future problems.
- Pilot Bushing/Bearing: Always replace the pilot bushing or bearing. A worn pilot bushing can cause premature clutch wear and noise.
- Torque Specifications: Always torque bolts to the manufacturer's specifications. Overtightening can damage components, while undertightening can lead to loose bolts and failure.
- Safety: Always prioritize safety. Use jack stands, wear safety glasses, and be careful when handling heavy components.
Estimated Cost of Clutch Replacement
The cost of a clutch replacement on a Nissan 240sx can vary depending on several factors:
- Parts: A decent quality clutch kit will typically cost between $200 and $500. A new flywheel, if needed, can add another $150-$300.
- Labor: If you're having a shop do the work, labor costs can range from $500 to $1000 or more, depending on the shop's hourly rate and the complexity of the job.
- Flywheel Resurfacing: This typically costs around $50-$100.
Total estimated cost: DIY: $250-$800 (including tools if needed). Professional Installation: $750-$1800+
Can you do it yourself? Absolutely, if you are comfortable working on cars and have the right tools. However, if you are not experienced with this type of work, it's best to have a professional handle the job. The transmission is heavy, and getting it aligned properly can be tricky. Mistakes can be costly.
Preventative Maintenance
Once you've replaced your clutch, there are steps you can take to prolong its life:
- Avoid Clutch Abuse: Minimize clutch slippage, avoid "riding" the clutch pedal, and don't launch the car excessively.
- Proper Shifting Technique: Practice smooth and precise shifting. Avoid jerky movements and abrupt clutch engagement.
- Regular Maintenance: Check the clutch hydraulic fluid level regularly (if applicable) and bleed the system as needed.
Replacing the clutch on your 240sx is a significant repair, but with proper diagnosis, the right tools, and a bit of know-how, you can get your car back on the road and enjoying those spirited drives once again. Remember, if you're unsure about any part of the process, don't hesitate to consult with a qualified mechanic. Good luck!