Nissan 240sx Distributor Cap And Rotor
Hey there, fellow 240sx enthusiast! Having some trouble with your distributor cap and rotor? These components are crucial for your KA24DE engine's ignition system, and when they start to fail, you'll definitely notice it. Don't worry; you've come to the right place. We'll walk you through common problems, troubleshooting steps, and solutions to get your 240sx running smoothly again.
Understanding the Distributor Cap and Rotor
First, let's quickly recap what these parts do. The distributor cap receives high-voltage electricity from the ignition coil and distributes it to the correct spark plugs at the precise moment needed for combustion. The rotor, spinning inside the distributor cap, makes contact with the terminals inside the cap, acting as a rotating switch. Together, they ensure each cylinder fires in the correct firing order.
Common Symptoms of a Failing Distributor Cap and Rotor
Knowing the symptoms is half the battle! Here's what you might experience if your distributor cap and rotor are going bad:
- Rough Idling: The engine may shake or stumble, especially at idle. This is often one of the first signs.
- Misfiring: You might feel a noticeable jerkiness or hesitation during acceleration. The engine isn't firing consistently in all cylinders.
- Difficulty Starting: The engine may crank longer than usual or fail to start altogether.
- Reduced Fuel Economy: Inefficient combustion due to misfires can lead to a noticeable drop in MPG.
- Check Engine Light: A misfire code (like P0300, P0301, P0302, etc.) could illuminate your check engine light. You'll need an OBD-II scanner to read these codes.
- Visible Damage: Inspect the cap and rotor for cracks, burns, or corrosion. Visual inspection is key!
Diagnosing the Problem: Is it Really the Cap and Rotor?
Before you rush out and buy a new distributor cap and rotor, it's important to rule out other potential causes. Other components in the ignition system, like the spark plugs, ignition coil, or even wiring, can cause similar symptoms. Here's a systematic approach to diagnosis:
- Read the Codes: Use an OBD-II scanner to check for any trouble codes. Misfire codes are a strong indicator.
- Inspect the Spark Plugs: Pull each spark plug and examine its condition. Fouled, worn, or damaged plugs can cause misfires. Replace them if necessary.
- Check the Spark Plug Wires: Inspect the spark plug wires for cracks, damage, or loose connections. Use an ohmmeter to check their resistance. High resistance indicates a faulty wire.
- Inspect the Distributor Cap and Rotor: This is where we focus. Look for the following:
- Cracks: Any cracks in the cap can allow moisture and dirt to enter, causing arcing and misfires.
- Carbon Tracking: Black, spiderweb-like lines inside the cap indicate electrical arcing.
- Burned or Corroded Terminals: The metal terminals inside the cap should be clean and shiny. Corrosion or burning indicates poor contact.
- Worn Rotor Tip: The rotor tip should be in good condition. If it's burned, eroded, or cracked, it needs to be replaced.
- Test the Ignition Coil: A faulty ignition coil can also cause misfires. Use a multimeter to test the primary and secondary resistance of the coil according to your vehicle's service manual.
Replacing the Distributor Cap and Rotor: Step-by-Step Guide
If you've confirmed that your distributor cap and rotor are indeed the problem, here's how to replace them. Always disconnect the negative battery terminal before working on the ignition system.
Tools Needed:
- Socket set (usually 10mm and 12mm)
- Screwdriver (Phillips and flathead)
- Torque wrench
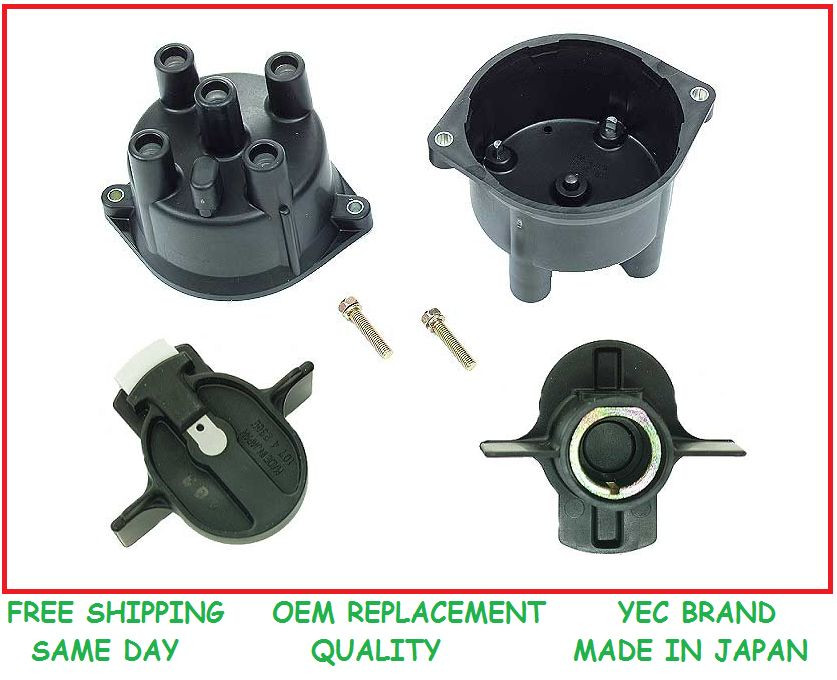
- New distributor cap and rotor (ensure they are the correct parts for your 240sx)
- Dielectric grease
- Clean shop rags
Procedure:
- Disconnect the Negative Battery Terminal: This is a crucial safety step to prevent electrical shock.
- Locate the Distributor: The distributor is usually located on the side of the engine.
- Mark the Distributor Cap Position: Before removing the cap, mark its position relative to the distributor body. This will help you install the new cap in the correct orientation. You can use a marker or a piece of tape.
- Disconnect the Spark Plug Wires: Carefully disconnect the spark plug wires from the distributor cap. It's a good idea to label each wire with its corresponding cylinder number to avoid confusion during reassembly. You can use masking tape and a marker. Don't pull on the wires themselves; grasp the boot.
- Remove the Distributor Cap: Remove the screws or clips that hold the distributor cap in place. Carefully lift the cap off the distributor.
- Inspect the Distributor Cap and Rotor (again!): Note the condition of the old cap and rotor. This can give you clues about the cause of the problem.
- Remove the Rotor: The rotor is usually held in place by one or two screws. Remove the screw(s) and pull the rotor straight off the distributor shaft.
- Install the New Rotor: Install the new rotor onto the distributor shaft, making sure it's properly seated. Tighten the screw(s) to the manufacturer's specified torque.
- Install the New Distributor Cap: Place the new distributor cap onto the distributor, aligning it with the marks you made earlier. Secure the cap with the screws or clips.
- Connect the Spark Plug Wires: Connect the spark plug wires to the new distributor cap, making sure to connect them in the correct firing order. Refer to your labeling or a diagram if needed. Ensure the wires are firmly seated on the terminals. Apply a small amount of dielectric grease inside the spark plug wire boots to prevent corrosion and ensure a good connection.
- Reconnect the Negative Battery Terminal: Reconnect the negative battery terminal.
- Start the Engine: Start the engine and listen for any unusual noises or misfires. If the engine still misfires, double-check the spark plug wire connections and the distributor cap position.
Troubleshooting After Replacement
Even after replacing the distributor cap and rotor, you might still experience problems. Here's what to do:
- Double-Check Spark Plug Wire Connections: This is the most common mistake. Ensure all wires are connected to the correct terminals on the distributor cap and spark plugs.
- Check the Distributor Timing: If the distributor timing is off, the engine will misfire. You may need to use a timing light to adjust the timing. This often requires experience or professional help.
- Inspect Other Ignition Components: If the problem persists, re-examine the spark plugs, ignition coil, and wiring for any other issues.
Preventative Maintenance
To keep your 240sx running smoothly, perform regular maintenance on the ignition system:
- Replace Spark Plugs Regularly: Follow the manufacturer's recommended replacement interval for your spark plugs.
- Inspect Spark Plug Wires: Check the spark plug wires for cracks and damage regularly.
- Check Distributor Cap and Rotor: Inspect the distributor cap and rotor for wear and tear during tune-ups.
Estimated Repair Costs
The cost of replacing a distributor cap and rotor on a 240sx can vary depending on the quality of the parts and whether you do the work yourself or take it to a mechanic.
- Parts: A good quality distributor cap and rotor kit typically costs between $30 and $80.
- Labor: If you take your car to a mechanic, expect to pay between $50 and $150 for labor, depending on the shop's hourly rate.
- Total: The total cost could range from $80 to $230.
Doing it yourself can save you a significant amount of money. Just be sure to follow the instructions carefully and take your time.
Conclusion
Replacing the distributor cap and rotor on your Nissan 240sx is a straightforward repair that can often be done at home with basic tools. By following these steps and troubleshooting tips, you can get your 240sx running smoothly again and enjoy the thrill of driving this classic sports car. Remember to always prioritize safety and consult a professional if you're unsure about any part of the process. Good luck, and happy driving!