Nissan 240sx Fuel Pump Assembly
Alright, let's talk about the fuel pump assembly in your Nissan 240SX (S13 or S14 chassis). This is a crucial component for keeping your engine happy, especially if you're running any modifications or are dealing with an older vehicle. This guide will walk you through the assembly, its components, common issues, troubleshooting, and some upgrade considerations. I'll aim to speak to the DIY mechanic who's comfortable turning a wrench but wants a more in-depth understanding of what's happening inside the fuel tank.
Fuel Pump Assembly Overview
The fuel pump assembly isn't just a pump; it's a self-contained unit designed to deliver fuel from the tank to the engine at the correct pressure and volume. It's submerged inside the fuel tank for a few key reasons: to keep the pump cool (fuel acts as a coolant), to dampen noise, and to ensure the pump remains primed, preventing cavitation (more on that later).
Here's a breakdown of the key components:
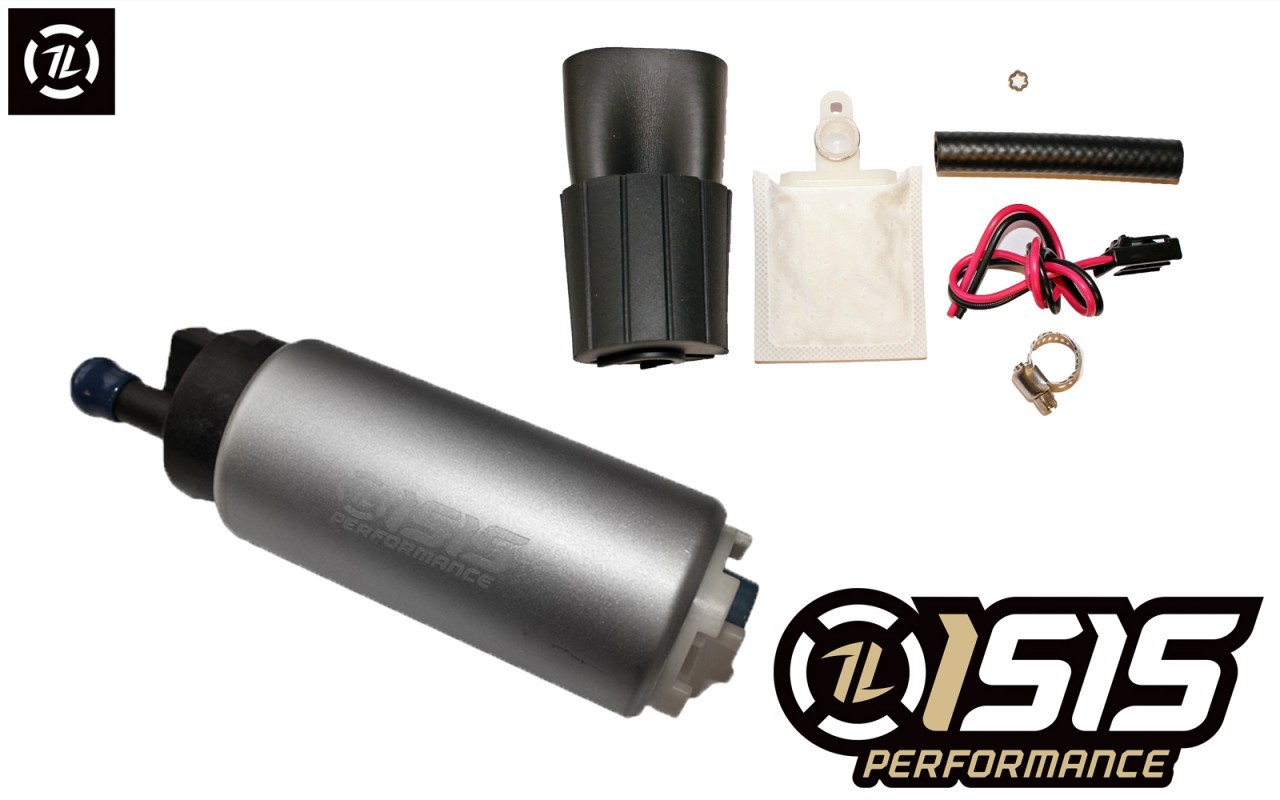
- Fuel Pump: The heart of the system. This electric pump pulls fuel from the tank and pushes it towards the engine. There are several pump types, with the most common being turbine and gerotor pumps. Turbine pumps are generally quieter and more reliable.
- Fuel Level Sender (Float): Measures the amount of fuel in the tank and transmits that information to the fuel gauge on your dashboard.
- Fuel Filter (Strainer/Sock): A pre-filter located on the inlet of the fuel pump. This coarse filter prevents large particles and debris from entering and damaging the pump. It's *essential* for pump longevity.
- Fuel Pressure Regulator (FPR) connection: This allows excess fuel to return back to the fuel tank if fuel pressure reaches a certain level.
- Reservoir/Swirl Pot (optional, but common): A small container within the tank assembly designed to ensure the pump always has access to fuel, even during hard cornering or when the fuel level is low. This prevents fuel starvation, which can lead to engine misfires and damage.
- Fuel Lines and Connectors: Connect the pump to the external fuel system. These are typically made of flexible fuel-rated hose and use either barbed fittings or quick-disconnects.
- Electrical Connector: Provides power and ground to the fuel pump and fuel level sender.
How it Works
The process is fairly straightforward:
- The fuel pump draws fuel from the tank through the fuel filter (strainer).
- The pump pressurizes the fuel and sends it through the fuel lines to the engine's fuel rail.
- The fuel injectors, controlled by the ECU, inject the appropriate amount of fuel into the cylinders.
- Excess fuel, not used by the injectors, is regulated by the fuel pressure regulator (FPR), which opens to return the fuel to the fuel tank. This keeps the fuel pressure constant.
- The fuel level sender monitors the fuel level in the tank and provides a reading to the fuel gauge.
Common Issues and Troubleshooting
Fuel pump problems are common on older vehicles, especially those that have seen modifications or neglected maintenance. Here's a rundown of the most frequent issues and how to diagnose them:
- Fuel Pump Failure: The pump simply stops working. This could be due to a blown fuse, a faulty relay, a broken wiring harness, or a worn-out pump motor.
Troubleshooting: Start by checking the fuel pump fuse and relay. If those are good, test the voltage at the fuel pump connector with a multimeter while the ignition is on. If there's no voltage, trace the wiring back to the relay and ECU. If there is voltage, the pump itself is likely the culprit. A common test is to directly apply 12V to the pump, bypassing the car's wiring, to see if it spins. *Be extremely careful when working with fuel and electricity.*
- Low Fuel Pressure: The pump is working, but not producing enough pressure. This can cause lean running conditions, misfires, and poor performance.
Troubleshooting: Use a fuel pressure gauge connected to the fuel rail to measure fuel pressure. Compare the reading to the factory specification (typically around 36-44 psi on a 240SX). If the pressure is low, check for a clogged fuel filter, a faulty fuel pressure regulator, or a weak fuel pump. A failing FPR may cause fuel to recirculate too early, causing low pressure at the fuel rail.
- Clogged Fuel Filter (Strainer): A dirty filter restricts fuel flow, leading to low fuel pressure and potential pump damage.
Troubleshooting: Remove the fuel pump assembly and inspect the filter. If it's covered in debris, replace it. This is a relatively inexpensive maintenance item and should be replaced regularly, especially if you're unsure of its history.
- Fuel Starvation: The engine stumbles or cuts out, especially during hard cornering or when the fuel level is low.
Troubleshooting: This could be due to a faulty fuel level sender, a damaged fuel tank, or a problem with the reservoir (if equipped). Check for leaks in the fuel tank and ensure the fuel level sender is providing accurate readings. If the reservoir is damaged, it may not be able to keep the pump submerged in fuel.
- Noisy Fuel Pump: A whining or buzzing sound coming from the fuel tank can indicate a failing pump.
Troubleshooting: While some fuel pump noise is normal, excessive noise can be a sign that the pump is working harder than it should or is nearing the end of its life. Listen closely to the fuel tank, especially when the engine is cold. A quiet pump is a healthy pump. Replacing the fuel filter can sometimes resolve a noisy pump if the filter is restrictive.
- Fuel Leak: Obvious smell of fuel.
Troubleshooting: Inspect all fuel lines and connections for leaks. Fuel leaks are a serious fire hazard and should be addressed immediately. Replace any damaged hoses or connectors.
Cavitation: A Word of Caution
Cavitation is a phenomenon where vapor bubbles form inside the fuel pump due to low pressure. These bubbles collapse violently, causing noise, vibration, and damage to the pump internals. It's more likely to occur when the fuel level is low, the fuel filter is clogged, or the fuel pump is struggling to keep up with demand. Keeping the fuel tank reasonably full and maintaining a clean fuel filter will minimize cavitation risk.
Upgrading the Fuel Pump
If you're increasing the horsepower of your 240SX (e.g., turbocharging, engine swap), you'll likely need to upgrade the fuel pump to provide sufficient fuel flow. The stock fuel pump may not be able to keep up with the demands of a modified engine, leading to lean running conditions and potential engine damage.
When selecting an upgraded fuel pump, consider the following:
- Fuel Flow Rate: Measured in liters per hour (LPH) or gallons per hour (GPH). Choose a pump with a flow rate that exceeds your engine's maximum fuel demand. There are calculators online that can help you estimate this based on horsepower and BSFC (brake specific fuel consumption).
- Fuel Pressure: Ensure the pump can maintain the required fuel pressure at the specified flow rate. High-horsepower engines often require higher fuel pressure.
- Pump Type: Turbine pumps are generally preferred for their quiet operation and reliability.
- Fitment: Choose a pump that is compatible with your 240SX fuel tank and fuel system. Some pumps are designed to be direct replacements, while others may require modification.
- Fuel Compatibility: If you plan on using E85 or other alternative fuels, ensure the pump is compatible.
Commonly used upgrade options for the 240SX include the Walbro 255 LPH pump, AEM 320 LPH pump, and DeatschWerks DW200/DW300 series pumps. Remember that you might also need to upgrade the fuel injectors and fuel lines to handle the increased fuel flow. It's generally a good idea to consult with a performance shop or tuner to determine the best fuel system components for your specific application.
Installation Tips
Here are some tips to keep in mind when working on your 240SX fuel pump assembly:
- Safety First: Disconnect the battery and work in a well-ventilated area. Fuel fumes are flammable and can be hazardous. Have a fire extinguisher nearby.
- Drain the Tank: If possible, drain as much fuel as possible from the tank before removing the fuel pump assembly. This will make the job easier and cleaner.
- Cleanliness is Key: Keep the area around the fuel tank clean to prevent debris from entering the fuel system.
- Use New Seals and O-Rings: Replace any old or damaged seals and O-rings to prevent fuel leaks.
- Proper Wiring: Ensure all electrical connections are clean and secure. Use the correct gauge wire and crimp connectors.
- Test Before Reassembly: Before fully reassembling the fuel tank, test the fuel pump to ensure it's working properly and that there are no leaks.
- Torque Specifications: Always use the correct torque specifications when tightening fuel lines and fittings. Over-tightening can damage the components.
By following these guidelines, you can confidently diagnose and repair or upgrade your Nissan 240SX fuel pump assembly, ensuring your engine gets the fuel it needs to perform at its best. Good luck!