Nissan 240sx S13 Rocket Bunny Kit
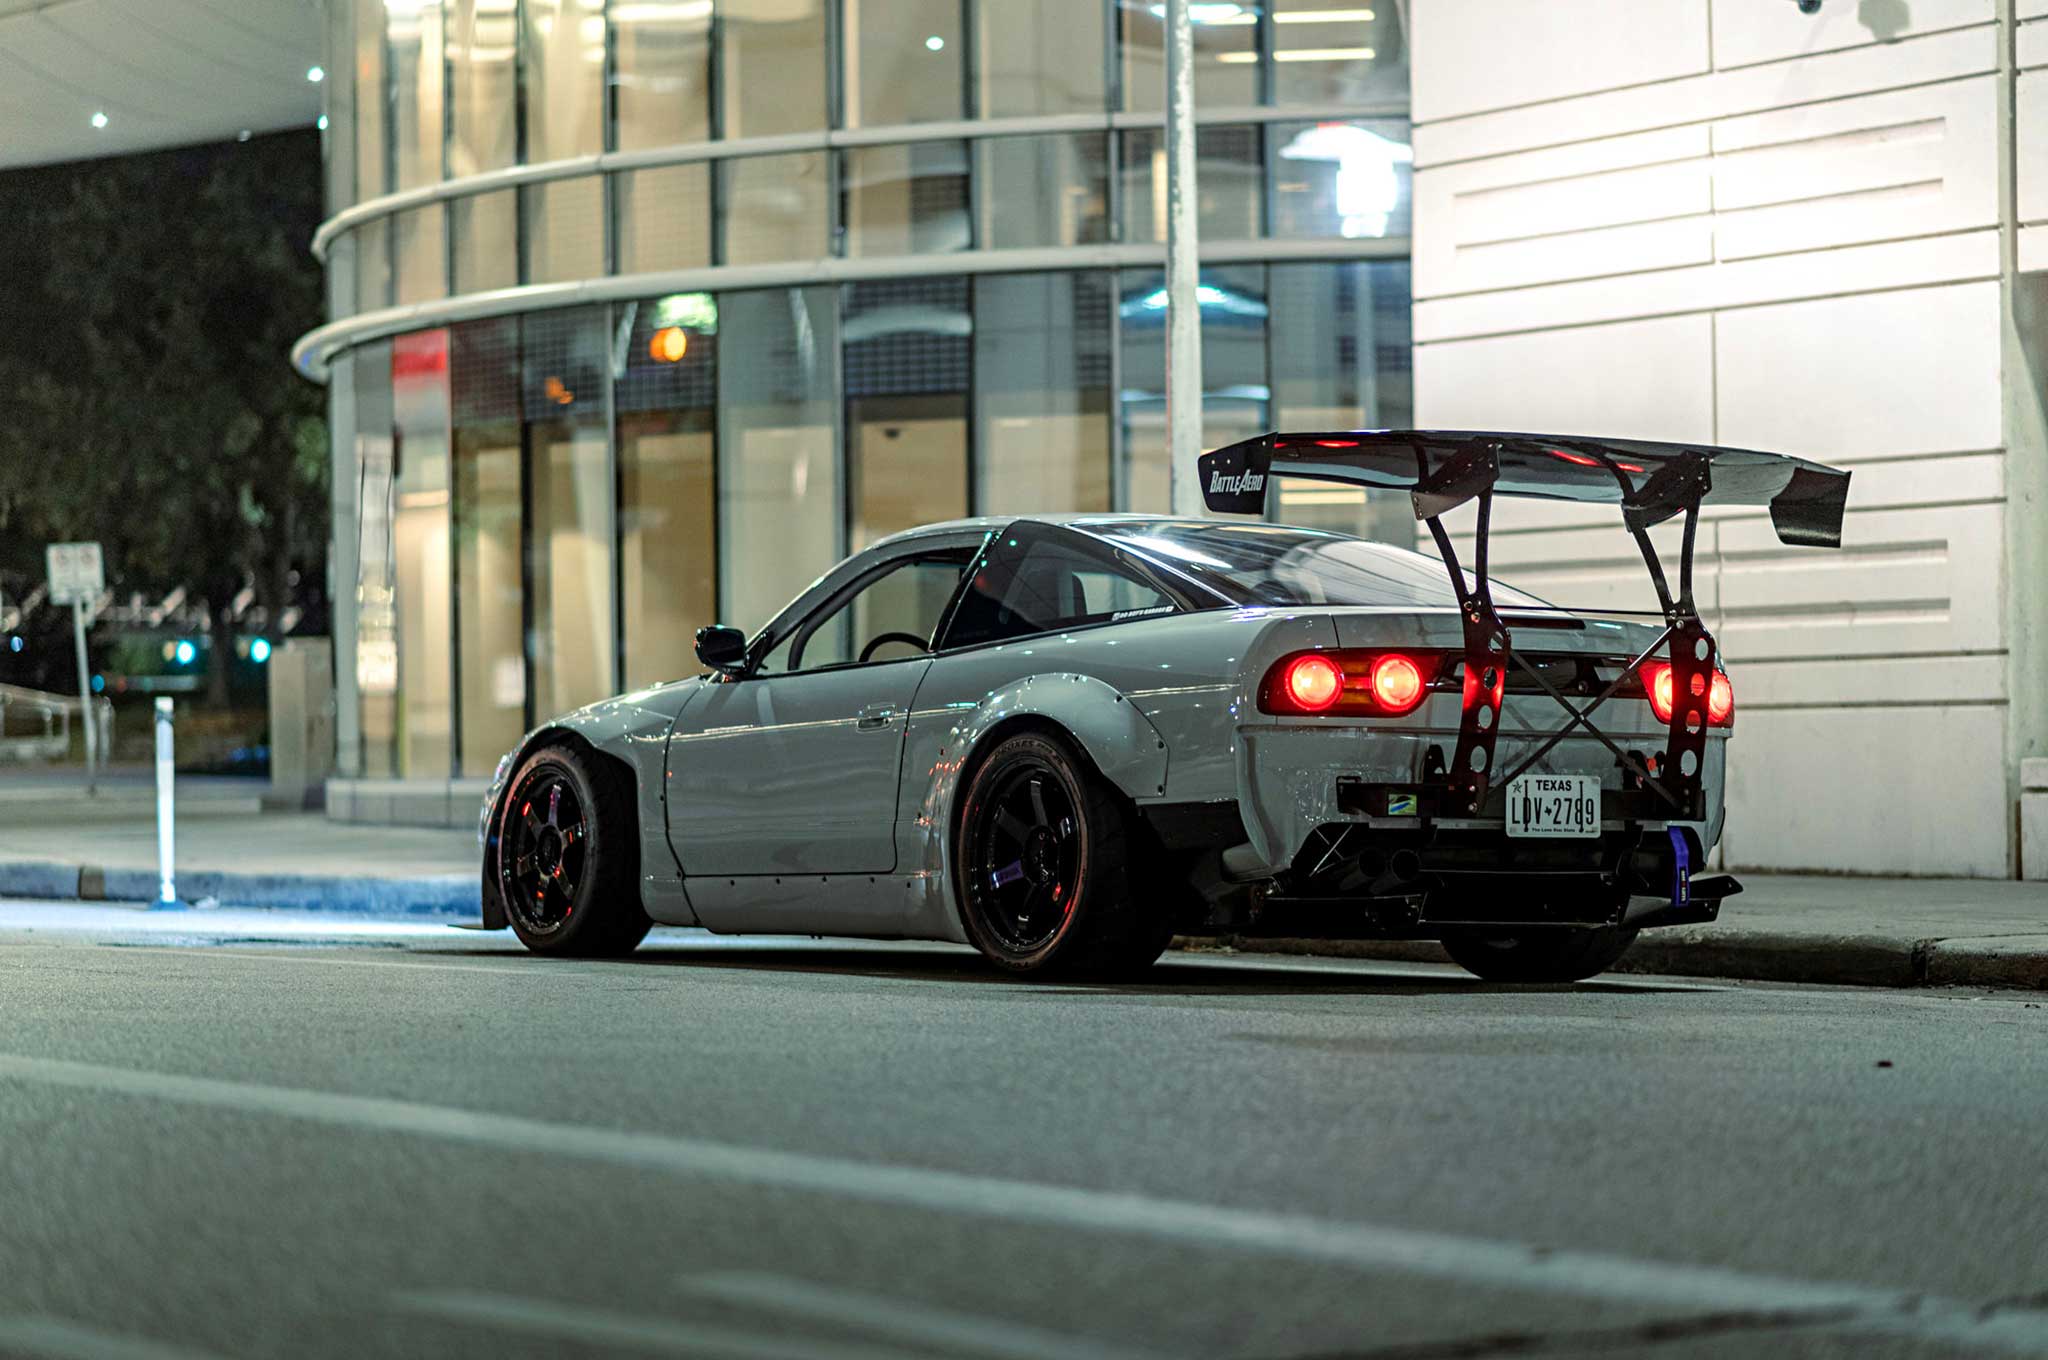
So, you've taken the plunge and adorned your Nissan 240SX S13 with the iconic Rocket Bunny kit. Congratulations! It's a fantastic aesthetic upgrade that transforms the car's appearance. However, installing and living with a widebody kit like the Rocket Bunny isn't always a walk in the park. Let's address some common challenges owners face and provide practical solutions.
Problem 1: Initial Kit Fitment and Alignment
This is often the biggest hurdle. Rocket Bunny kits, while visually stunning, are known for requiring significant effort to achieve perfect fitment. They're not always "bolt-on" in the truest sense. Expect to spend considerable time massaging, trimming, and adjusting.
Solution: Patience, Precision, and Professional Help
First, understand that rushing this process will lead to frustration and potentially a less-than-ideal final product. Patience is key. Here's a breakdown of the steps and considerations:
- Dry Fitting: Before even thinking about adhesive or fasteners, dry-fit all pieces. This means temporarily attaching them to the car using clamps, tape, or even a helping hand. This is where you'll identify problem areas. Look for gaps, areas where the kit interferes with existing body panels, and any general misalignment.
- Trimming and Sanding: Use a die grinder, rotary tool (like a Dremel), or even sandpaper to carefully trim excess material. Start small! You can always remove more, but you can't put it back. Focus on areas where the kit is rubbing against existing panels or preventing proper closure of doors or the hood. A good quality body filler can address minor gaps or imperfections.
- Panel Alignment: The S13's chassis can sometimes be slightly tweaked, especially on older cars. This can make aligning the Rocket Bunny panels even more difficult. Consider using shims or spacers to compensate for minor discrepancies. Pay close attention to the door lines, hood line, and trunk line. The goal is to achieve consistent gaps and smooth transitions.
- Professional Body Shop Consultation: If you're struggling, don't hesitate to consult with a professional body shop experienced in widebody kit installations. They have the tools and expertise to handle complex fitment issues, including potentially modifying the underlying bodywork. This will add to the cost (expect anywhere from $500 to $2000+ depending on the complexity), but it can be a worthwhile investment for a high-quality result.
Tools Needed:
- Clamps (various sizes and types)
- Masking tape
- Die grinder or rotary tool with cutting and sanding attachments
- Sandpaper (various grits)
- Body filler
- Measuring tape
- Level
- Shim stock
Problem 2: Securing the Kit Properly
Once you're happy with the fitment, you need to securely attach the Rocket Bunny panels to the car. This typically involves a combination of adhesives and fasteners.
Solution: High-Quality Adhesives and Rivets/Bolts
Cheap adhesives will fail. Invest in a high-quality body panel adhesive specifically designed for automotive use. 3M is a popular and reliable brand. Here's the process:
- Surface Preparation: Thoroughly clean and degrease both the Rocket Bunny panel and the corresponding area on the car body. Use wax and grease remover. Sanding the surfaces lightly can also improve adhesion.
- Adhesive Application: Apply the adhesive evenly to both surfaces. Follow the manufacturer's instructions regarding cure time and application thickness.
- Clamping: Clamp the panel firmly in place while the adhesive cures. Use plenty of clamps to ensure even pressure.
- Rivet/Bolt Installation: Many Rocket Bunny kits are designed to be secured with rivets or bolts, especially along the fender flares. Use stainless steel hardware to prevent rust. Drill pilot holes carefully to ensure accurate placement. Consider using fender washers to distribute the load and prevent the fasteners from pulling through the fiberglass. Countersunk rivets or bolts provide a cleaner, more flush finish.
Important Considerations:
- Existing Mounting Points: Utilize any existing mounting points on the car body whenever possible. This will provide added strength and stability.
- Stress Points: Reinforce areas that are subject to high stress, such as the leading edge of the fender flares. You can use additional layers of fiberglass or metal brackets to provide extra support.
- Accessibility: Plan ahead for future maintenance. Ensure that you can still access important components, such as brake lines or suspension components, after the kit is installed.
Tools Needed:
- Wax and grease remover
- Sandpaper
- Body panel adhesive
- Clamps
- Drill
- Riveter or wrench set
- Stainless steel rivets/bolts
- Fender washers
Problem 3: Paint Matching and Finishing
A poorly painted Rocket Bunny kit can ruin the entire look. Getting a perfect paint match and a flawless finish is crucial.
Solution: Professional Paint Job and Proper Preparation
Unless you're an experienced automotive painter, this is best left to the professionals. Here's why:
- Paint Matching: A professional paint shop can accurately match the existing paint on your 240SX. They'll use a spectrophotometer to analyze the color and create a custom blend.
- Surface Preparation: Proper surface preparation is essential for a durable and long-lasting paint job. This includes sanding, priming, and filling any imperfections in the fiberglass.
- Application Technique: Achieving a smooth and even finish requires specialized equipment and techniques. Professional painters use spray guns and booths to control the application process.
- Clear Coat: A high-quality clear coat will protect the paint from UV damage and provide a glossy finish.
Approximate Cost: Expect to pay anywhere from $1000 to $5000+ for a professional paint job on a Rocket Bunny kit, depending on the size of the kit, the complexity of the paint job, and the quality of the materials used.
DIY Considerations (Proceed with Caution):
If you're determined to paint the kit yourself, here are some tips:
- Use Automotive-Grade Paint: Don't use cheap spray paint from a hardware store. Invest in automotive-grade paint and clear coat.
- Prepare the Surface Thoroughly: Sand, prime, and fill any imperfections.
- Practice Your Technique: Practice spraying on a scrap piece of material before painting the actual kit.
- Apply Multiple Thin Coats: Avoid applying thick coats, which can lead to runs and sags.
- Wear a Respirator: Protect yourself from harmful fumes.
Problem 4: Increased Tire Rub and Suspension Issues
The widebody kit allows for wider wheels and tires, but it can also introduce new tire rub issues and potentially strain the suspension.
Solution: Proper Wheel Offset, Suspension Tuning, and Fender Rolling
- Wheel Offset: Choosing the correct wheel offset is crucial to prevent tire rub. Measure carefully and consult with a wheel specialist to determine the optimal offset for your specific wheel and tire setup. Negative offset pushes the wheel further out, which is typically required to fill the wide fenders.
- Suspension Tuning: The wider stance can affect the car's handling. Consider upgrading your suspension with coilovers or adjustable shocks and springs. This will allow you to fine-tune the ride height and damping characteristics to optimize handling and minimize tire rub. Adjustable camber plates can also help dial in the camber angle to clear the fenders.
- Fender Rolling/Pulling: Even with the correct wheel offset and suspension tuning, you may still experience some tire rub, especially on lowered cars. Fender rolling involves using a specialized tool to bend the inner fender lip upward, creating more clearance for the tires. Fender pulling involves widening the fender arch. This requires more skill and can potentially damage the paint, so it's best left to a professional.
- Inner Fender Liner Modification: You may need to trim or remove portions of the inner fender liners to prevent rubbing.
Tools Needed:
- Measuring tape
- Fender roller
- Heat gun
- Wrench set
- Socket set
Problem 5: Maintaining the Kit's Appearance
Fiberglass can be susceptible to damage from UV exposure, impacts, and general wear and tear. Regular maintenance is essential to keep your Rocket Bunny kit looking its best.
Solution: Regular Cleaning, Waxing, and Prompt Repairs
- Regular Cleaning: Wash the kit regularly with mild soap and water. Avoid using harsh chemicals or abrasive cleaners.
- Waxing: Apply a coat of wax every few months to protect the paint from UV damage.
- Prompt Repairs: Address any chips, cracks, or scratches promptly. Small repairs are much easier and cheaper to fix than larger ones. A small fiberglass repair kit can be very handy.
- Garage Storage: When possible, store the car in a garage to protect it from the elements.
By addressing these common challenges and implementing the solutions outlined above, you can ensure that your Nissan 240SX S13 Rocket Bunny kit not only looks fantastic but also performs well and lasts for years to come. Remember to prioritize quality materials, patience, and professional help when needed. Good luck!