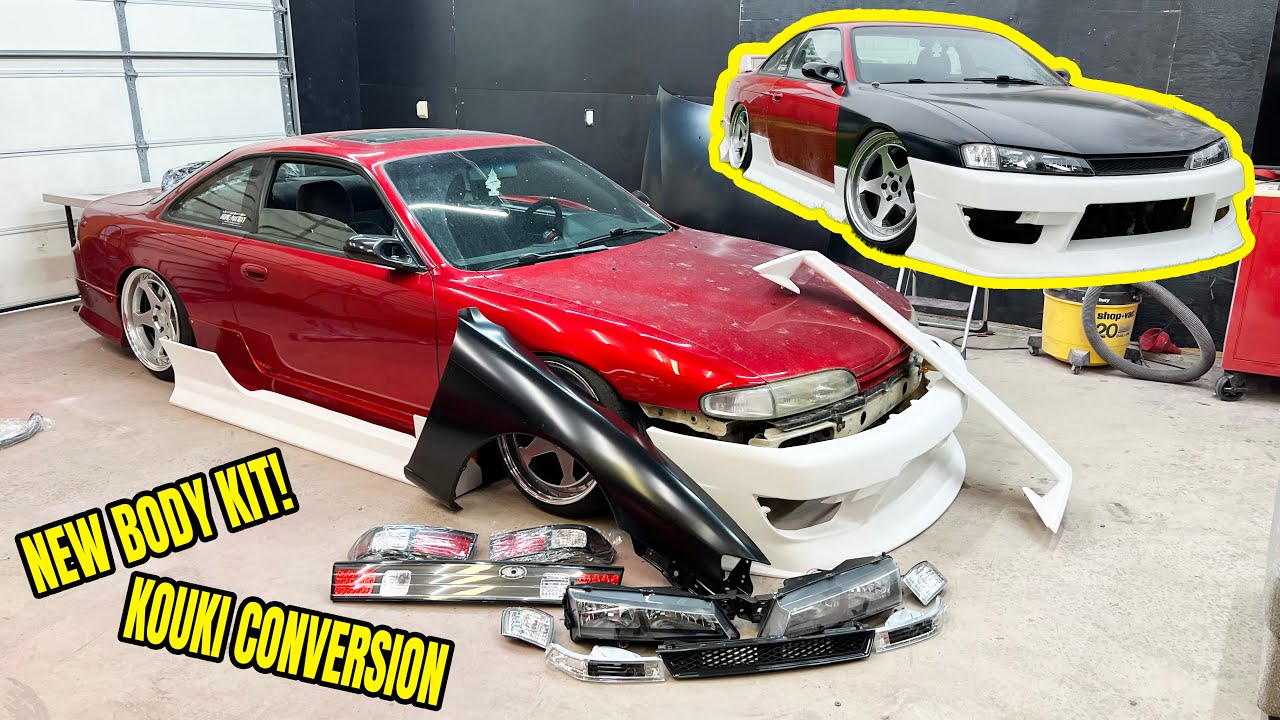
Nissan 240sx S14 Kouki Conversion Kit
So, you're thinking about giving your Nissan 240sx S14 a facelift, specifically the coveted Kouki look. Excellent choice! The Kouki rear end is arguably the most desirable for the S14 chassis, and a conversion can really elevate the aesthetics of your ride. However, it's not a simple bolt-on affair. This article will walk you through common issues encountered during a Kouki conversion, potential solutions, and some helpful tips to make the process smoother.
Common Conversion Challenges and Solutions
The Kouki conversion involves swapping the Zenki (1995-1996) rear end components with those from the Kouki (1997-1998) model. This primarily includes the taillights, center panel, and rear bumper. Sounds straightforward, right? Let's delve into the areas where things can get tricky.
Wiring Woes
One of the most common hurdles is the wiring harness incompatibility. The Zenki and Kouki taillights use different connectors and wiring configurations. Attempting to simply plug the Kouki taillights into the Zenki harness will result in non-functional lights or even short circuits. Don't do it!
Solution: You have a few options here. The cleanest approach is to acquire a Kouki rear wiring harness. This will allow for a true plug-and-play installation. You'll need to source this from a donor Kouki or from aftermarket suppliers specializing in JDM parts. Alternatively, you can splice and re-pin your existing Zenki harness to match the Kouki wiring diagram. This requires meticulous attention to detail and a solid understanding of automotive wiring. Consult a wiring diagram (readily available online) and double-check your connections to prevent issues. A multimeter is your best friend here!
Pro Tip: Before cutting any wires, test each connection with a multimeter to confirm its function. Label each wire clearly with masking tape and a marker to avoid confusion. Shrink tubing is essential for protecting your splices from the elements and preventing corrosion.
Approximate Cost: A used Kouki wiring harness can range from $150-$300, depending on condition and availability. Splicing materials (wire, connectors, shrink tubing) will cost around $30-$50. Labor costs for professional wiring can vary significantly, but expect to pay anywhere from $200-$500 depending on the complexity of the job and the shop's hourly rate.
Fitment Fiascos
While the Kouki parts are designed for the S14 chassis, achieving perfect fitment isn't always guaranteed. You might encounter gaps or misalignments, particularly around the taillights and the bumper.
Solution: First, ensure you have all the necessary mounting brackets and hardware. Sometimes, these are missing from used conversion kits. Check parts diagrams to confirm you have everything. Second, patience is key! Loosely install all the components and then gradually tighten the bolts, making small adjustments as you go. You may need to gently massage or shim certain areas to achieve a flush fit. Body panel alignment tools can be helpful here.
Pro Tip: Don't overtighten the bolts! This can warp the panels and make the fitment worse. Use a torque wrench and follow the factory torque specifications. If you're struggling with alignment, consider seeking the help of a body shop professional. They have the tools and expertise to ensure a seamless fit.
Approximate Cost: Missing brackets can cost $20-$50 each. Body shop labor for fitment adjustments can range from $100-$300, depending on the severity of the issues.
Rust and Corrosion
Let's face it; many S14s are getting up there in age, and rust can be a significant concern, especially in areas prone to moisture like the rear of the car. Rust around the mounting points for the taillights and bumper can compromise the integrity of the conversion and lead to further problems down the line.
Solution: Thoroughly inspect the rear of your S14 for any signs of rust *before* starting the conversion. Address any rust issues immediately. This may involve removing the rust, treating the affected area with a rust converter, and applying a protective coating. For severe rust, welding in new metal might be necessary. Ignoring rust will only lead to more extensive and costly repairs in the future.
Pro Tip: Use a wire brush or a rust removal tool to thoroughly clean the affected areas. Apply a rust converter according to the manufacturer's instructions. Consider using a seam sealer to prevent water from entering the seams and promoting further rust. Regularly inspect and maintain the undercarriage of your car to prevent rust from forming in the first place.
Approximate Cost: Rust removal tools and materials can cost $50-$100. Welding repairs can range from $200-$500 or more, depending on the extent of the damage. Professional rust repair can be quite expensive, highlighting the importance of preventative maintenance.
Bumper Support and Hardware
The rear bumper mounts to a bumper support, and it's crucial to ensure that your existing support is compatible with the Kouki bumper. Missing or damaged hardware can also hinder the installation process.
Solution: Compare your Zenki bumper support to the Kouki support. While they are similar, subtle differences can affect fitment. If necessary, acquire a Kouki bumper support. Make sure you have all the required bolts, nuts, and clips for securing the bumper. Missing hardware can often be sourced from Nissan or aftermarket suppliers.
Pro Tip: When removing the old bumper, carefully inspect the mounting hardware for any signs of damage or corrosion. Replace any damaged hardware with new parts. Consider using anti-seize compound on the threads to prevent corrosion and make future removal easier.
Approximate Cost: A used Kouki bumper support can range from $50-$100. Hardware kits can cost $20-$40.
Center Panel Alignment
The center panel that sits between the taillights can sometimes be tricky to align perfectly. Gaps or uneven spacing can detract from the overall appearance of the conversion.
Solution: The center panel is usually held in place by clips and screws. Loosen all the fasteners and gently adjust the panel until it's properly aligned. Check the condition of the clips; damaged clips can prevent the panel from sitting flush. Replace any damaged clips. You may also need to use shims or spacers to achieve the desired alignment.
Pro Tip: Use masking tape to temporarily hold the panel in place while you're making adjustments. This will help prevent it from shifting and make the process easier. Step back and visually inspect the alignment from different angles to ensure it's even and symmetrical.
Approximate Cost: Replacement clips are typically inexpensive, costing a few dollars each. Shims and spacers can be purchased for a few dollars as well.
Tools You'll Need
To tackle a Kouki conversion, you'll need a basic set of tools, including:
- Socket set and wrenches
- Screwdrivers (Phillips and flathead)
- Pliers
- Wire cutters and strippers
- Crimping tool
- Multimeter
- Torque wrench
- Rust removal tools (wire brush, rust converter)
- Masking tape
- Marker
- Heat gun or lighter (for shrink tubing)
- Body panel alignment tools (optional)
Final Thoughts
A Kouki conversion can significantly enhance the appearance of your S14, but it's important to be prepared for potential challenges. By understanding the common issues and having a solid plan, you can navigate the conversion process with confidence and achieve a professional-looking result. Remember to prioritize safety, take your time, and don't hesitate to seek professional help when needed. Good luck with your conversion!