Nissan 240sx Tail Light Conversion
So, you're thinking about a tail light conversion on your Nissan 240sx? Or maybe you're already elbow-deep in the project and have hit a snag. Either way, you've come to the right place. This article will cover common issues encountered during 240sx tail light conversions and provide practical solutions to help you get the job done right. We'll look at everything from wiring headaches to fitment problems, and even touch on some aesthetic considerations.
Why Convert Your 240sx Tail Lights?
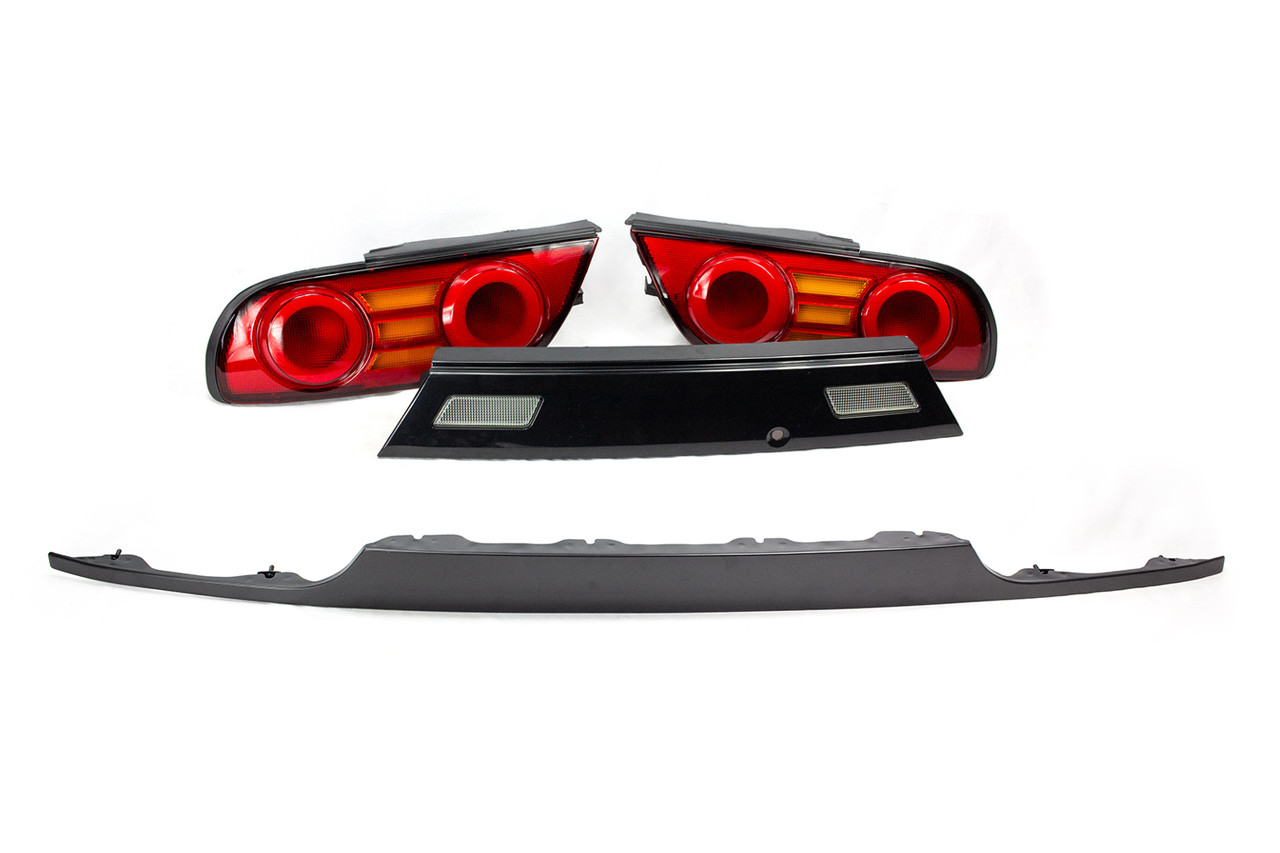
Before we dive into the solutions, let's quickly cover why people opt for tail light conversions in the first place. The stock 240sx tail lights, while iconic in their own right, can start to look dated. A tail light conversion can dramatically modernize the car's rear end. Popular options include:
- S14 tail lights on an S13 (and vice-versa).
- Aftermarket LED tail lights with a more aggressive or modern design.
- JDM-style tail lights.
Beyond aesthetics, some conversions offer improved visibility, especially with LED options. However, these benefits come with potential challenges, which we'll address now.
Common Problems & Solutions
1. Wiring Woes: The Dreaded Harness Mismatch
This is, without a doubt, the most common hurdle. Different tail light configurations have different wiring setups. A direct plug-and-play solution is rare, especially when swapping between generations or using aftermarket units. This means you'll likely need to modify the wiring harness.
The Problem: Different pinouts, incompatible connectors, and missing wires can lead to malfunctioning lights, blown fuses, or even damage to your electrical system.
The Solution:
- Identify the Pinouts: First, you need wiring diagrams for both your original tail lights and the new tail lights you're installing. These diagrams will show you which wire corresponds to which function (brake light, turn signal, reverse light, etc.). A quick Google search for "240sx [Year] tail light wiring diagram" and "[New tail light] wiring diagram" should get you started.
- Use a Multimeter: A multimeter is your best friend here. Use it to verify which wire does what on your existing harness. Don't trust wire colors alone, as they can vary over time and with aftermarket modifications.
- Create a Conversion Harness: The cleanest and most reliable method is to create a conversion harness. This involves using connectors that match your original harness and splicing them to the wires of the new tail lights. This allows you to easily revert to the original setup if needed. You can buy universal wiring harness kits specifically for tail light conversions.
- Splicing & Soldering: If a conversion harness isn't feasible, you'll need to splice the wires directly. Always use proper splicing techniques. Crimp connectors can work, but soldering and heat-shrinking is the superior method for a secure and long-lasting connection.
- Resistors for LEDs: If you're switching to LED tail lights, you might need to add resistors to prevent hyper-flashing (turn signals blinking too quickly). LEDs draw less current than traditional bulbs, which can confuse the car's flasher relay. Resistors mimic the load of a traditional bulb, resolving the issue.
Tools Needed: Wiring diagrams, multimeter, wire stripper, crimper (if using crimp connectors), soldering iron, solder, heat shrink tubing, heat gun, electrical tape, wire cutters, wire connectors (if not soldering).
Approximate Cost: $20-$50 for wiring supplies (connectors, wire, heat shrink, solder). Resistors are typically inexpensive, around $5-$10 for a pair.
2. Fitment Frustrations: When Things Just Don't Line Up
Even if the wiring is perfect, you might encounter fitment issues. This is more common with aftermarket tail lights, especially cheaper ones.
The Problem: Gaps, misaligned mounting points, and rubbing against the body can detract from the look of your conversion and potentially cause damage.
The Solution:
- Test Fit Before Wiring: Always test fit the tail lights before you start any wiring. This allows you to identify fitment issues early on.
- Adjust Mounting Points: Sometimes, the mounting points on the tail lights or the car's body need slight adjustments. You might be able to bend or file them slightly. Be careful not to damage the plastic or metal.
- Use Spacers: If there are gaps between the tail lights and the body, you can use spacers to fill them. Rubber washers or custom-made spacers can work well.
- Consider Professional Installation: If the fitment is significantly off, you might want to consider professional installation. A body shop can make the necessary modifications to ensure a proper fit.
- Quality Matters: In general, you get what you pay for. Investing in higher-quality tail lights from reputable brands often reduces the risk of fitment problems.
Tools Needed: Screwdrivers, sockets, wrenches, pliers, file, spacers (washers, etc.), potentially body tools for more significant adjustments.
Approximate Cost: Varies greatly depending on the extent of the fitment issues. Simple adjustments might only require a few dollars worth of hardware. Professional bodywork can cost several hundred dollars.
3. Sealing Issues: Preventing Water Damage
Once your tail lights are installed, it's crucial to ensure they're properly sealed. Water intrusion can damage the lights themselves and cause rust inside the car.
The Problem: Leaks around the tail lights can lead to water damage, electrical shorts, and corrosion.
The Solution:
- Inspect the Gaskets: Most tail lights have gaskets that seal them against the car's body. Inspect these gaskets for damage or wear. Replace them if necessary.
- Use Silicone Sealant: A thin bead of silicone sealant around the edges of the tail lights can provide an extra layer of protection. Use a high-quality automotive silicone sealant.
- Check for Leaks: After installation, test for leaks by spraying the tail lights with a hose. Check inside the trunk for any signs of water intrusion.
- Drain Holes: Ensure any drain holes in the tail light housings are clear and unobstructed.
Tools Needed: Silicone sealant, caulking gun (optional), rags, hose.
Approximate Cost: $10-$20 for silicone sealant.
4. Aesthetic Considerations: Blending Style with Function
Finally, consider the overall aesthetic of your conversion. While a new set of tail lights can look great, it's important to ensure they complement the rest of the car's design.
The Problem: Tail lights that clash with the car's overall style can look out of place and detract from its appearance.
The Solution:
- Consider Your Car's Style: Do you have a clean, subtle look or a more aggressive, modified style? Choose tail lights that match.
- Color Matching: If possible, choose tail lights that complement your car's paint color.
- Research and Examples: Look online for examples of 240sxs with different tail light conversions. This can give you a better idea of what will look good on your car.
Tools Needed: Your eyeballs and a keen sense of style!
Approximate Cost: The cost of good taste is priceless (but seriously, this is free!).
Parting Thoughts
A tail light conversion on your 240sx can be a rewarding project, but it's important to be prepared for potential challenges. By understanding the common problems and having the right tools and knowledge, you can successfully complete the conversion and give your car a fresh, updated look. Remember to take your time, double-check your work, and don't be afraid to ask for help if you get stuck. With a little patience and effort, you'll be cruising with those new tail lights in no time!
Disclaimer: Modifying your vehicle can affect its safety and performance. Consult with a qualified mechanic before making any significant modifications. The information provided in this article is for informational purposes only and should not be considered professional advice.