Nissan Altima Rear Speakers Not Working
Alright, so your Nissan Altima's rear speakers have gone silent. It's a common problem, and thankfully, often fixable without a trip to the dealership. This article will guide you through diagnosing and addressing the most likely causes, assuming you have a decent understanding of automotive electrical systems and basic troubleshooting skills. We'll cover everything from simple checks to more involved procedures like testing with a multimeter and understanding amplifier functions. Remember, safety first! Disconnect the negative battery terminal before working on any electrical components.
Initial Checks: The Low-Hanging Fruit
Before diving into complex diagnostics, let's eliminate the obvious issues. These are quick and easy and can save you a lot of time.
1. Fader Setting
This might sound silly, but you'd be surprised. Make sure the fader setting on your head unit isn't accidentally set all the way to the front speakers. Access your head unit's audio settings and ensure the fader is centered or biased towards the rear. A simple accidental nudge could be the culprit. Also, check the balance control in case it's affecting rear output.
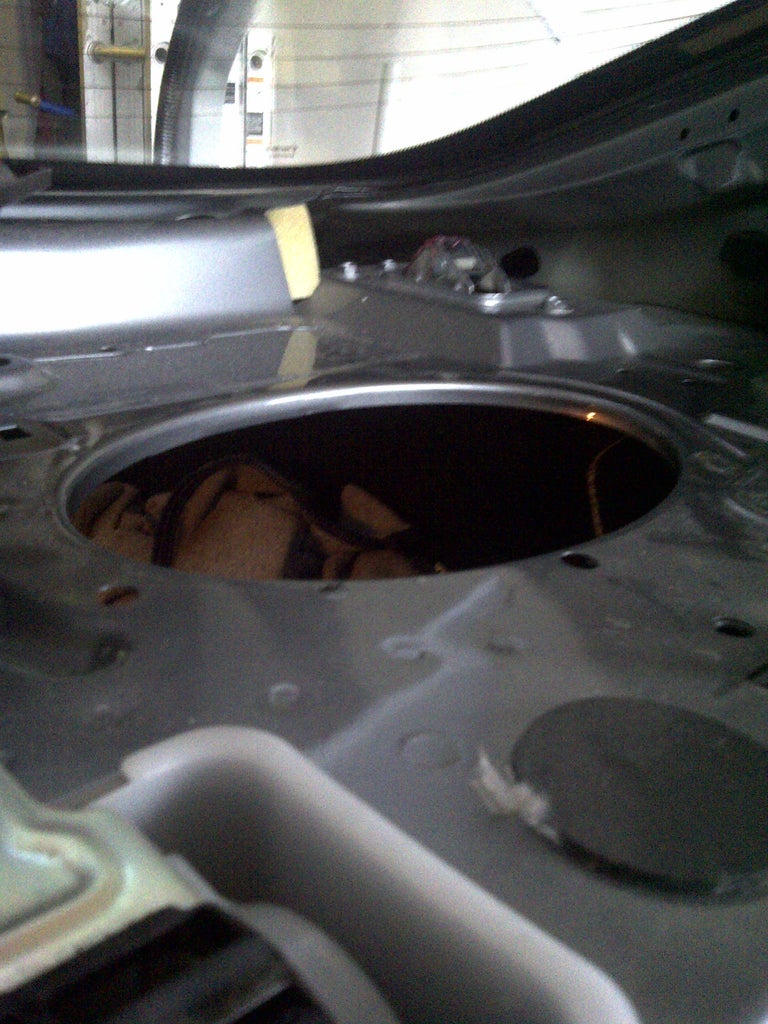
2. Speaker Wire Connections (Visual Inspection)
Check the speaker wire connections at the speakers themselves. Accessing the rear speakers typically involves removing interior trim panels. Refer to your Altima's service manual or online resources for specific instructions on removing these panels without damaging them. Look for loose, corroded, or disconnected wires. Pay close attention to the polarity – the positive (+) and negative (-) terminals. If a wire has come loose, reconnect it securely. If corrosion is present, clean the terminals with a wire brush and apply dielectric grease to prevent future corrosion.
3. Head Unit Wiring (Basic Check)
While less common, a loose connection at the back of the head unit could also be the problem. Removing the head unit requires specific tools and knowledge to avoid damaging the dashboard. Again, consult your service manual. Once you have access, visually inspect the wiring harness connected to the head unit. Look for any loose wires, damaged connectors, or signs of burning. Gently tug on each wire to ensure it's securely connected to the connector.
Deeper Dive: Electrical Diagnostics
If the initial checks don't resolve the issue, it's time to break out the multimeter and start testing the electrical circuits. This requires understanding basic electrical concepts like voltage, current, and resistance.
1. Speaker Continuity Test
A speaker is essentially a coil of wire. Over time, this coil can break, resulting in an open circuit and no sound. Use a multimeter set to the Ohms setting (resistance). Disconnect the speaker wires from the head unit or amplifier (depending on your Altima's setup – see below). Place the multimeter probes across the speaker terminals. A healthy speaker will typically show a reading between 4 and 8 Ohms. An open circuit (infinite resistance, often displayed as "OL" or "1" on the multimeter) indicates a blown speaker. A very low resistance (close to 0 Ohms) indicates a shorted speaker, which can also cause problems.
Important: If you find a blown speaker, replace it with a speaker of the correct impedance (usually 4 Ohms). Using a speaker with the wrong impedance can damage your amplifier or head unit.
2. Testing for Voltage at the Speaker Wires
This test checks if the head unit or amplifier is sending a signal to the speakers. Reconnect the speaker wires to the head unit or amplifier. Set your multimeter to AC Voltage mode (alternating current). Turn on the head unit and play some music. Place the multimeter probes across the speaker wires at the speaker location. You should see a fluctuating AC voltage reading that varies with the music's volume. If you don't see any voltage, the problem likely lies upstream (head unit, amplifier, or wiring).
3. Checking the Speaker Wires for Shorts
A short circuit occurs when a wire accidentally makes contact with the vehicle's chassis (ground). This can prevent the signal from reaching the speaker. Set your multimeter to Continuity mode (usually indicated by a diode symbol or a sound). Disconnect the speaker wires from both the head unit/amplifier and the speaker. Place one multimeter probe on one of the speaker wires and the other probe on a clean, unpainted metal part of the car's chassis. Repeat for the other speaker wire. If the multimeter indicates continuity (a beep or a reading close to 0 Ohms), there is a short to ground in that wire. You'll need to trace the wire along its entire length to find the location of the short.
Tip: Look for areas where the wire might be pinched or rubbing against metal, such as near door hinges or under seats.
Understanding Amplification: Factory vs. Aftermarket
The presence and type of amplifier in your Altima's audio system significantly impact the troubleshooting process. Here's a breakdown:
1. Factory Amplified Systems
Some Altima models come with a factory amplifier, often located under the driver's or passenger's seat, or behind the rear seats. If your Altima has a factory amplifier, the head unit sends a low-level signal to the amplifier, which then boosts the signal and sends it to the speakers. If the rear speakers are not working, the amplifier could be the problem.
To test the amplifier, locate it and check the power, ground, and signal input wires. Use a multimeter to verify that the amplifier is receiving power and ground. Check the signal input wires to see if the head unit is sending a signal to the amplifier (use AC voltage test). If the amplifier is receiving power and signal but not sending a signal to the rear speakers, the amplifier is likely faulty and needs to be replaced or repaired.
Furthermore, locate the speaker output from the amplifier. Perform the voltage test to see if an output is present when music is playing. This isolates the problem to either the amplifier or the wiring leading to the speaker.
2. Aftermarket Amplifiers
If you have an aftermarket amplifier, the troubleshooting process is similar to a factory amplifier. However, the wiring and connections may be different. Consult the amplifier's manual for specific wiring diagrams and troubleshooting information. Also, ensure the amplifier's gain settings are properly adjusted. If the gain is set too low, the rear speakers may not receive enough signal to produce sound.
Also, check the remote turn-on wire. This wire sends a 12V signal from the head unit to the amplifier when the head unit is turned on. If this wire is disconnected or damaged, the amplifier will not turn on.
3. Head Unit Powered Systems
In some Altima models, the head unit directly powers the speakers without an external amplifier. In this case, the head unit itself is the likely source of the problem. If you've ruled out wiring and speaker issues, the head unit may have a faulty internal amplifier for the rear channels.
Troubleshooting Specific Scenarios
Scenario 1: Only One Rear Speaker is Not Working
This suggests a problem specific to that speaker or its wiring. Focus on the speaker continuity test and the wiring between the speaker and the amplifier (or head unit). Check for loose connections, shorts, or open circuits in that specific speaker wire.
Scenario 2: Both Rear Speakers are Not Working
This points to a problem that affects both speakers, such as the fader setting, a problem with the amplifier's rear channel output, or a wiring issue common to both rear speakers (e.g., a loose connector near the amplifier or head unit).
Scenario 3: Speakers Worked Before, But Stopped After Recent Work
If the speakers stopped working after you installed a new head unit, amplifier, or performed other work on the car's electrical system, carefully review your work. Check all wiring connections to ensure they are correct and secure. Double-check the wiring diagrams for your specific Altima model and the aftermarket components you installed. A common mistake is miswiring the speaker outputs or the remote turn-on wire.
Final Thoughts and Considerations
Troubleshooting audio problems can be frustrating, but with a systematic approach and the right tools, you can often diagnose and fix the issue yourself. If you're not comfortable working with electrical systems, it's always best to consult a qualified automotive technician. They have the expertise and equipment to diagnose complex problems quickly and efficiently.
Important Reminder: Always disconnect the negative battery terminal before working on any electrical components to prevent short circuits and electrical shock. Use caution when working with tools and follow safety procedures.