Nissan Altima Water Leak Passenger Side
The dreaded passenger-side water leak in a Nissan Altima. It's a common complaint, a source of frustration for owners, and a surprisingly complex problem to diagnose and rectify. Unlike a simple hose failure, these leaks often stem from a confluence of factors related to the vehicle's design, sealing materials, and environmental exposure. Let's dissect the common causes and explore the diagnostic process step-by-step.
Understanding the Altima's Water Management System
Before diving into specific leak points, it's crucial to understand how the Altima (and most modern vehicles) *intentionally* manages water. Rainwater, car wash spray, and even condensation from the air conditioning system are all part of the equation. Vehicles are designed with various drainage channels and pathways to direct this water away from the passenger compartment. When these pathways become clogged or compromised, the stage is set for a leak.
The Key Players: Drainage Channels and Seals
Several key areas are crucial for water management:
- Windshield and Cowl Area: The area beneath the windshield, known as the cowl, is a major collection point for rainwater. Drainage holes here, often located near the base of the windshield or near the wiper motor, are notorious for becoming clogged with leaves, pine needles, and other debris. A blocked cowl drain can cause water to back up and overflow into the cabin.
- Sunroof Drains (if equipped): Sunroofs have their own dedicated drainage system. Typically, four drains are located in the corners of the sunroof frame, connected to hoses that run down the A, B, or C pillars. These hoses can become disconnected, kinked, or clogged, leading to water intrusion into the headliner and eventually down the pillars and onto the floor.
- Door Seals and Weather Stripping: The rubber seals around the doors, windows, and trunk are the primary defense against water entering the cabin. These seals can degrade over time due to UV exposure, temperature fluctuations, and general wear and tear. Cracks, tears, or compression set in the seals can create pathways for water to seep in.
- HVAC System Condensation Drain: The air conditioning system generates a significant amount of condensation. A drain tube, usually located under the vehicle near the firewall, is responsible for channeling this water away. A clogged or disconnected AC drain can result in water backing up into the passenger footwell.
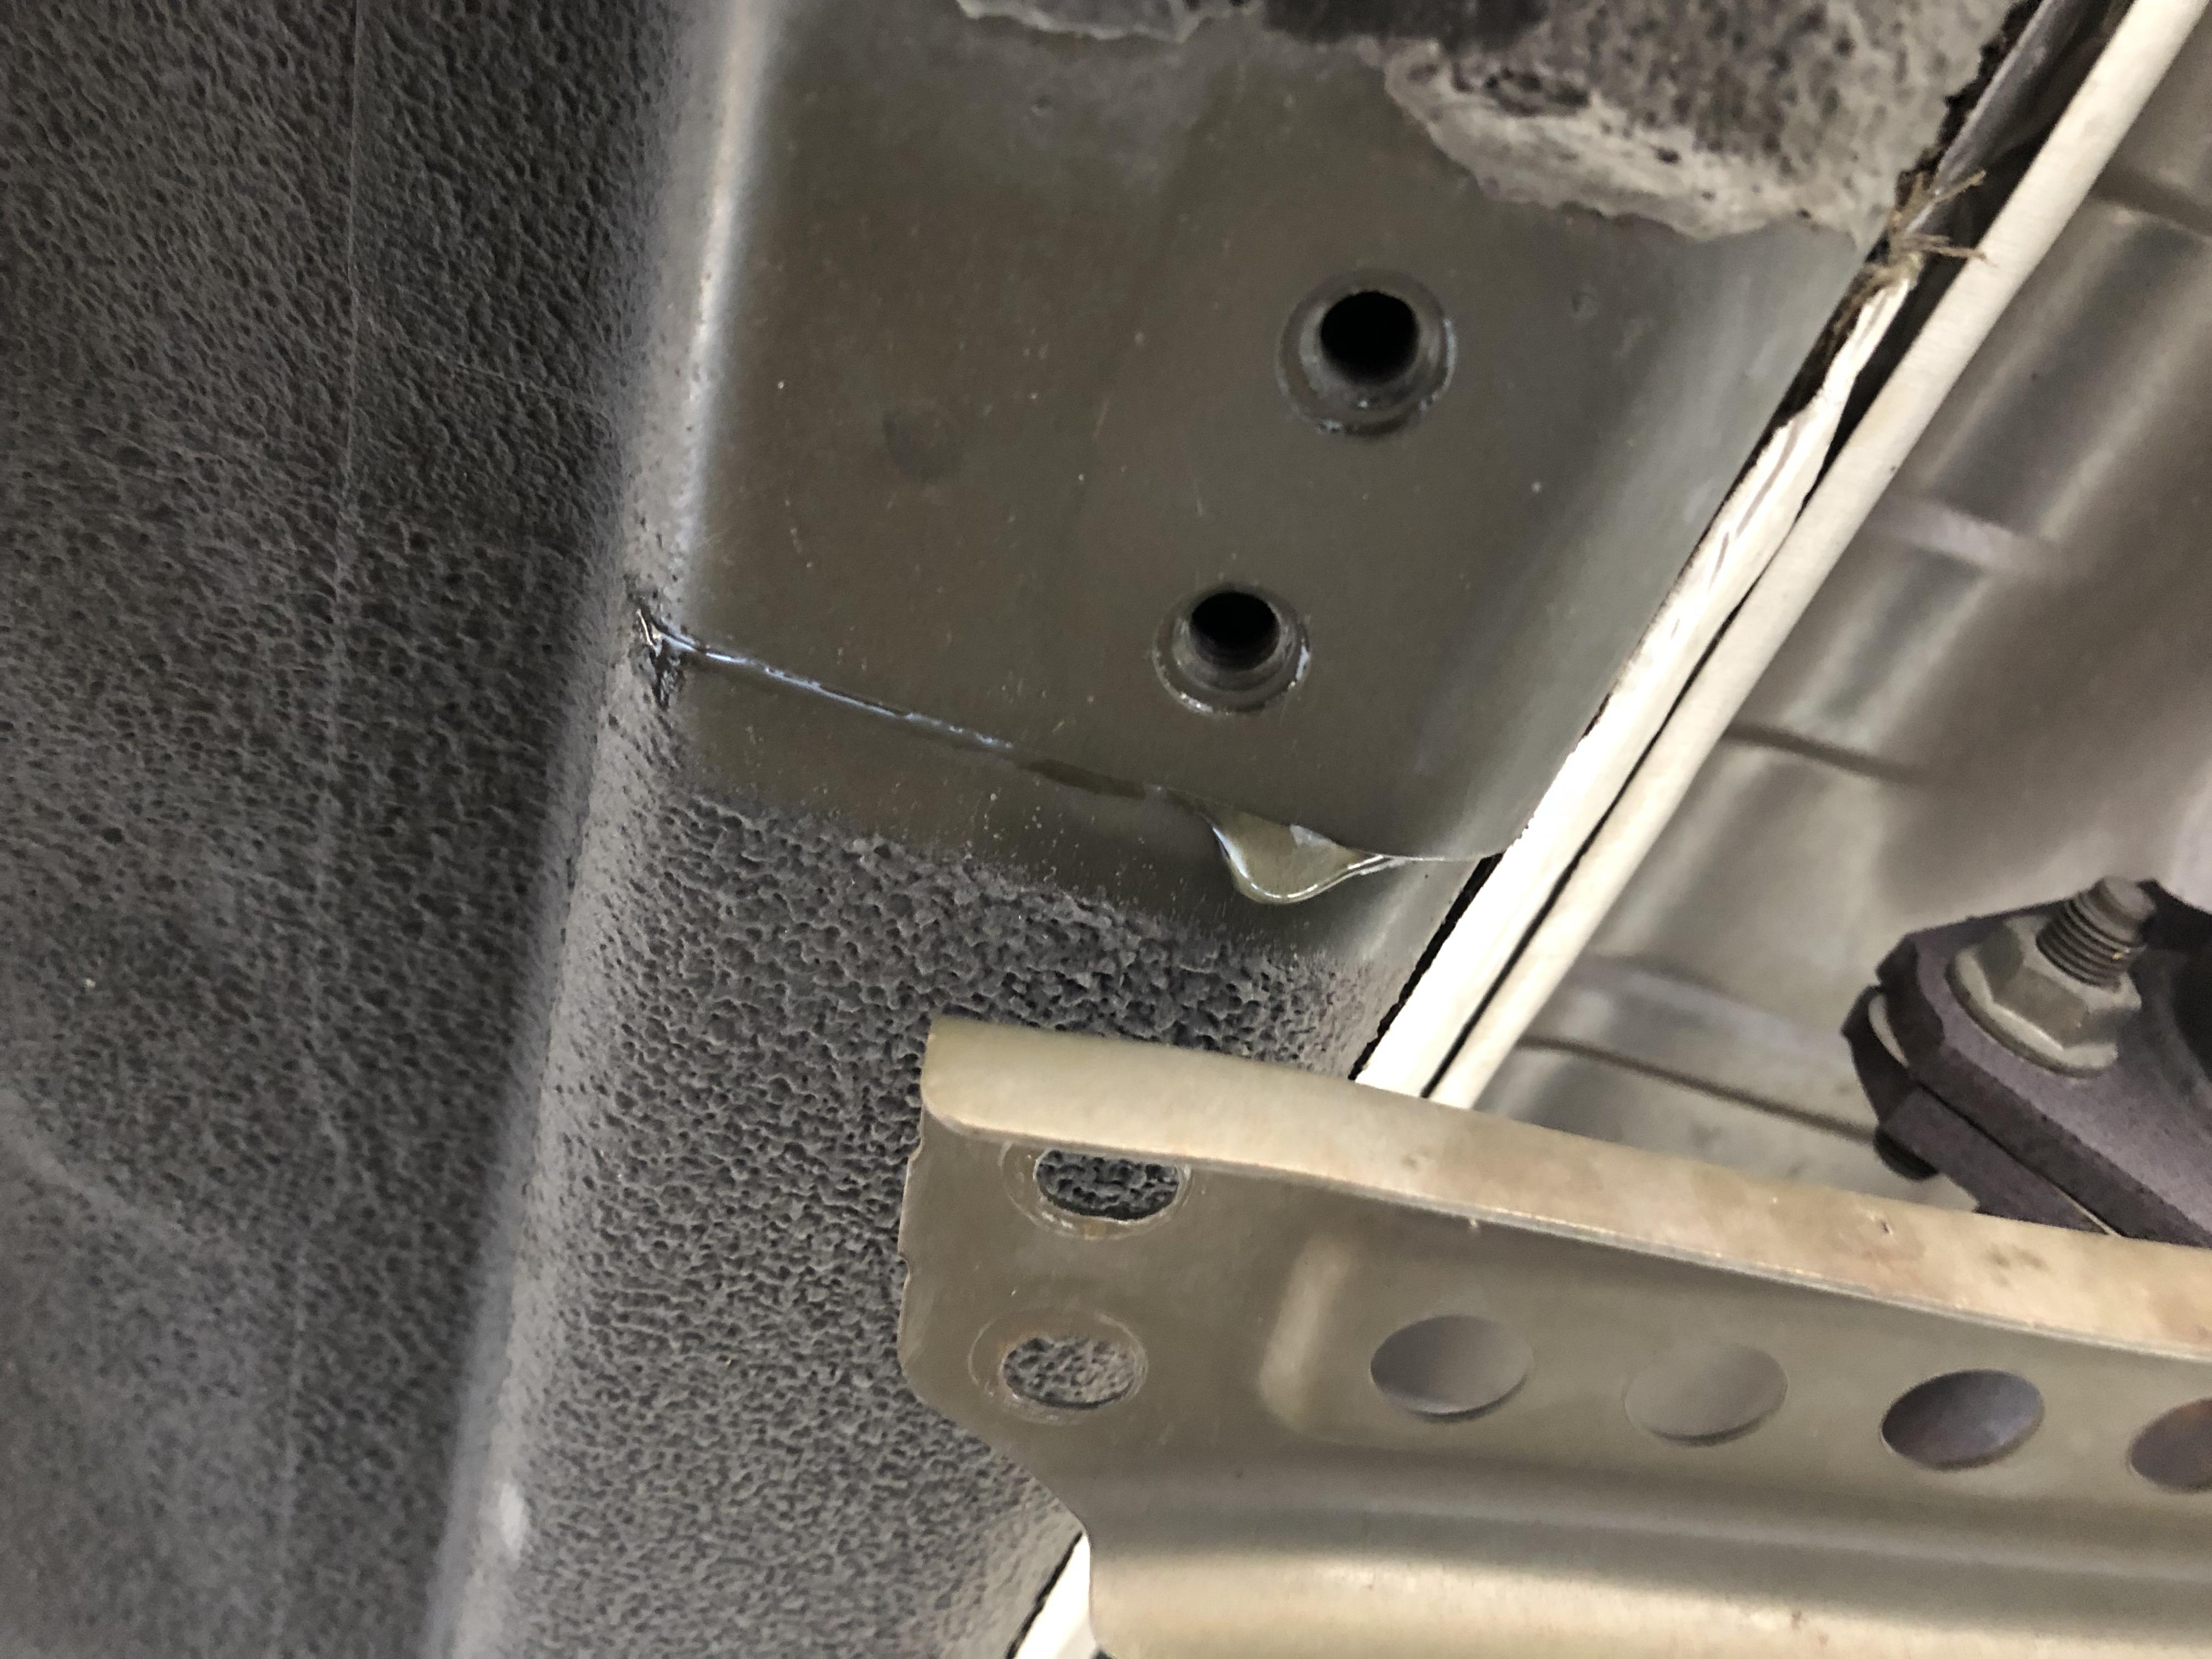
- Firewall Penetrations: The firewall, which separates the engine compartment from the passenger cabin, has numerous penetrations for wiring harnesses, cables, and hoses. These penetrations are typically sealed with rubber grommets, which can dry out and crack over time, allowing water to enter.
Diagnosing the Passenger-Side Water Leak
Finding the source of a water leak requires a systematic approach. Here's a breakdown of the diagnostic process:
1. Visual Inspection: The First Line of Defense
Start with a thorough visual inspection of the passenger-side interior. Look for:
- Water stains on the floor mats or carpets: Note the location and extent of the stains. This can provide clues about the general area of the leak.
- Dampness or moldy smell: A musty odor is a telltale sign of moisture intrusion.
- Water droplets or puddles: Look under the dashboard, along the A-pillar, and in the footwell for any visible water.
- Discoloration or damage to interior trim: Water can leave behind stains and damage to interior panels.
Next, inspect the exterior:
- Cowl area: Remove the plastic cowl cover and inspect the drainage holes for clogs. Clean out any debris you find.
- Door seals and weather stripping: Examine the seals for cracks, tears, or signs of damage. Pay close attention to the corners and areas where the seals are bent or compressed.
- Sunroof (if equipped): Open the sunroof and inspect the drainage channels for debris. You may need to use a small tool, such as a pipe cleaner or compressed air, to clear any blockages. Exercise caution to avoid damaging the sunroof mechanism.
- AC drain: Locate the AC drain tube under the vehicle near the firewall and ensure it is not blocked. You can use a piece of wire to gently probe the drain and dislodge any obstructions.
2. The Water Test: Pinpointing the Source
If the visual inspection doesn't reveal the source of the leak, you'll need to perform a water test. This involves carefully pouring water onto different areas of the vehicle and observing where it enters the cabin.
- Start with the Windshield and Cowl: Slowly pour water onto the windshield, focusing on the lower corners and the area near the cowl. Observe the passenger-side footwell for any signs of water intrusion. If you see water entering, the leak is likely related to the windshield seal or the cowl drainage.
- Test the Sunroof (if equipped): With the sunroof closed, pour water into the sunroof drainage channels. Observe the A-pillar, headliner, and passenger-side footwell for leaks. If you see water, the sunroof drain hose is likely disconnected, kinked, or clogged.
- Isolate the Doors and Windows: Have someone spray water onto the passenger-side door and window while you observe the interior. Pay close attention to the seals around the door frame and the window glass. If you see water seeping in, the door seals or window seals are likely compromised.
- Check the Firewall Penetrations: This is a more difficult test, as it requires access to the firewall behind the dashboard. However, if you suspect a firewall leak, you can try spraying water onto the firewall from the engine compartment and observing the interior for water intrusion.
Important Tip: Use a garden hose with a gentle spray nozzle to avoid overwhelming the drainage system. Work methodically and isolate each area to accurately pinpoint the leak source.
3. The Dye Test: When Precision is Needed
For particularly elusive leaks, a dye test can be helpful. This involves adding a UV-reactive dye to the water and using a UV light to trace the path of the water. The dye will glow under the UV light, making it easier to identify the exact point of entry.
Dye test kits are available at most auto parts stores. Follow the instructions carefully and use appropriate safety precautions when working with dyes and UV lights.
Common Leak Locations and Solutions
Based on experience and common reports, here are some of the most frequent culprits for passenger-side water leaks in Nissan Altimas:
- Clogged Cowl Drains: This is by far the most common cause. Solution: Clean out the cowl drains regularly. Remove the cowl cover and use a wire or compressed air to clear any blockages.
- Leaking Windshield Seal: The adhesive sealant around the windshield can degrade over time, allowing water to seep in. Solution: Reseal the windshield. This may require professional assistance, as it involves removing and reinstalling the windshield.
- Disconnected or Clogged Sunroof Drains: The sunroof drain hoses can become disconnected at the sunroof frame or at the drain outlet near the wheel wells. Solution: Reconnect or replace the drain hoses. Use compressed air to clear any clogs. You may need to remove interior trim panels to access the hoses.
- Degraded Door Seals: The rubber seals around the doors can crack, tear, or lose their shape over time. Solution: Replace the door seals. New seals are available at most auto parts stores or from your Nissan dealer.
- Leaking HVAC Condensation Drain: A clogged or disconnected AC drain can cause water to back up into the passenger footwell. Solution: Clear the AC drain tube. Use a wire or compressed air to dislodge any obstructions. Ensure the drain tube is properly connected to the HVAC housing.
Preventative Maintenance: Keeping the Water Out
The best way to deal with a water leak is to prevent it from happening in the first place. Here are some preventative maintenance tips:
- Regularly clean the cowl drains: Make it a habit to clean out the cowl drains at least twice a year, or more frequently if you park under trees.
- Inspect and maintain door seals: Check the door seals regularly for cracks, tears, or signs of damage. Clean the seals with a mild soap and water solution to remove dirt and grime. Apply a rubber protectant to help keep the seals supple and prevent cracking.
- Keep sunroof drains clear: If your Altima has a sunroof, periodically check the sunroof drains for clogs. Use a pipe cleaner or compressed air to clear any blockages.
- Check the AC drain: Periodically inspect the AC drain tube to ensure it is not blocked or disconnected.
By understanding the Altima's water management system, following a systematic diagnostic process, and performing regular preventative maintenance, you can effectively combat passenger-side water leaks and keep your vehicle's interior dry and comfortable. Remember, patience and attention to detail are key to successfully resolving these often-frustrating issues. Consult a qualified mechanic if you are uncomfortable performing any of these repairs yourself. Good luck!