Nissan Cvt Stepper Motor Replacement
The Continuously Variable Transmission (CVT) has become a staple in many modern vehicles, offering a smooth and efficient driving experience. While seemingly simple in operation, the inner workings of a CVT are surprisingly complex. A critical component responsible for precise ratio adjustments within these transmissions is the stepper motor. When a CVT exhibits symptoms like erratic shifting, a lack of power, or even complete immobility, a failing stepper motor is often the culprit. This article delves into the technical aspects of a Nissan CVT stepper motor replacement, providing a detailed understanding of the process and potential challenges.
Understanding the Nissan CVT and Stepper Motor Function
Before diving into the replacement procedure, it's crucial to understand the CVT's basic operation and the stepper motor's role. Unlike traditional automatic transmissions that rely on fixed gear ratios, a CVT uses a pair of variable-diameter pulleys connected by a belt or chain. By adjusting the diameter of these pulleys, the CVT can create an infinite range of gear ratios within its specified range. This allows the engine to operate at its most efficient RPM for any given speed and driving condition.
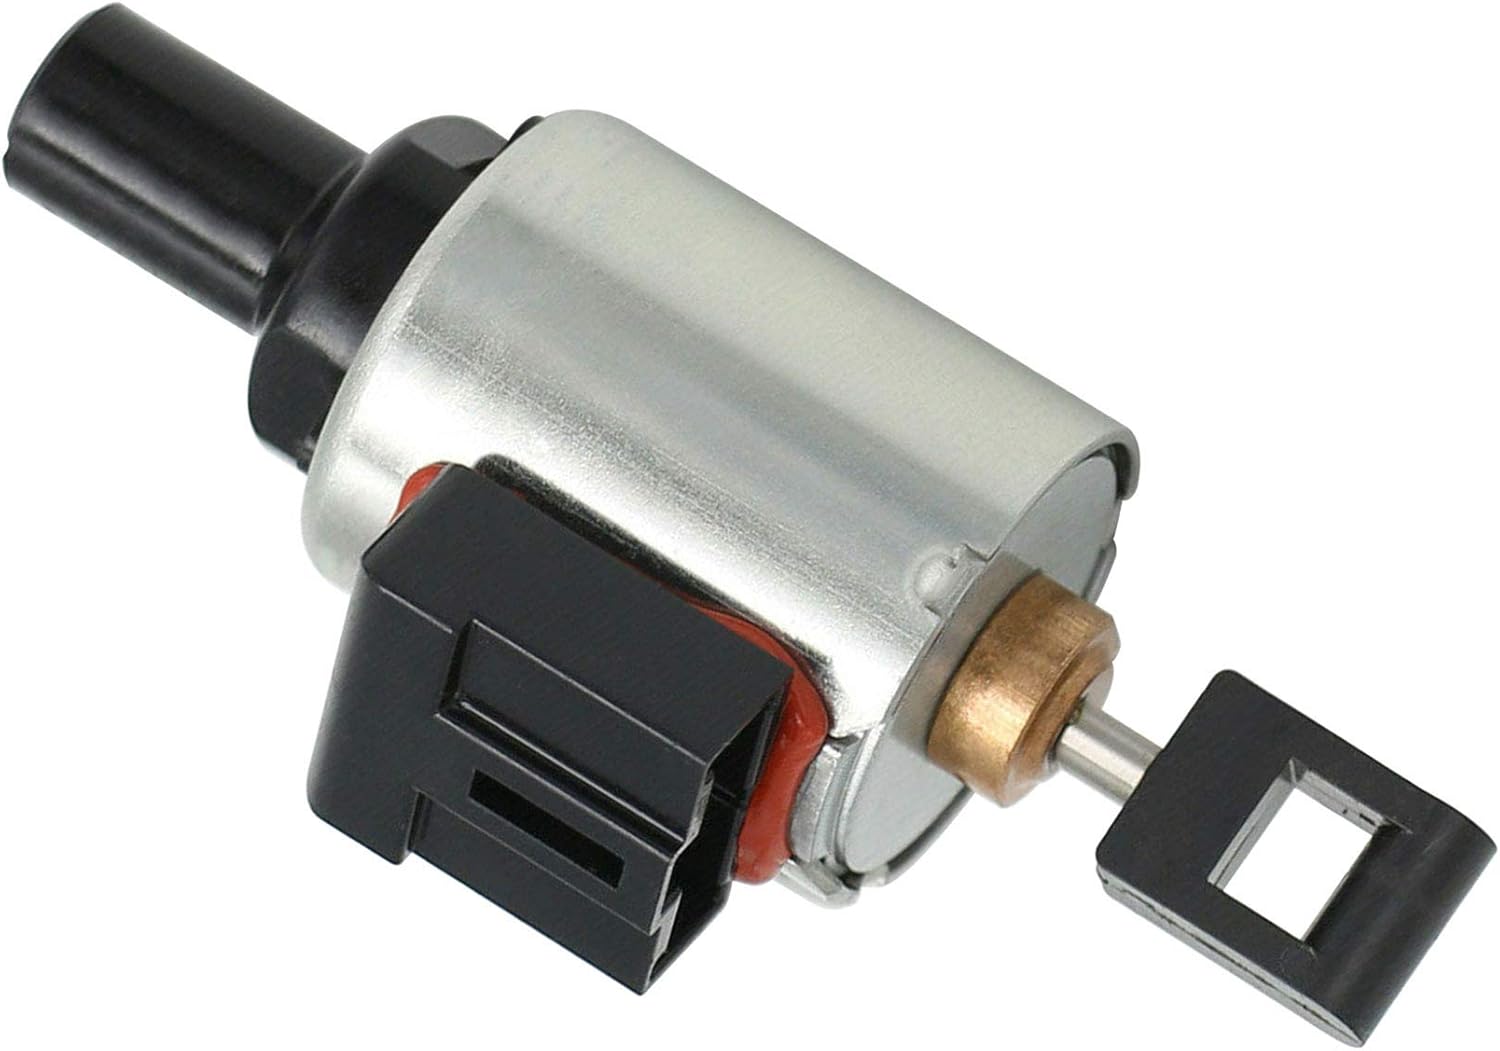
The stepper motor is the actuator responsible for controlling the position of one or both of these pulleys. It's essentially a rotary electric motor that moves in discrete steps. A control module, typically the Transmission Control Module (TCM), sends precise electrical pulses to the stepper motor. Each pulse causes the motor to rotate a specific angular distance. This rotation is then translated into linear movement that adjusts the pulley diameter, altering the transmission ratio. Think of it as a very precise and powerful positioning system.
Nissan CVTs, particularly those found in models like the Altima, Sentra, and Rogue, have been known to experience stepper motor failures over time. These failures can manifest in several ways:
- Erratic Shifting: The CVT may shift abruptly or hesitate before changing ratios.
- Lack of Power: The engine may struggle to accelerate, especially at higher speeds.
- Stalling: The engine may stall when coming to a stop.
- Transmission Slipping: The CVT may feel like it's slipping, with the engine revving without a corresponding increase in speed.
- Check Engine Light: The TCM will often store diagnostic trouble codes (DTCs) related to the stepper motor, such as P0725 (Engine Speed Sensor Circuit), P0776 (Pressure Control Solenoid "B" Performance or Stuck Off), or codes specifically referencing the stepper motor circuit.
Diagnosis and Preparation
Proper diagnosis is paramount before replacing the stepper motor. While the symptoms described above can point towards a faulty stepper motor, other issues within the CVT can mimic these problems. A thorough diagnostic procedure should include:
- Scanning for Diagnostic Trouble Codes (DTCs): Use a quality OBD-II scanner to retrieve any stored DTCs. Pay close attention to codes related to the transmission, engine speed sensors, and pressure control solenoids.
- Performing a Visual Inspection: Check the transmission wiring harness for any signs of damage, such as frayed wires or loose connectors. Inspect the transmission fluid for proper level and condition. Dark, burnt-smelling fluid indicates potential internal transmission damage.
- Testing the Stepper Motor Circuit: Using a multimeter, check the resistance of the stepper motor windings. Compare the readings to the manufacturer's specifications. Open circuits or short circuits within the windings indicate a faulty stepper motor. You may also be able to use an oscilloscope to examine the signals being sent to the stepper motor from the TCM. This can help determine if the TCM is functioning correctly.
- Monitoring Live Data: Use a scan tool to monitor the CVT's operating parameters in real-time. Pay attention to the engine speed, vehicle speed, and desired gear ratio. If the stepper motor is not responding correctly to commands from the TCM, it may indicate a problem.
- Considering Fluid Analysis: If there is suspicion of internal CVT damage, a fluid analysis can be performed to detect the presence of metal particles or other contaminants.
Once you've confirmed that the stepper motor is indeed the culprit, you can begin preparing for the replacement. Gather the necessary tools and materials:
- New Stepper Motor (OEM or reputable aftermarket brand)
- New CVT fluid (Nissan NS-2 or NS-3 depending on the vehicle)
- New Transmission Filter (highly recommended)
- Socket set and wrenches
- Torque wrench
- Screwdrivers (Phillips and flathead)
- Pliers
- Drain pan
- Funnel
- OBD-II scanner
- Safety glasses and gloves
- Jack and jack stands
- Wheel chocks
Stepper Motor Replacement Procedure
Safety First: Always prioritize safety. Disconnect the negative battery terminal before beginning any work on the electrical system. Use jack stands to support the vehicle securely. Wear safety glasses and gloves to protect yourself from potential hazards.
- Accessing the Stepper Motor: The location of the stepper motor varies slightly depending on the specific Nissan model and CVT type. In most cases, it is located on the side of the transmission case, often covered by a protective cover. You may need to remove the air filter housing or other components to gain access. Consult a repair manual specific to your vehicle for detailed instructions.
- Draining the CVT Fluid: Locate the CVT drain plug (typically on the bottom of the transmission pan). Place a drain pan underneath and remove the plug to drain the fluid. Allow the fluid to drain completely. Replace the drain plug with a new washer and torque to the manufacturer's specification.
- Removing the Transmission Pan (Optional, but recommended): Removing the transmission pan allows you to inspect the condition of the internal components and replace the transmission filter. Carefully remove the pan bolts, being mindful of any remaining fluid. Clean the pan thoroughly and install a new gasket or sealant.
- Disconnecting the Stepper Motor Wiring: Carefully disconnect the wiring harness connector from the stepper motor. Use a small screwdriver to release any retaining clips.
- Removing the Stepper Motor: The stepper motor is typically held in place by several bolts or screws. Remove these fasteners and carefully pull the stepper motor out of the transmission case. Take note of the orientation of the motor for reinstallation. There may be an O-ring or gasket that needs to be replaced.
- Installing the New Stepper Motor: Install the new stepper motor in the reverse order of removal. Ensure that the motor is properly seated and that the mounting bolts are tightened to the manufacturer's specified torque. Connect the wiring harness connector securely.
- Replacing the Transmission Filter (If applicable): Remove the old transmission filter and install the new filter. Make sure it is properly seated and secured.
- Reinstalling the Transmission Pan (If removed): Reinstall the transmission pan, using a new gasket or sealant. Torque the pan bolts to the manufacturer's specified torque.
- Refilling the CVT Fluid: Locate the CVT fill port (usually near the top of the transmission). Use a funnel to carefully add the correct amount of Nissan NS-2 or NS-3 CVT fluid. Refer to the vehicle's owner's manual or a repair manual for the correct fluid level.
- Checking the Fluid Level: After refilling the fluid, start the engine and let it idle for a few minutes. Shift through the gears (P, R, N, D) to allow the fluid to circulate. Check the fluid level using the dipstick (if equipped) or a specific procedure outlined in the repair manual. Add more fluid as needed.
- Clearing DTCs and Performing a CVT Calibration: Use the OBD-II scanner to clear any stored DTCs. Some vehicles may require a CVT calibration procedure after replacing the stepper motor. This procedure helps the TCM learn the characteristics of the new motor and optimize its performance. Refer to the repair manual for specific instructions.
- Test Driving the Vehicle: Take the vehicle for a test drive to ensure that the CVT is shifting smoothly and that there are no warning lights illuminated. Monitor the transmission temperature during the test drive to ensure that it is within the normal operating range.
Potential Challenges and Considerations
While the stepper motor replacement procedure is relatively straightforward, there are a few potential challenges to be aware of:
- Accessing the Stepper Motor: As mentioned earlier, accessing the stepper motor can be difficult in some vehicles. You may need to remove several components to gain access.
- CVT Fluid Level: Maintaining the correct CVT fluid level is critical for proper transmission operation. Overfilling or underfilling the fluid can lead to performance problems or even damage the transmission.
- CVT Calibration: Not all vehicles require a CVT calibration after replacing the stepper motor, but it is often recommended to ensure optimal performance.
- Internal Transmission Damage: If the stepper motor failure was caused by internal transmission damage, simply replacing the motor may not resolve the underlying problem. In such cases, a more comprehensive transmission repair or replacement may be necessary.
- Compatibility: Ensuring that you are using the correct stepper motor for your specific vehicle is crucial. Double-check the part number before installation.
Conclusion
Replacing a Nissan CVT stepper motor can be a manageable task for a mechanically inclined individual with the right tools and knowledge. By understanding the CVT's operation, carefully diagnosing the problem, and following the proper replacement procedure, you can potentially save a significant amount of money compared to having a professional perform the repair. However, it's important to remember that CVTs are complex systems, and if you're not comfortable working on them, it's always best to consult with a qualified technician. Furthermore, always use high-quality replacement parts and follow the manufacturer's specifications to ensure the longevity and reliability of your CVT.
Disclaimer: This guide is for informational purposes only and should not be considered a substitute for professional automotive advice. Always consult with a qualified technician before performing any repairs on your vehicle. The author is not responsible for any damages or injuries that may occur as a result of following the instructions in this guide.