Nissan Frontier Heater Core Replacement
Is your Nissan Frontier blowing cold air, even with the heater turned all the way up? Do you smell a sweet, syrupy odor inside your cab? These are common symptoms of a failing or leaking heater core. Replacing the heater core in a Nissan Frontier can seem daunting, but with the right tools, patience, and a good understanding of the process, it’s a manageable DIY project. This article will guide you through the process, providing helpful tips and insights to ensure a successful Nissan Frontier heater core replacement.
Understanding the Heater Core in Your Nissan Frontier
The heater core is a small radiator-like component located inside your vehicle's dashboard. Hot coolant from the engine circulates through the heater core. As air from the blower motor passes over the heated fins, it warms up and is then directed into the cabin, providing heat for you and your passengers. Over time, the heater core can corrode, become clogged, or develop leaks due to age, coolant quality, and even electrolysis. When this happens, it can lead to several issues:
- No Heat or Weak Heat: The most obvious symptom. A clogged or leaking core cannot effectively transfer heat.
- Sweet Antifreeze Smell: A leak inside the heater box allows coolant to escape, often producing a distinct sweet smell.
- Foggy Windows: Coolant leaking into the cabin can coat the windshield, making it difficult to see.
- Coolant Loss: You might notice a gradual decrease in your coolant level, even without visible external leaks.
- Wet Carpet: Coolant leaking from the heater core will eventually seep onto the floorboards, leaving the carpet wet and sticky, especially on the passenger side.
Is a Heater Core Replacement Necessary?
Before diving into the replacement, it's important to confirm that the heater core is indeed the problem. Rule out other potential causes of heating issues, such as a faulty thermostat, low coolant level, air in the cooling system, or a malfunctioning blend door actuator. A diagnostic check by a qualified mechanic can help you pinpoint the exact source of the problem. However, if you're experiencing multiple symptoms consistent with a failing heater core, replacement is often the best course of action.
Tools and Materials Needed for Nissan Frontier Heater Core Replacement
Gathering the right tools and materials beforehand will make the job much smoother. Here's a comprehensive list:
- New Heater Core: Make sure you purchase the correct heater core for your specific Nissan Frontier year and model.
- New Coolant: Use the type of coolant recommended for your vehicle.
- Socket Set: Including metric sizes, various extensions, and a ratchet.
- Screwdrivers: Both Phillips head and flathead screwdrivers.
- Pliers: For removing hoses and clamps.
- Trim Removal Tools: To safely remove interior trim panels without damage.
- Drain Pan: To catch coolant when draining the system.
- Shop Rags: Plenty of them, for cleaning up spills.
- Gloves: To protect your hands from coolant and sharp edges.
- Safety Glasses: To protect your eyes.
- Flashlight or Work Light: To illuminate the work area.
- Torque Wrench: To tighten bolts to the correct specifications.
- Optional: A digital camera or smartphone to take pictures of the disassembly process for reference.
Step-by-Step Guide to Replacing the Nissan Frontier Heater Core
Important Safety Precautions: Before starting, disconnect the negative battery cable to prevent electrical shorts. Allow the engine to cool completely before working on the cooling system. Coolant can be extremely hot and cause serious burns. Work in a well-ventilated area.
- Drain the Coolant: Locate the radiator drain petcock at the bottom of the radiator and open it to drain the coolant into a drain pan. You may also need to open the radiator cap to allow air to enter and facilitate draining.
- Remove Interior Components: This is the most time-consuming part of the process. You'll need to remove several interior components to access the heater core. This typically includes:
- Dashboard trim panels (using trim removal tools)
- The glove box
- The center console (partially or completely, depending on the model)
- Any ductwork that obstructs access to the heater box.
- The steering column (sometimes loosening or removing it provides more room, consult your service manual).
- Locate the Heater Box: The heater box is usually a plastic housing located behind the dashboard, often near the center console.
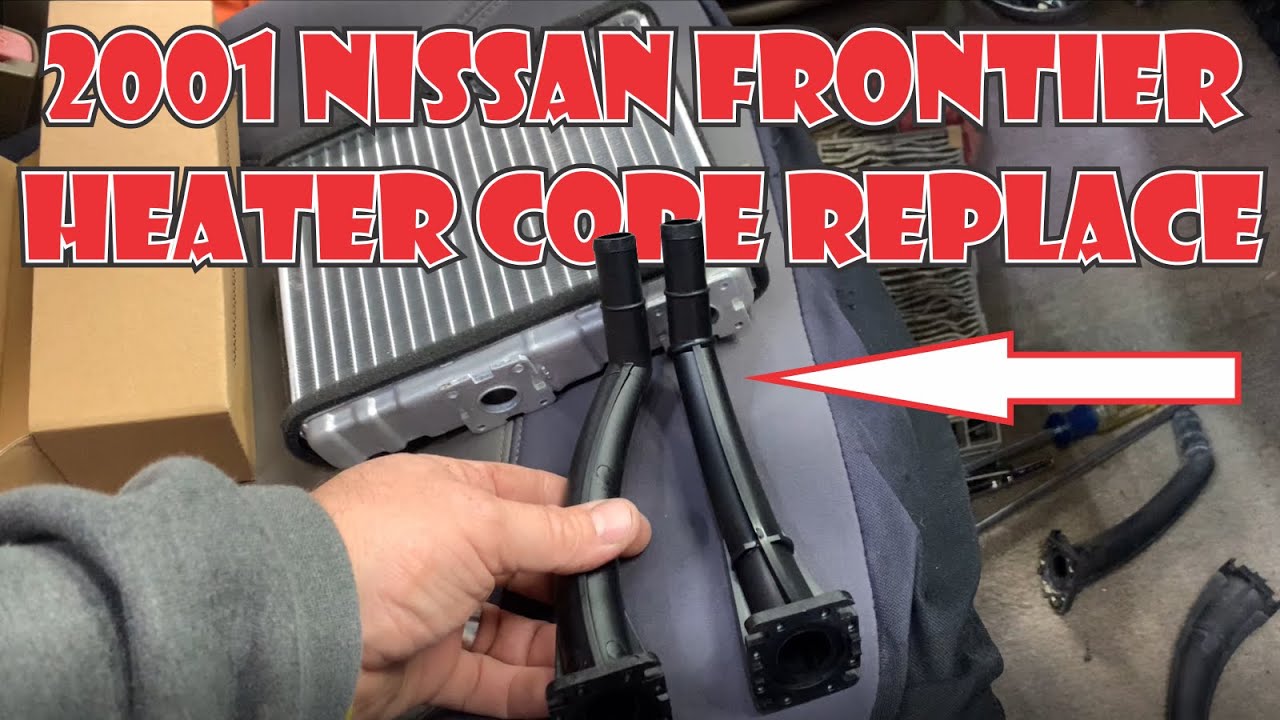
- Disconnect Heater Hoses: Locate the heater hoses connected to the heater core in the engine compartment. Use pliers to loosen the hose clamps and carefully disconnect the hoses. Some coolant will likely spill, so have rags ready. Be prepared for some residual coolant leakage!
- Remove the Heater Box: The heater box is typically held in place by screws or bolts. Remove these fasteners carefully. You may need to maneuver the heater box to detach it completely.
- Access the Heater Core: Once the heater box is removed, you'll need to open it to access the heater core. This usually involves removing screws or clips that hold the two halves of the box together.
- Remove the Old Heater Core: Carefully slide the old heater core out of the heater box.
- Install the New Heater Core: Slide the new heater core into the heater box, ensuring it's properly seated.
- Reassemble the Heater Box: Reassemble the heater box, making sure all screws or clips are securely fastened.
- Reinstall the Heater Box: Reinstall the heater box back into the vehicle, securing it with the screws or bolts you removed earlier.
- Reconnect Heater Hoses: Reconnect the heater hoses to the new heater core, making sure the hose clamps are properly tightened.
- Reinstall Interior Components: Reinstall all the interior components you removed in step 2, referring to your notes or photos for guidance. Double-check that all wiring harnesses are securely connected.
- Refill the Coolant: Refill the cooling system with fresh coolant. Follow the manufacturer's instructions for proper coolant mixture and filling procedures.
- Bleed the Cooling System: Bleeding the cooling system removes air pockets that can prevent proper circulation and heating. Consult your Nissan Frontier's service manual for the correct bleeding procedure. This often involves opening a bleeder valve while the engine is running.
- Test the System: Start the engine and let it run for a few minutes. Check for leaks around the heater hoses and the heater box. Turn on the heater and verify that it's blowing hot air. Monitor the coolant temperature gauge to ensure the engine is not overheating.
Tips for a Successful Nissan Frontier Heater Core Replacement
- Consult a Service Manual: A service manual specific to your Nissan Frontier year and model will provide detailed instructions, diagrams, and torque specifications. This is invaluable.
- Take Pictures: As mentioned earlier, taking pictures during disassembly can be a lifesaver during reassembly.
- Label Everything: Labeling wires, hoses, and connectors will prevent confusion.
- Organize Parts: Keep all the removed parts organized in separate containers or bags to avoid losing them.
- Don't Force Anything: If something doesn't seem to fit, double-check that you're using the correct parts and that everything is aligned properly. Forcing parts can cause damage.
- Tighten Bolts to Specifications: Use a torque wrench to tighten bolts to the correct specifications to prevent over-tightening or under-tightening.
- Flush the Cooling System: If your coolant was dirty or contaminated, consider flushing the entire cooling system before refilling it.
Professional Tip: Consider replacing the heater hoses and hose clamps at the same time you replace the heater core. These parts are often old and brittle, and replacing them now can save you from future problems.
When to Seek Professional Help
While replacing a heater core is a DIY project, it's not for everyone. If you're not comfortable working on your vehicle or if you're unsure about any of the steps, it's best to seek professional help. A qualified mechanic has the experience, tools, and knowledge to diagnose and repair heating system problems quickly and efficiently. Furthermore, some Nissan Frontier models require specialized tools or procedures, making professional assistance essential. Signs you should seek a professional include:
- You lack the necessary tools or experience.
- You encounter unexpected problems during the replacement.
- You're unable to bleed the cooling system properly.
- You suspect other underlying issues with the heating system.
Conclusion
Replacing the heater core in your Nissan Frontier is a challenging but rewarding project for the confident DIYer. By following these steps carefully and taking your time, you can restore heat to your vehicle and save money on labor costs. Remember to prioritize safety, consult a service manual, and don't hesitate to seek professional help if needed. With a little patience and effort, you can enjoy a warm and comfortable ride in your Nissan Frontier once again. A new heater core can breathe new life into your heating system!