Nissan Frontier License Plate Light
The humble license plate light, often overlooked, plays a crucial role in vehicle safety and legal compliance. For Nissan Frontier owners, understanding the functionality and components of this small system can prove beneficial for troubleshooting, maintenance, and even potential upgrades. This guide delves into the technical aspects of the Nissan Frontier's license plate light, covering its design, operation, common issues, and potential modifications.
Design and Components
The Nissan Frontier's license plate light system, generally consistent across model years (though minor variations may exist), is relatively simple. It primarily consists of the following key elements:
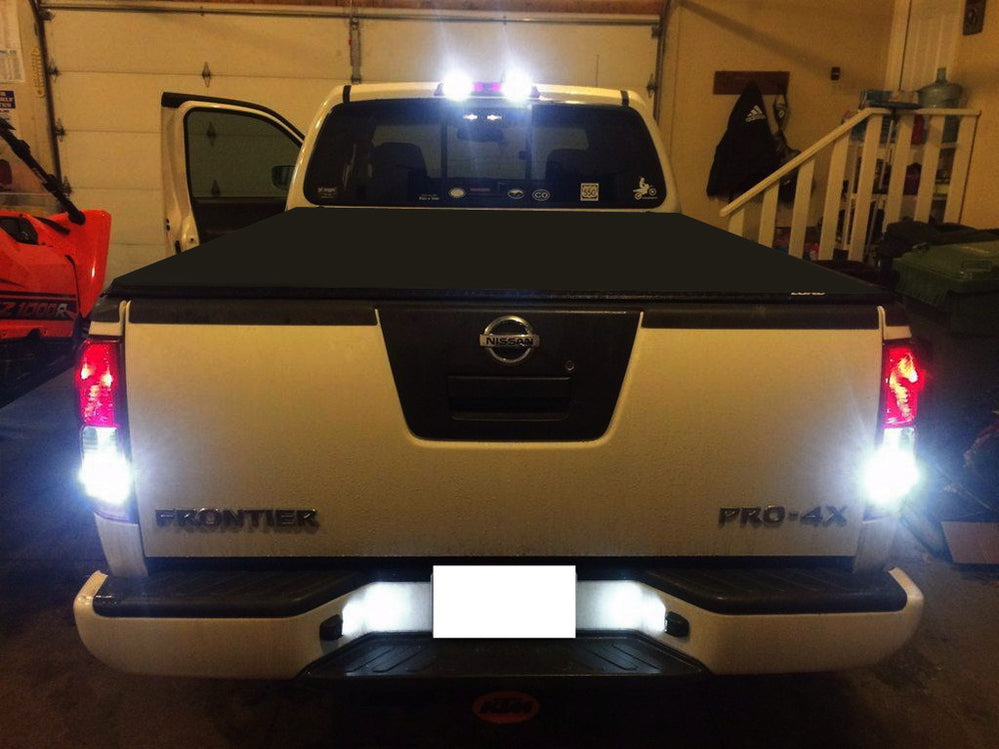
- Light Fixture(s): Typically, two separate light fixtures are positioned above or beside the license plate, integrated into the rear bumper or tailgate assembly. These fixtures house the bulb and provide a protective housing against the elements. The design often incorporates a clear or lightly tinted lens to maximize light output while minimizing glare.
- Bulb(s): Traditionally, the Frontier employs incandescent bulbs for its license plate lights. Common bulb types include wedge base bulbs like the 168 or 194. However, newer models and aftermarket replacements are increasingly utilizing LED (Light Emitting Diode) bulbs for their superior efficiency, lifespan, and brightness. The specific bulb type is usually indicated in the owner's manual or stamped on the bulb itself.
- Wiring Harness: A dedicated wiring harness connects the license plate light fixtures to the vehicle's electrical system. This harness usually branches off from the main taillight wiring harness and incorporates connectors for easy installation and removal of the light fixtures. Wire gauge and insulation are crucial for reliable performance and protection against shorts and corrosion.
- Connector(s): These connectors provide a secure and weather-resistant connection between the wiring harness and the light fixtures. They typically feature a locking mechanism to prevent accidental disconnections and are often sealed to protect against moisture intrusion.
- Fuse: The license plate lights are protected by a fuse in the vehicle's fuse box. This fuse is typically shared with other lighting circuits, such as the taillights or parking lights. The fuse rating (e.g., 10A, 15A) is crucial to prevent overload and potential damage to the electrical system.
- Switch/Relay: While there isn't a dedicated switch *solely* for the license plate lights, they are activated in conjunction with the headlights or parking lights. The activation is usually controlled by the headlight switch and potentially a relay to handle the current load.
Operational Principles
The operation of the Nissan Frontier's license plate light system is straightforward:
- When the headlight switch is turned to the "parking lights" or "headlights" position, a signal is sent to the license plate light circuit.
- This signal activates a relay (if present) and provides power to the wiring harness leading to the license plate light fixtures.
- The electrical current flows through the wiring harness, through the connectors, and into the bulb(s).
- The bulb(s) illuminate, providing illumination to the license plate, making it visible at night or in low-light conditions.
- The circuit is completed through a ground connection, ensuring a closed loop for the electrical current.
Understanding this basic circuit flow is crucial for troubleshooting electrical issues within the system.
Common Issues and Troubleshooting
Several common issues can affect the performance of the Nissan Frontier's license plate lights:
- Burnt-Out Bulb(s): This is the most frequent problem. Incandescent bulbs have a limited lifespan and eventually burn out. Replacing the bulb with the correct type and rating is the standard solution.
- Corroded Connectors: Exposure to moisture, road salt, and other environmental factors can lead to corrosion on the connectors. This corrosion can impede electrical conductivity, resulting in dim or non-functional lights. Cleaning the connectors with electrical contact cleaner and applying dielectric grease can often resolve this issue. Severe corrosion may necessitate replacing the connectors.
- Wiring Damage: The wiring harness can be damaged by abrasion, cuts, or exposure to heat. Damaged wires can cause shorts, open circuits, or intermittent lighting problems. Visual inspection of the wiring harness is crucial for identifying any damage. Repairing or replacing the damaged section of the harness is necessary.
- Blown Fuse: An overload in the circuit, such as a short circuit or a faulty bulb, can cause the fuse to blow. Replacing the fuse with the correct amperage rating is usually the solution. However, if the fuse blows repeatedly, it indicates an underlying problem that needs to be addressed.
- Faulty Switch/Relay: A malfunctioning headlight switch or relay can prevent power from reaching the license plate lights. Testing the switch and relay with a multimeter can help diagnose this issue. Replacing the faulty component is the necessary repair.
- Grounding Issues: A poor ground connection can impede the flow of electricity, resulting in dim or non-functional lights. Ensure the ground connection is clean, tight, and free of corrosion. Inspect the grounding point where the wire is attached to the chassis.
Troubleshooting Steps:
- Visual Inspection: Begin by visually inspecting the license plate light fixtures, bulbs, wiring harness, and connectors for any signs of damage, corrosion, or loose connections.
- Bulb Check: Remove the bulb and inspect the filament. A broken filament indicates a burnt-out bulb. If the filament appears intact, test the bulb with a multimeter to confirm its continuity.
- Fuse Check: Locate the fuse for the license plate lights in the fuse box and inspect it. A blown fuse will have a broken filament. Replace the fuse with the correct amperage rating.
- Voltage Test: Use a multimeter to test the voltage at the license plate light connector with the headlights or parking lights turned on. You should see approximately 12 volts. If there is no voltage, trace the wiring harness back to the fuse box and switch to identify the point where the voltage is lost.
- Continuity Test: Use a multimeter to test the continuity of the wiring harness from the fuse box to the license plate light connector. A lack of continuity indicates a broken wire.
- Ground Check: Use a multimeter to test the ground connection of the license plate light fixture. There should be a good connection to the vehicle's chassis.
Upgrades and Modifications
Several upgrades and modifications can be performed on the Nissan Frontier's license plate light system:
- LED Bulb Replacement: Switching to LED bulbs offers several advantages, including increased brightness, longer lifespan, and reduced power consumption. Choose LED bulbs that are compatible with the vehicle's electrical system and that provide adequate illumination for the license plate. Ensure the LEDs are CAN bus compatible to avoid error messages on the dashboard, especially on newer Frontier models.
- Custom Light Fixtures: Aftermarket light fixtures are available in various styles and finishes, allowing for a personalized look. Ensure that any aftermarket fixtures are DOT (Department of Transportation) approved and meet legal requirements for license plate illumination.
- Adding Auxiliary Lights: In some cases, adding additional license plate lights may be desired, particularly for off-road applications. Ensure that any added lights are properly wired and fused to avoid overloading the electrical system. Furthermore, consider legal ramifications; excessively bright or improperly directed lights might violate local ordinances.
Important Considerations for Modifications:
Legal Compliance: Always ensure that any modifications to the license plate light system comply with local laws and regulations. Many jurisdictions have specific requirements for the brightness, color, and placement of license plate lights.
Electrical Safety: When working with electrical systems, always disconnect the battery to prevent electrical shock or damage to the vehicle's electrical components. Use proper wiring techniques and materials to ensure a safe and reliable installation. Consult a qualified electrician if you are unsure about any aspect of the installation.
Waterproofing: The license plate light system is exposed to the elements, so it is crucial to ensure that any modifications are properly sealed and waterproofed to prevent corrosion and electrical problems.
Conclusion
The Nissan Frontier's license plate light system, though seemingly simple, is a vital component for safety and legal compliance. Understanding its design, operation, and potential issues allows owners to maintain and troubleshoot the system effectively. By following the troubleshooting steps outlined in this guide, owners can diagnose and resolve common problems, ensuring that their license plate lights are functioning properly. Furthermore, exploring upgrade options like LED bulbs can enhance visibility and longevity. Remember to always prioritize safety and legal compliance when performing any modifications to the vehicle's electrical system. Proper maintenance and a basic understanding of electrical principles will ensure that this small but important system continues to function as intended.