Nissan Murano Ac Compressor Replacement
Is your Nissan Murano blowing warm air instead of a refreshing blast of cold air? Are you hearing unusual noises coming from under the hood when you turn on the AC? Chances are, your AC compressor might be failing. A malfunctioning AC compressor can make driving in hot weather unbearable. This article will guide you through the common symptoms, the replacement process, and estimated costs involved in getting your Murano's AC back in top shape.
Identifying AC Compressor Problems in Your Murano
Before jumping to conclusions about a faulty compressor, it's important to correctly diagnose the problem. Here are the most common signs that your Murano's AC compressor needs attention:
- Warm Air: This is the most obvious symptom. If your AC is blowing warm air, even when set to the coldest setting, the compressor might not be compressing the refrigerant properly.
- No Airflow: While often misattributed to the compressor, a total lack of airflow from the vents is rarely the compressor's sole fault. However, if the compressor has catastrophically failed and seized, it *could* create excessive drag on the engine, causing other accessories (like the blower motor) to function poorly.
- Unusual Noises: Listen closely when the AC is engaged. A failing compressor can produce a variety of noises, including:
- Grinding: This often indicates internal damage to the compressor's bearings or pistons.
- Squealing: A worn or slipping compressor clutch can cause a squealing sound, particularly when the AC is first turned on.
- Rattling: Loose components inside the compressor can create a rattling noise.
- Compressor Clutch Issues: The compressor clutch engages and disengages the compressor pulley, allowing it to spin only when the AC is needed. If the clutch is failing, you might notice:
- The clutch not engaging at all: The compressor pulley spins freely, but the center of the clutch remains stationary.
- Intermittent engagement: The clutch engages and disengages sporadically, leading to inconsistent cooling.
- Refrigerant Leaks: While not directly a compressor *failure* necessarily, a leak near the compressor body can contribute to its eventual demise by causing it to work harder and overheat. Look for oily residue or green dye (if a leak detection dye has been used) around the compressor fittings.
Important Note: Just because you experience one of these symptoms doesn't automatically mean the compressor is bad. Other components in the AC system, such as a refrigerant leak, a clogged expansion valve, or a faulty pressure switch, can mimic compressor problems. A proper diagnosis by a qualified technician is crucial.
Tools and Parts Needed for AC Compressor Replacement
Replacing an AC compressor is a moderately complex task. While it's possible to do it yourself, it's recommended to have some mechanical experience and the right tools. Here's a list of what you'll likely need:
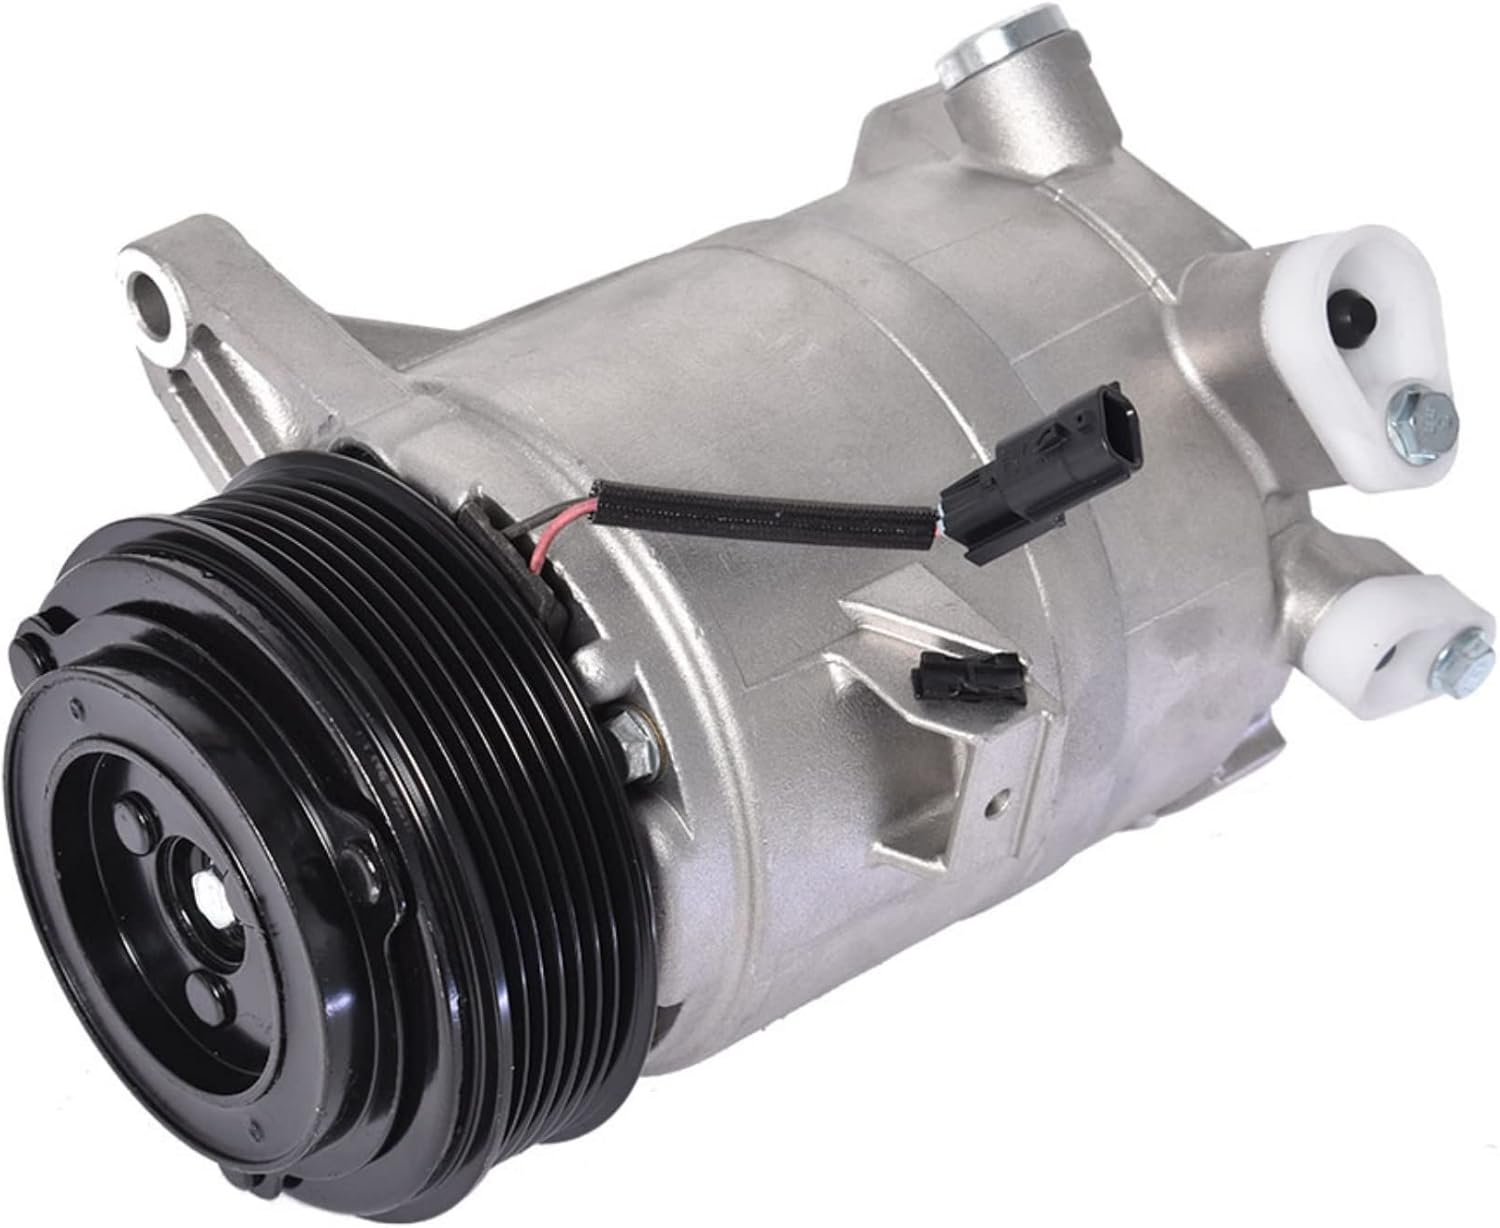
- New AC Compressor: Make sure it's the correct part for your specific Murano model and year.
- Refrigerant: Usually R-134a or R-1234yf depending on the year of your Murano. Check the sticker under the hood.
- Refrigerant Oil: The correct type and amount of oil is crucial for compressor lubrication. Refer to your vehicle's service manual.
- Vacuum Pump: Essential for evacuating the AC system of air and moisture after the compressor is installed.
- Manifold Gauge Set: Used to monitor refrigerant pressures during the evacuation and charging process.
- AC Flush Solution and Flushing Tool (Optional but Recommended): To remove contaminants from the AC system.
- New Receiver Drier/Accumulator: This component filters and dries the refrigerant. It *must* be replaced whenever the AC system is opened.
- New Expansion Valve (Highly Recommended): A clogged expansion valve can damage the new compressor.
- Basic Hand Tools: Wrenches, sockets, screwdrivers, pliers.
- Torque Wrench: For tightening bolts to the correct specifications.
- Safety Glasses and Gloves: To protect yourself from refrigerant and other fluids.
- Service Manual for Your Murano: This will provide specific instructions and torque specifications for your vehicle.
- Jack and Jack Stands: To safely lift and support the vehicle.
Safety First: Always disconnect the negative battery terminal before working on any electrical components in your vehicle. Refrigerant is a hazardous substance. Handle it with care and follow all safety precautions.
The AC Compressor Replacement Process (General Steps)
This is a general outline of the AC compressor replacement process. Always refer to your Murano's service manual for specific instructions and torque specifications. Improper installation can damage the new compressor or other components.
- Recover the Refrigerant: This *must* be done by a certified technician using specialized equipment to prevent releasing harmful refrigerants into the atmosphere. It is illegal to vent refrigerant.
- Disconnect the Battery: Disconnect the negative battery terminal.
- Access the Compressor: Depending on the Murano model, you may need to remove underbody panels or other components to access the compressor.
- Disconnect the AC Lines: Carefully disconnect the refrigerant lines from the compressor. Use appropriate wrenches to avoid damaging the fittings. Have rags ready to catch any residual refrigerant or oil.
- Disconnect the Electrical Connector: Disconnect the electrical connector from the compressor clutch.
- Remove the Compressor: Unbolt the compressor from its mounting bracket and carefully remove it from the vehicle.
- Flush the AC System (Recommended): Use an AC flush solution and flushing tool to remove any contaminants from the evaporator, condenser, and hoses. This is crucial to prevent damaging the new compressor.
- Replace the Receiver Drier/Accumulator and Expansion Valve: These components should *always* be replaced when the AC system is opened.
- Install the New Compressor: Install the new compressor onto the mounting bracket and bolt it in place, torquing the bolts to the specified torque.
- Connect the AC Lines: Connect the refrigerant lines to the new compressor, using new O-rings to ensure a leak-free seal.
- Connect the Electrical Connector: Connect the electrical connector to the compressor clutch.
- Evacuate the AC System: Connect a vacuum pump to the AC system and evacuate it for at least 30-45 minutes to remove air and moisture. This is essential for proper AC performance.
- Charge the AC System: Use a manifold gauge set to charge the AC system with the correct amount of refrigerant and oil, according to your Murano's specifications.
- Check for Leaks: Use a leak detector to check for any refrigerant leaks around the compressor fittings and other connections.
- Test the AC System: Start the engine and turn on the AC. Verify that the compressor is engaging and that the air is blowing cold. Monitor the refrigerant pressures to ensure they are within the normal range.
Estimated Costs for AC Compressor Replacement
The cost of replacing your Murano's AC compressor can vary depending on several factors, including:
- The Cost of the Compressor: Aftermarket compressors are generally less expensive than OEM (Original Equipment Manufacturer) compressors. Expect to pay anywhere from $200 to $600 for the compressor itself.
- Labor Costs: Labor rates vary depending on your location and the shop's hourly rate. Expect to pay between $300 and $800 for labor.
- Additional Parts: The receiver drier, expansion valve, refrigerant, and oil will add to the overall cost. These parts typically cost between $100 and $300.
- AC System Flush: If the system requires a flush, this can add another $100 to $200 to the bill.
Total Estimated Cost: The total cost to replace your Murano's AC compressor can range from $600 to $1700 or more, depending on the factors mentioned above. It's always best to get quotes from multiple shops to compare prices.
Pro Tip: Ask the shop if they offer a warranty on the compressor and labor. A warranty can provide peace of mind in case of premature failure.
When to Seek Professional Help
While some mechanically inclined individuals might be comfortable tackling an AC compressor replacement, it's generally best to leave this task to a professional for several reasons:
- Refrigerant Handling: Proper refrigerant recovery and disposal requires specialized equipment and certification.
- System Diagnosis: A professional technician can accurately diagnose the root cause of the AC problem, ensuring that the compressor is actually the culprit.
- Proper Installation: Correct installation is crucial to prevent damaging the new compressor and ensuring optimal AC performance.
- Warranty: Most shops offer a warranty on their work, providing protection in case of issues.
If you're not comfortable working with refrigerant, don't have the necessary tools, or are unsure about any aspect of the replacement process, it's best to take your Murano to a qualified AC repair shop.
Preventative Maintenance Tips to Extend Compressor Life
Here are a few tips to help extend the life of your Murano's AC compressor:
- Run the AC Regularly: Even in cooler months, running the AC for a few minutes each week helps to lubricate the compressor and keep the seals in good condition.
- Check the Refrigerant Level: Low refrigerant levels can cause the compressor to work harder and overheat. Have the refrigerant level checked periodically by a qualified technician.
- Replace the Cabin Air Filter: A clogged cabin air filter restricts airflow to the evaporator, which can put a strain on the compressor. Replace the cabin air filter according to the manufacturer's recommendations.
- Address Leaks Promptly: Repair any refrigerant leaks as soon as possible to prevent further damage to the AC system.
By following these tips and seeking professional help when needed, you can keep your Nissan Murano's AC system running smoothly for years to come, ensuring a comfortable driving experience in any weather.