Nissan Rogue Divide And Hide Replacement
The "Divide-N-Hide" cargo system in the Nissan Rogue (particularly models from 2014-2020) is a clever feature designed to maximize cargo space and versatility. However, the panels that make up this system can become damaged, warped, or even lost over time. Replacing these panels can seem daunting, but with the right tools and a systematic approach, it's a project well within the reach of an intermediate DIYer.
Understanding the Divide-N-Hide System
Before diving into the replacement process, let's briefly review the Divide-N-Hide system. It typically consists of two main components:
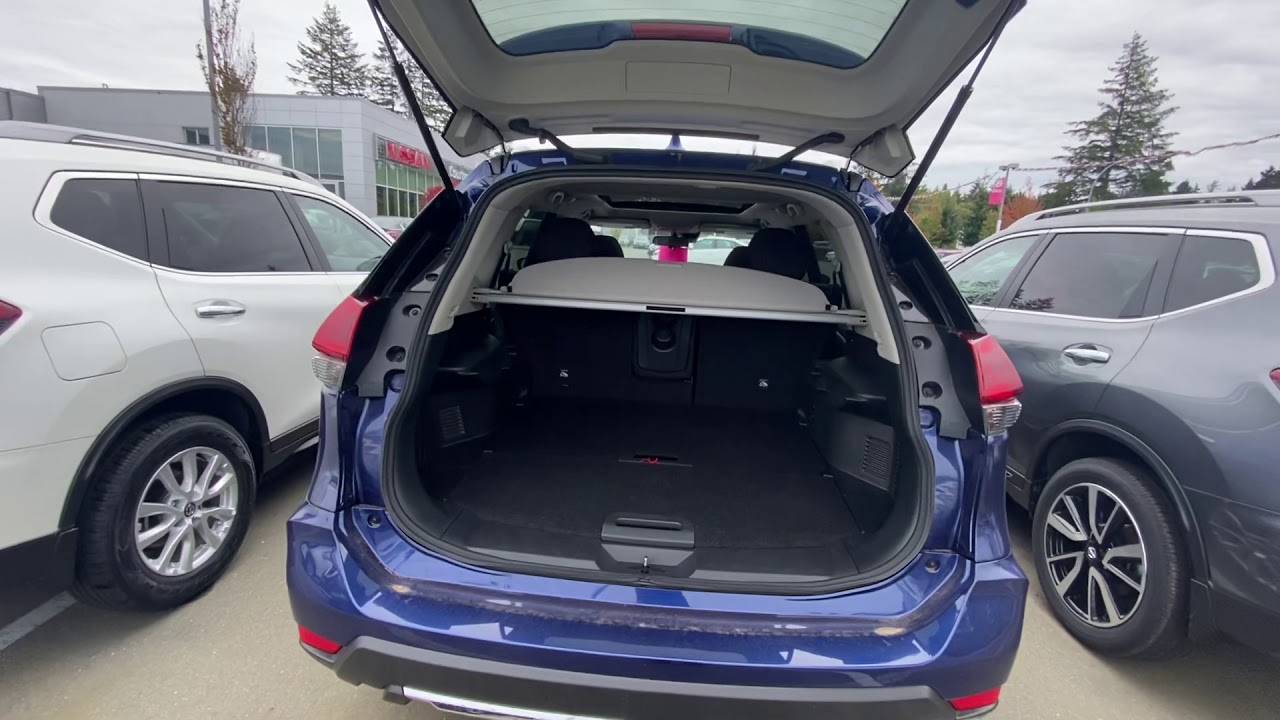
- Upper Panels: These panels rest on ledges built into the cargo area sides, creating a flat load floor. They can be removed or reconfigured to create different storage arrangements.
- Lower Panels (Optional): Some Rogue models include additional panels that fit beneath the upper panels, creating a deeper, hidden storage compartment.
The replacement procedure primarily focuses on the upper panels, as these are the most frequently used and therefore, the most likely to require replacement. We'll touch on lower panel replacement briefly as well.
Tools and Materials
Gather these tools and materials before you begin:
- Replacement Divide-N-Hide Panels: These can be purchased from Nissan dealerships, online retailers specializing in OEM (Original Equipment Manufacturer) parts, or from salvage yards. Ensure you order the correct panels for your specific year and trim level Rogue. Pay close attention to the panel dimensions and attachment points when ordering.
- Trim Removal Tool: A plastic trim removal tool is essential to avoid damaging the interior trim pieces when removing or installing components near the cargo area.
- Socket Set and Ratchet: A standard socket set will be needed for any bolts or fasteners that secure trim panels.
- Screwdrivers (Phillips and Flathead): Depending on the Rogue's specific configuration, you may encounter Phillips or flathead screws.
- Gloves: To protect your hands.
- Shop Towels: For cleaning and preventing scratches.
- (Optional) Flashlight or Work Light: To illuminate the cargo area.
Removing the Old Divide-N-Hide Panels
This is usually the simplest part of the process. The upper panels are typically designed for easy removal. Here's the general procedure:
- Empty the Cargo Area: Remove all items from the cargo area to provide ample working space.
- Locate the Panel Edges: Identify the edges of the panels that are resting on the support ledges within the cargo area.
- Lift and Remove: Carefully lift one edge of the panel, then slide it out from under the adjacent panel (if applicable). Remove the panel completely from the vehicle. Repeat for any remaining upper panels.
Important Considerations:
- Warped Panels: If the old panels are significantly warped, they may be difficult to remove. Apply gentle but firm pressure to flex the panel slightly while lifting to dislodge it.
- Sticky Residue: Years of use may have left some residue from spills or other substances adhering the panel to the ledge. Clean this with a mild cleaner before installing the new panel.
- Lower Panels: If your Rogue has lower panels, they may be held in place by friction or by smaller retaining clips. Carefully inspect the area around the panels to identify how they are secured. Use the trim removal tool to gently pry the panels loose if necessary.
Preparing for Installation
Before installing the new panels, take a moment to prepare the cargo area.
- Clean the Support Ledges: Use a shop towel and a mild cleaner to thoroughly clean the support ledges on which the panels will rest. This will ensure a secure and stable fit.
- Inspect for Damage: Examine the support ledges and surrounding trim for any signs of damage, such as cracks or breaks. If damage is present, address it before proceeding. Small cracks might be repairable with epoxy; more significant damage might require trim panel replacement.
- Verify Panel Orientation: Before installing any panels, dry-fit them to ensure correct orientation and alignment. Some panels may have a specific "front" or "back."
Installing the New Divide-N-Hide Panels
The installation process is essentially the reverse of the removal process. Here's the general procedure:
- Position the First Panel: Carefully position the first replacement panel so that one edge rests on the support ledge.
- Slide into Place: Gently slide the panel into place, ensuring that it is fully seated on the ledge.
- Repeat for Remaining Panels: Repeat steps 1 and 2 for any remaining upper panels. Ensure that the panels are properly aligned and that there are no gaps or overlaps.
- Install Lower Panels (If Applicable): If you are replacing lower panels, position them in the designated area and press them firmly into place. Ensure that any retaining clips are properly engaged.
Important Considerations:
- Panel Fit: If the new panels are a tight fit, apply gentle pressure to help them seat properly. Avoid using excessive force, as this could damage the panels or the surrounding trim.
- Alignment: Pay close attention to the alignment of the panels. Misaligned panels can interfere with the operation of the Divide-N-Hide system and may cause rattling or other noises.
- Securing Lower Panels: Ensure that any retaining clips or fasteners used to secure the lower panels are properly engaged. This will prevent the panels from shifting or dislodging during use.
Troubleshooting
Here are some common issues you might encounter and how to address them:
- Panels Don't Fit: Double-check that you ordered the correct panels for your specific Rogue model. Measure the old panels and compare them to the dimensions of the new panels. If the panels are the correct size but still don't fit, inspect the support ledges for any obstructions or damage.
- Panels Rattle: Rattling panels are often caused by loose fasteners or misaligned panels. Ensure that all panels are properly seated and that any retaining clips are securely engaged. You can also try adding thin felt pads to the contact points between the panels and the support ledges to reduce vibration.
- Trim Damage: If you accidentally damaged the interior trim during the removal or installation process, you may need to replace the damaged trim piece. Consult a service manual or online resources for instructions on removing and installing specific trim panels. A trim removal tool is vital to avoid damage.
Lower Panel Replacement (Briefly)
Replacing the lower panels is usually straightforward. Access is gained by removing the upper panels. These lower panels are often held in place by tabs or clips. Using the trim removal tool, gently pry around the edges of the panel until the tabs disengage. Installation is the reverse, ensuring the tabs are properly aligned before pressing the new panel into place.
Final Checks
Once you have installed the new Divide-N-Hide panels, perform the following final checks:
- Verify Operation: Test the operation of the Divide-N-Hide system by reconfiguring the panels into different storage arrangements. Ensure that the panels move smoothly and that they are securely held in place in each configuration.
- Inspect for Gaps: Visually inspect the cargo area for any gaps or misalignments. Correct any issues that you find.
- Secure Loose Items: Make sure that any loose items in the cargo area are properly secured. This will prevent them from shifting or rattling during driving.
By following these steps, you can successfully replace the Divide-N-Hide panels in your Nissan Rogue and restore its cargo-carrying versatility. Remember to take your time, work carefully, and consult a service manual or online resources if you encounter any difficulties. Good luck!