Nissan Rogue Subframe Bushings
Let's talk about something crucial to the ride quality, handling, and overall health of your Nissan Rogue: the subframe bushings. These unassuming components play a vital role, and when they fail, the symptoms can range from annoying noises to downright dangerous handling issues. This article will delve into the function, diagnosis, and replacement of Nissan Rogue subframe bushings, providing you with the knowledge to tackle this job confidently. We'll cover common issues, the tools you'll need, and the steps involved in replacing these critical components. Remember, safety is paramount. Always use proper safety equipment and consult a professional if you're unsure about any aspect of this repair.
What is a Subframe, and Why are Bushings Important?
Before we dive into the bushings themselves, let's clarify what a subframe is and why it exists. The subframe, also sometimes called an engine cradle, is a structural component in your Rogue's chassis. It's essentially a large, typically rectangular or somewhat irregular, frame that bolts to the vehicle's body. The engine, transmission, suspension components (like the control arms and steering rack), and sometimes even the differential are mounted to this subframe. Think of it as a intermediary between the body and these major assemblies.
Why not mount everything directly to the body? Several reasons. First, it simplifies manufacturing. Assembling major drivetrain and suspension components onto a subframe allows for easier integration during vehicle assembly. Second, and perhaps more importantly for our discussion, it helps to isolate noise, vibration, and harshness (NVH) from the cabin. Direct mounting would transmit every engine rumble, road imperfection, and suspension jolt directly into the passenger compartment, creating an unpleasant driving experience. This is where the bushings come in.
Subframe bushings are the rubber or polyurethane insulators that sit between the subframe and the vehicle's body. They're designed to dampen vibrations and absorb shocks, preventing them from being transmitted to the cabin. They also allow for a small amount of controlled movement, which helps to improve ride quality. These bushings are under constant stress from the weight of the vehicle, engine torque, and road impacts. Over time, they degrade, crack, and eventually fail. It's like suspension bushings, just larger and connect to a big structure.
Identifying Failing Subframe Bushings: The Symptoms
Recognizing the signs of failing subframe bushings early can prevent more significant problems down the road. Here are some common symptoms:
- Clunking or Banging Noises: This is often the most noticeable symptom. You'll hear clunking sounds, especially when going over bumps, accelerating, or braking. The noise is caused by the subframe shifting within its mounts due to the worn bushings. The sound can vary but a loose sounding "thud" is also common.
- Vibrations in the Steering Wheel: Excessive vibrations, particularly at certain speeds, can indicate worn subframe bushings. These vibrations are a direct result of the deteriorated bushings failing to isolate the chassis.
- Wandering Steering: If your Rogue feels like it's wandering on the road, requiring constant steering corrections to maintain a straight line, failing subframe bushings could be to blame. The degraded bushings allow for unwanted movement in the suspension, affecting steering precision.
- Uneven Tire Wear: While many factors can cause uneven tire wear, worn subframe bushings can contribute to it. The misalignment caused by the shifting subframe can alter the suspension geometry, leading to abnormal wear patterns.
- Increased Noise, Vibration, and Harshness (NVH): A general increase in cabin noise and vibrations can be a sign of deteriorating subframe bushings. They're simply not doing their job of isolating the vehicle from road and drivetrain vibrations.
- Visually Cracked or Torn Bushings: A visual inspection, which we'll discuss shortly, can often reveal cracked, torn, or completely separated bushings. This is a telltale sign of failure.
Diagnosing Subframe Bushing Issues: The Inspection
A thorough inspection is crucial to confirm that your subframe bushings are indeed the problem. Here's how to approach it:
- Safety First: Park your Rogue on a level surface, engage the parking brake, and use wheel chocks behind the rear wheels. Use a jack to lift the vehicle and securely support it with jack stands. Never work under a vehicle supported only by a jack!
- Visual Inspection: Carefully examine the subframe bushings. Look for cracks, tears, or signs of dry rotting in the rubber. Check for excessive movement or play in the bushings. You might need a flashlight to get a good view. Some can be tricky to see due to being partially obscured.
- Pry Bar Test: Using a pry bar, gently try to lever the subframe relative to the body. If the bushings are significantly worn, you'll notice excessive movement. Be careful not to damage any other components during this test.
- Helper Test: Have a helper gently rock the steering wheel back and forth or rev the engine slightly while you visually inspect the bushings. This can help reveal movement that might not be apparent otherwise.
Replacing Subframe Bushings: A Step-by-Step Guide
Replacing subframe bushings can be a challenging task, depending on the specific design of your Rogue and the tools you have available. However, with patience and the right approach, it's a manageable DIY project for the experienced mechanic. Always consult your vehicle's repair manual for specific instructions and torque specifications. This guide provides a general overview:
Tools and Materials Needed:
- New subframe bushings (OEM or high-quality aftermarket)
- Jack and jack stands
- Wheel chocks
- Socket set (metric)
- Wrench set (metric)
- Torque wrench
- Pry bar
- Hammer
- Penetrating oil (PB Blaster or similar)
- Subframe bushing press tool (highly recommended - can often be rented) or a ball joint press
- Optional: Impact wrench (for stubborn bolts)
- Safety glasses and gloves
The Replacement Process:
- Preparation: Disconnect the negative battery terminal. This is a good safety precaution. Thoroughly spray all the subframe mounting bolts with penetrating oil. Let it soak for at least 30 minutes (or even overnight) to help loosen any rust or corrosion.
- Support the Subframe: Position a jack under the subframe to support its weight. Loosen (but don't remove) the subframe mounting bolts.
- Disconnect Attached Components: Carefully disconnect any components attached to the subframe that will interfere with its removal. This might include brake lines, ABS sensors, steering linkages, and exhaust components. Be extremely careful not to damage brake lines!
- Remove the Subframe Bolts: Gradually lower the jack while removing the subframe bolts. As you lower, be aware of any other lines or components still attached. Get a helper if needed. With the bolts out, carefully lower the subframe to the ground.
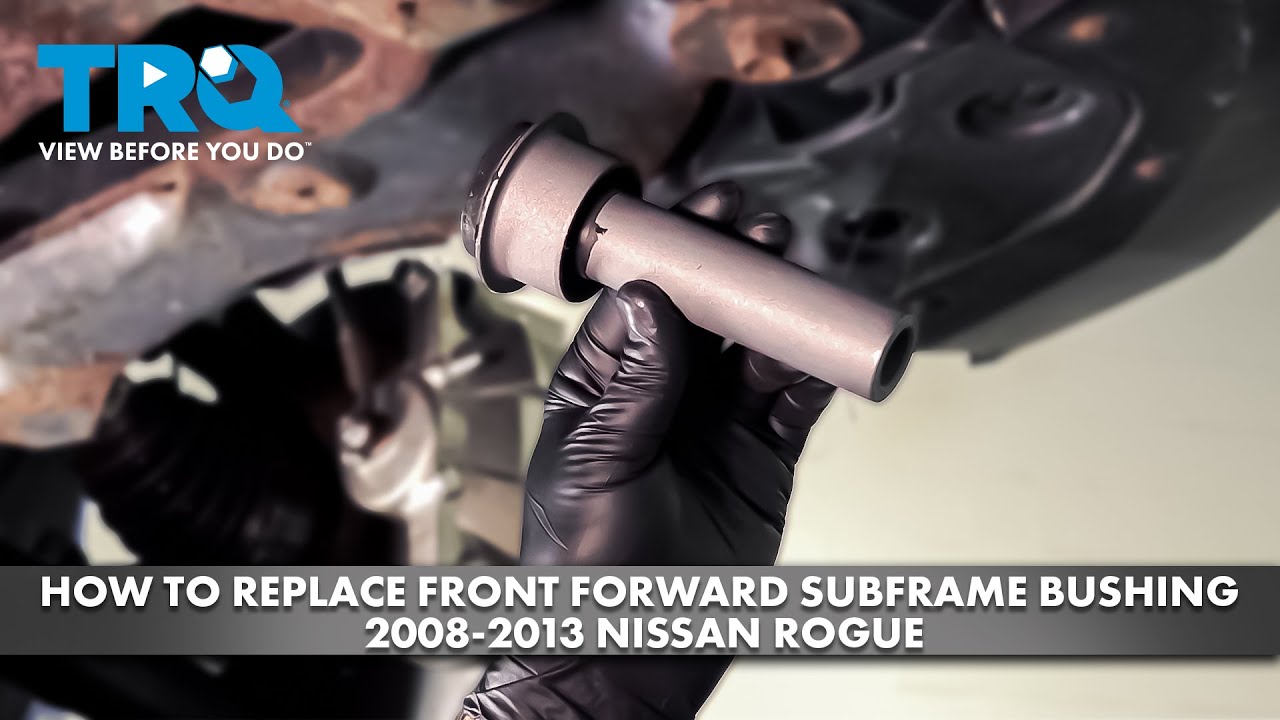
- Remove the Old Bushings: This is often the most challenging step. Ideally, use a subframe bushing press tool. This tool allows you to press the old bushings out and the new ones in without damaging the subframe. Alternatively, a ball joint press can sometimes be used. If you don't have access to either tool, you might be able to use a hammer and sockets to carefully drive the bushings out. However, this method is more likely to damage the subframe. In stubborn situations, a torch may carefully heat the area around the bushing (avoiding the bushing itself). *Use caution and ensure proper ventilation and fire protection.*
- Install the New Bushings: Clean the subframe bushing bores thoroughly. Apply a thin layer of grease or anti-seize compound to the new bushings to aid installation. Using the subframe bushing press tool (or ball joint press), carefully press the new bushings into the subframe. Ensure they are properly seated.
- Reinstall the Subframe: Raise the subframe back into position using the jack. Align the bolt holes and install the subframe mounting bolts.
- Torque the Bolts: Tighten the subframe mounting bolts to the torque specifications listed in your vehicle's repair manual. It's crucial to use a torque wrench to ensure proper tightening. Undertightening can lead to loose components and excessive wear, while overtightening can damage the bolts or subframe.
- Reconnect Components: Reconnect any components that you disconnected earlier, such as brake lines, ABS sensors, steering linkages, and exhaust components. Double-check all connections to ensure they are secure.
- Final Checks: Double-check all your work. Make sure all bolts are properly tightened, all connections are secure, and there are no leaks.
- Lower the Vehicle: Carefully lower the vehicle to the ground.
- Test Drive: Take the Rogue for a test drive to check for any noises, vibrations, or handling issues.
- Alignment: After replacing subframe bushings, it's highly recommended to get a wheel alignment. Changing the position of the subframe affects the suspension geometry, which can lead to uneven tire wear and poor handling.
Upgrading to Polyurethane Bushings (Optional)
While OEM rubber bushings provide good NVH isolation, they are also prone to wear. Polyurethane bushings are a popular upgrade, offering increased durability and improved handling. However, they also transmit more vibrations to the cabin. If you prioritize handling and performance over ride comfort, polyurethane bushings might be a good option. If not, stick with the OEM rubber bushings.
Important Considerations: Polyurethane bushings require regular lubrication to prevent squeaking. They also tend to be stiffer than rubber bushings, which can result in a harsher ride. Make an informed decision based on your driving style and preferences.
Conclusion
Replacing Nissan Rogue subframe bushings is a significant undertaking that requires careful attention to detail. However, with the right knowledge, tools, and a methodical approach, it's a task that many experienced DIY mechanics can tackle. Remember to prioritize safety and always consult your vehicle's repair manual for specific instructions. By addressing worn subframe bushings promptly, you can restore your Rogue's ride quality, handling, and overall safety. And finally, if you're not comfortable with any aspect of this repair, don't hesitate to seek the help of a qualified mechanic.