Nissan Sentra 2014 Oil Filter
Alright folks, let's dive deep into the oil filter on a 2014 Nissan Sentra. This isn't just about slapping on any old filter; we're talking about understanding the specifics, choosing the right one, and ensuring a proper installation for optimal engine health. We'll cover everything from filter specs to potential gotchas you might encounter.
Understanding the 2014 Sentra Oil Filter
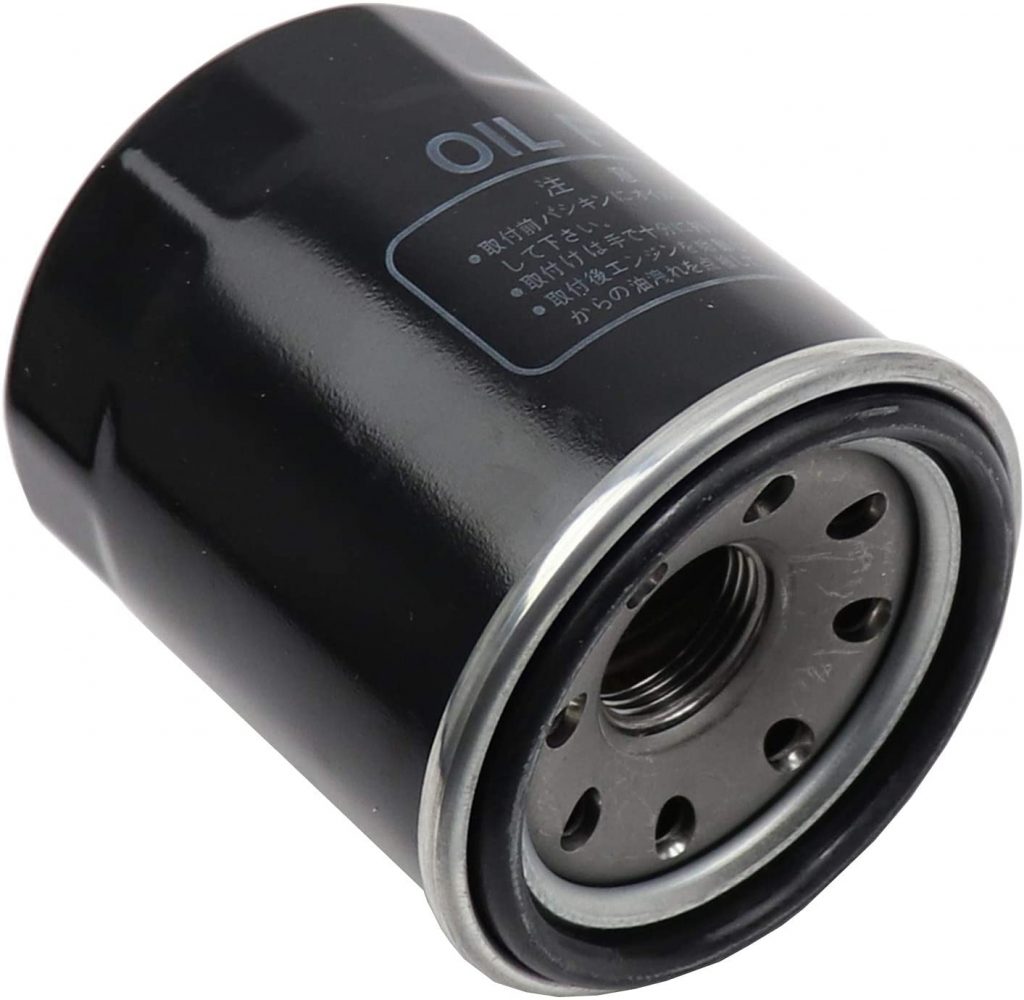
The 2014 Nissan Sentra, equipped with the 1.8L MR18DE engine, uses a spin-on type oil filter. This means it's a self-contained unit that threads directly onto the engine block. The primary function of this filter is, of course, to remove contaminants from the engine oil, preventing premature wear and tear on critical engine components like the crankshaft, camshaft, and bearings.
Filter Specifications: What to Look For
When selecting an oil filter, don't just grab the cheapest one off the shelf. Consider these key specifications:
- Thread Size: This is crucial. The 2014 Sentra typically uses a 3/4"-16 UNF (Unified National Fine) thread. Double-check this spec before purchasing. An incorrect thread size will not allow the filter to seat properly, leading to leaks and potentially catastrophic engine damage.
- Gasket Diameter: The gasket on the filter creates a seal against the engine block. The outside diameter of the gasket should be approximately 2.5" to 2.75", while the inside diameter should be around 2.25" to 2.5". Again, improper sealing leads to leaks.
- Filter Media: This is where the filter does its actual work. Common materials include cellulose, synthetic blends, and full synthetic. Synthetic media generally offers superior filtration and longer service life, but they also come at a higher price point. Consider your driving habits and oil change intervals when choosing. If you do mostly short trips or infrequent oil changes, a higher-quality filter is a worthwhile investment.
- Bypass Valve: This is a crucial safety feature. The bypass valve opens if the filter becomes clogged, allowing oil to flow to the engine even if it's not being filtered. While unfiltered oil isn't ideal, it's better than no oil at all. Look for a filter with a properly functioning bypass valve. A stuck bypass valve will mean the engine is never filtering oil, even with a new filter.
- Anti-Drainback Valve: This valve prevents oil from draining back into the oil pan when the engine is off. This ensures that oil is readily available at startup, reducing wear during the critical initial seconds of engine operation. A silicone anti-drainback valve is generally preferred over rubber, as it's more resistant to heat and degradation.
Popular aftermarket brands that offer filters meeting these specs include Mobil 1, K&N, Bosch, and Purolator. Nissan's OEM (Original Equipment Manufacturer) filter is also a reliable choice, though often pricier.
The Importance of Oil Filter Micron Rating
The micron rating of an oil filter is a measure of the size of particles it can capture. A lower micron rating means the filter can trap smaller particles, resulting in cleaner oil. However, a lower micron rating can also lead to increased flow restriction. Most oil filters for the 2014 Sentra fall within the 20-30 micron range. Aim for a balance between filtration efficiency and flow rate. Don't chase the absolute lowest micron rating if it significantly restricts oil flow, as this can starve the engine of oil under high-demand conditions.
Changing the Oil Filter: A Step-by-Step Guide
Now let's get our hands dirty! Here's a comprehensive guide to changing the oil filter on your 2014 Sentra:
- Gather Your Tools and Materials: You'll need:
- New oil filter (meeting the specifications outlined above)
- New engine oil (check your owner's manual for the correct type and quantity)
- Oil filter wrench
- Wrench for the drain plug (usually 14mm or 17mm)
- Oil drain pan
- Funnel
- Gloves
- Rags or paper towels
- Jack and jack stands (or ramps)
- Prepare the Vehicle: Safely raise the vehicle using a jack and secure it with jack stands. Never work under a vehicle supported only by a jack. Ramps can also be used if you have them. Ensure the vehicle is on a level surface.
- Locate the Oil Filter and Drain Plug: The oil filter is typically located on the front or side of the engine block, near the oil pan. The oil drain plug is on the bottom of the oil pan. Consult your owner's manual if you're unsure of their exact locations.
- Drain the Old Oil: Place the oil drain pan under the drain plug. Use the correct wrench to loosen and remove the drain plug. Be careful, as the oil will be hot! Allow the oil to drain completely (15-20 minutes).
- Remove the Old Oil Filter: Place the drain pan under the oil filter. Use the oil filter wrench to loosen the old filter. It might be on tight, so apply steady pressure. Once loosened, unscrew the filter by hand. Be prepared for some oil to spill.
- Prepare the New Oil Filter: Lightly lubricate the rubber gasket on the new oil filter with fresh engine oil. This ensures a good seal and prevents the gasket from sticking to the engine block.
- Install the New Oil Filter: Screw the new oil filter onto the engine block by hand until the gasket makes contact. Then, tighten it an additional 3/4 to 1 full turn. Refer to the instructions on the filter itself, as tightening recommendations can vary slightly. Do not overtighten! Overtightening can damage the filter or the engine block.
- Reinstall the Drain Plug: Clean the drain plug and install a new crush washer (if applicable). Tighten the drain plug to the manufacturer's recommended torque specification. If you don't have a torque wrench, tighten it snugly but don't overtighten.
- Add New Oil: Remove the oil filler cap (usually located on the top of the engine). Using a funnel, pour in the correct amount of new engine oil as specified in your owner's manual.
- Check the Oil Level: Wait a few minutes for the oil to settle, then check the oil level using the dipstick. Add more oil if necessary to reach the proper level.
- Start the Engine: Start the engine and let it run for a few minutes. Check for leaks around the oil filter and drain plug.
- Recheck the Oil Level: Turn off the engine and let it sit for a few minutes. Recheck the oil level and add more oil if necessary.
- Dispose of Used Oil Properly: Take the used oil to a recycling center or auto parts store for proper disposal.
Common Problems and Solutions
Even with careful attention to detail, you might encounter some problems. Here are a few common ones and how to address them:
- Oil Filter Stuck: If the old oil filter is stuck, try using a larger oil filter wrench or a strap wrench. As a last resort, you can carefully puncture the filter with a screwdriver and use it for leverage, but be extremely cautious not to damage the engine block.
- Leaking Oil Filter: If the oil filter is leaking, double-check that the gasket is properly seated and that the filter is tightened to the correct torque. If the leak persists, the filter might be defective and need to be replaced.
- Stripped Drain Plug Threads: This is a common issue, especially if the drain plug has been overtightened in the past. Consider using a thread repair kit or replacing the oil pan. Prevention is key here – always use the correct torque specification!
- Incorrect Oil Filter Size: Always double-check the thread size and gasket diameter before installing a new oil filter. An incorrect filter can cause leaks and engine damage.
Upgrading Your Oil Filter
For those looking to upgrade, high-performance oil filters from brands like K&N and Mobil 1 offer enhanced filtration and flow. These filters often feature synthetic media and stronger construction, making them a good choice for enthusiasts who demand the best protection for their engines. Keep in mind that upgrading to a higher-performance filter doesn't necessarily mean you can extend your oil change intervals significantly. Stick to the manufacturer's recommendations or consider oil analysis to determine the optimal change frequency.
Conclusion
Changing the oil filter on your 2014 Nissan Sentra is a relatively straightforward task that can save you money and ensure the longevity of your engine. By understanding the filter specifications, following the proper installation procedure, and addressing any potential problems, you can keep your engine running smoothly for years to come. Remember, regular maintenance is the key to a happy and healthy engine!