Nissan Titan Vent Control Actuator
Alright folks, let's dive into a common issue on Nissan Titans, particularly those from the early to mid-2000s: the vent control actuator. If you're finding that your HVAC system is blowing air out of the wrong vents – say, defrost when you want face-level airflow – chances are this little motor is the culprit. This article will walk you through understanding, diagnosing, and potentially replacing the vent control actuator on your Titan.
Understanding the Vent Control Actuator
The vent control actuator (sometimes called a mode door actuator) is a small electric motor responsible for precisely positioning the blend doors within your Titan's HVAC (Heating, Ventilation, and Air Conditioning) system. Think of these blend doors as directional flaps. They physically redirect airflow to different vents: face vents, floor vents, defrost vents, or a combination thereof. The actuator receives signals from the HVAC control panel inside your cabin. When you select a different vent setting, the control panel sends a voltage signal to the actuator, telling it to move the blend door to the corresponding position.
These actuators are small DC motors. They're often geared down to increase torque, allowing them to overcome any resistance from the blend doors. Inside, you'll typically find a small potentiometer or encoder. This component provides feedback to the HVAC control module, confirming the blend door's actual position. This feedback loop is crucial for accurate airflow control. If the actuator can't report its position accurately, the HVAC system might enter a failsafe mode, often defaulting to defrost.
Here's a breakdown of key terms:
- HVAC: Heating, Ventilation, and Air Conditioning. The entire system responsible for temperature and airflow inside your vehicle.
- Blend Door: A movable flap inside the HVAC system that directs airflow to different vents.
- Actuator: An electromechanical device that moves or controls a mechanism. In this case, the vent control actuator moves the blend door.
- Potentiometer/Encoder: A sensor that provides feedback on the actuator's position. Think of it like a volume knob that tells the system where it's turned.
Symptoms of a Failing Vent Control Actuator
Recognizing the symptoms is the first step in diagnosing a problem. Here's what to watch out for:
- Air blowing from the wrong vents: This is the most common symptom. For example, air might only come out of the defrost vents regardless of the selected mode.
- Inconsistent airflow: Sometimes the airflow might shift between vents sporadically or get stuck intermittently.
- Clicking or tapping noises from behind the dashboard: This can indicate a stripped gear or a struggling motor within the actuator. The noise is often most noticeable when the HVAC system is first turned on or when changing vent modes.
- HVAC system stuck in defrost mode: As mentioned earlier, this is a common failsafe.
- Error codes: Using an OBD-II scanner (a diagnostic tool that reads your vehicle's computer codes), you might find codes related to the HVAC system or specifically referencing the vent control actuator. Common codes include B1098 (Mode Door Actuator Control Circuit) or similar. However, a generic scanner might not pick up these specific HVAC codes; you might need a more specialized scanner.
Diagnosing the Vent Control Actuator
Before you rush out to buy a new actuator, let's confirm that it's indeed the problem. Here are a few diagnostic steps:
- Visual Inspection (Limited): Try to locate the vent control actuator. On Titans, it's typically located behind the dashboard, often near the center console area. Access can be tricky. Once you find it, visually inspect the wiring harness for any signs of damage, corrosion, or loose connections.
- Listen for the Actuator: With the engine running and the HVAC system on, cycle through the different vent modes (face, floor, defrost). Listen carefully for the actuator trying to move. You might hear a clicking, grinding, or whirring sound. If you hear nothing at all, it could indicate a completely dead motor or a wiring issue.
- Check the Wiring: Use a multimeter to check for voltage at the actuator's wiring harness. You'll need to consult a wiring diagram for your specific Titan model to identify the correct pins. When changing vent modes, the voltage should fluctuate, indicating that the control panel is sending signals to the actuator. If you're not getting any voltage, the problem could be with the HVAC control panel, the wiring itself, or a fuse.
- OBD-II Scan: Use an OBD-II scanner to check for any relevant error codes. Pay close attention to codes related to the HVAC system, blend door actuators, or mode door circuits. If you find a code specifically pointing to the vent control actuator, it's a strong indication that the actuator is faulty. However, clear the codes and retest after any repairs.
- Manual Manipulation (Use with Caution): This is a last resort and requires extreme care. If you can access the blend door linkage (the mechanical connection between the actuator and the blend door itself), try to manually move the blend door. Does it move freely? If it's stiff or stuck, the blend door itself might be the problem, not the actuator. Do not force anything, as you could damage the blend door or the HVAC housing.
Replacing the Vent Control Actuator
If your diagnosis points to a faulty actuator, here's a general guide to replacing it. Always consult your vehicle's service manual for specific instructions, as procedures can vary slightly depending on the model year and trim.
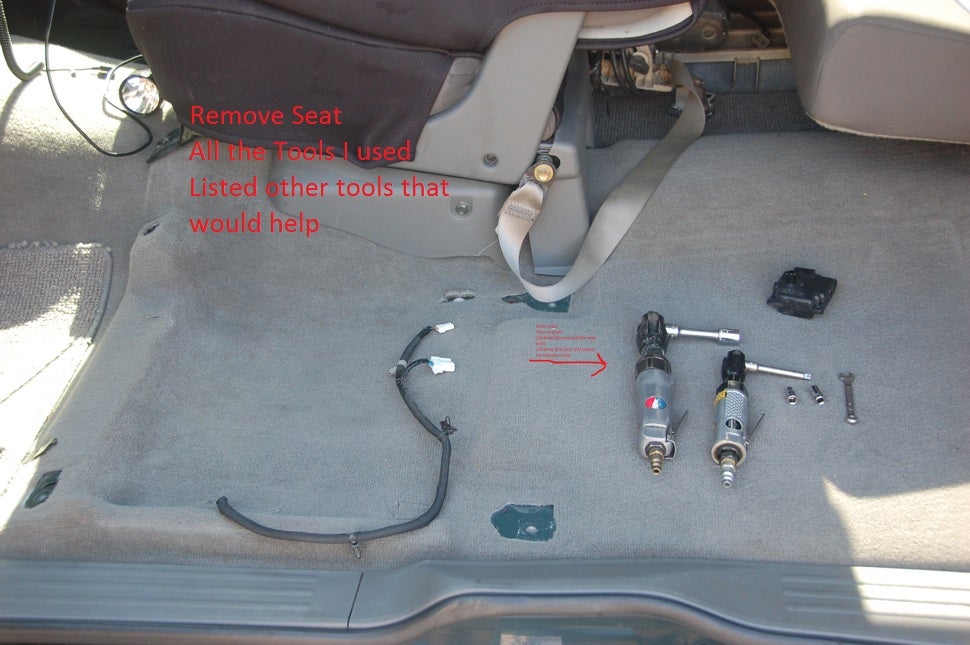
- Gather Your Tools: You'll typically need a socket set, screwdrivers (Phillips and flathead), pliers, a multimeter, and potentially a trim removal tool. A flexible extension for your socket wrench can be very helpful in tight spaces.
- Disconnect the Battery: This is a crucial safety step to prevent electrical shorts. Disconnect the negative battery terminal before starting any work on the electrical system.
- Locate the Actuator: This is often the most challenging part. Refer to your service manual or online resources to pinpoint the exact location of the vent control actuator. It's usually behind the dashboard, often near the center console or firewall. You might need to remove trim panels or other components to gain access.
- Remove Obstructions: Carefully remove any trim panels, ductwork, or other components that are blocking access to the actuator. Use a trim removal tool to avoid damaging the plastic panels.
- Disconnect the Wiring Harness: Carefully disconnect the wiring harness from the actuator. Be gentle, as the connectors can become brittle with age.
- Remove the Actuator: The actuator is typically held in place by a few screws. Remove these screws and carefully detach the actuator. Pay attention to the orientation of the actuator as you remove it.
- Install the New Actuator: Install the new actuator in the reverse order of removal. Ensure that it's properly aligned and securely fastened.
- Reconnect the Wiring Harness: Reconnect the wiring harness to the new actuator.
- Reassemble Components: Reinstall any trim panels, ductwork, or other components that you removed to access the actuator.
- Reconnect the Battery: Reconnect the negative battery terminal.
- Test the System: Start the engine and test the HVAC system. Cycle through the different vent modes to ensure that the air is flowing correctly. Listen for any unusual noises from the actuator.
- Clear Error Codes (If Necessary): If you had any error codes stored, clear them using your OBD-II scanner.
Important Considerations
- OEM vs. Aftermarket: When replacing the actuator, you have the option of using an OEM (Original Equipment Manufacturer) part or an aftermarket part. OEM parts are typically more expensive but are often considered to be of higher quality and more reliable. Aftermarket parts are generally less expensive but may not be as durable or have the same fit and finish as OEM parts.
- Calibration: Some vehicles require you to calibrate the new actuator after installation. This involves using a scan tool or a specific procedure to teach the HVAC control module the actuator's range of motion. Consult your service manual to determine if calibration is required for your Titan.
- Underlying Issues: In rare cases, a faulty blend door or a restriction in the HVAC ductwork can cause excessive strain on the actuator, leading to premature failure. Before replacing the actuator, inspect the blend door and ductwork for any signs of damage or obstructions.
- Accessibility: Replacing the vent control actuator can be a time-consuming and challenging task, especially if you're not experienced in automotive repair. If you're uncomfortable with any aspect of the job, it's best to take your vehicle to a qualified mechanic.
Replacing a vent control actuator can be a satisfying DIY project. By understanding the system, carefully diagnosing the problem, and following the proper procedures, you can save yourself money and get your Nissan Titan blowing air where it should.