Nissan Versa Side Mirror Replacement
Replacing a side mirror on a Nissan Versa, while seemingly a simple task, offers a fascinating glimpse into automotive engineering and design. Beyond the obvious necessity of restoring visibility, understanding the process allows one to appreciate the integration of electrical systems, structural integrity, and aerodynamic considerations. This guide will break down the steps, providing technical insights into each stage of the replacement.
Understanding the Versa's Side Mirror Assembly
Before diving into the replacement process, it's crucial to understand the components of the Versa's side mirror assembly. These typically include:
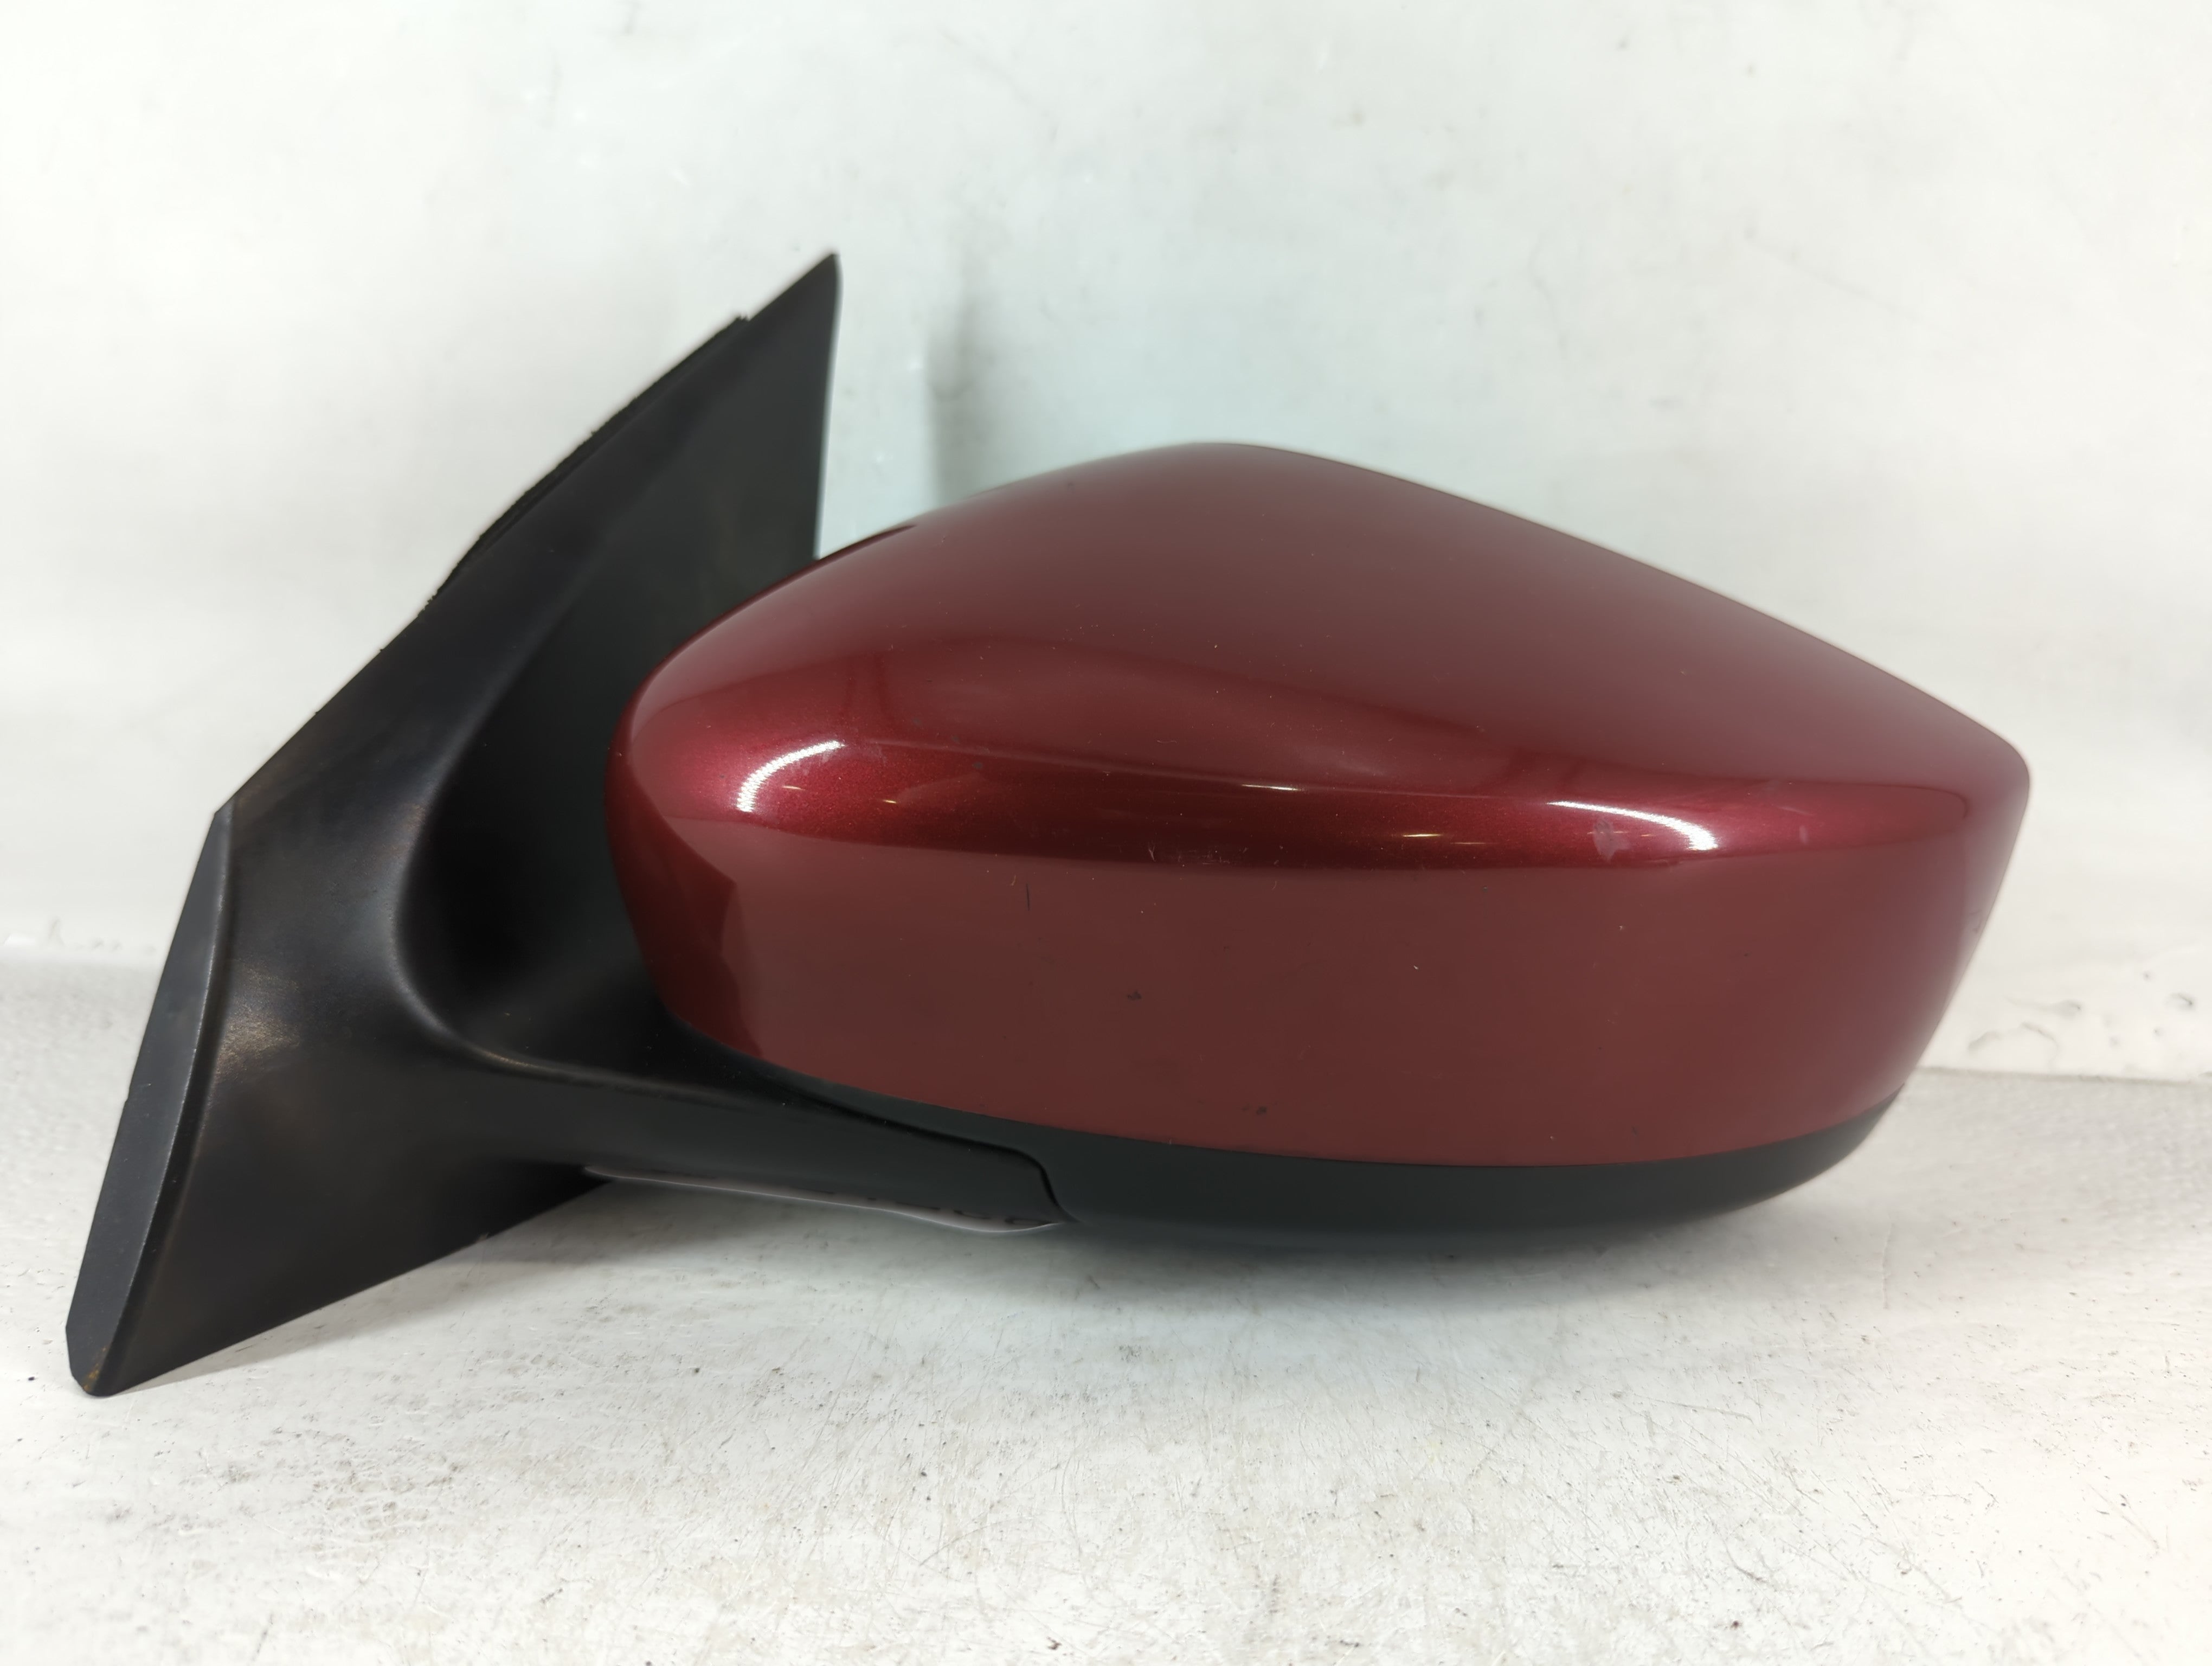
- The Mirror Housing: Usually made of ABS plastic, the housing is designed to withstand environmental conditions and minor impacts. Its shape is often aerodynamically optimized to minimize wind noise and drag.
- The Mirror Glass: This can be a standard flat mirror or a convex mirror (often on the passenger side) for a wider field of view. Some Versa models feature heated mirrors, incorporating a resistive heating element bonded to the back of the glass.
- The Adjustment Mechanism: In manually adjustable mirrors, cables and levers control the mirror's orientation. Electronically adjustable mirrors use small electric motors and a series of gears for precise positioning.
- The Mounting Base: This attaches the mirror assembly to the door. It often incorporates a breakaway feature to prevent severe damage in the event of an impact.
- Wiring Harness: For electrically adjustable and heated mirrors, a wiring harness connects the mirror to the vehicle's electrical system. This harness includes connectors for power, ground, and control signals.
Tools and Materials Required
To perform a side mirror replacement on a Nissan Versa, you'll need the following tools and materials:
- Replacement Side Mirror Assembly: Ensure you obtain the correct part number for your Versa's year and trim level. Verify features like heated mirrors, power adjustment, and turn signal indicators match your original mirror.
- Socket Set: Typically, 10mm and 8mm sockets are needed to remove the mirror assembly and interior door panel components.
- Screwdriver Set: A Phillips head screwdriver is essential for removing screws securing the door panel. A small flathead screwdriver can be helpful for prying trim pieces.
- Trim Removal Tool: This plastic tool is designed to safely remove interior trim panels without causing damage. A flathead screwdriver wrapped in tape can be used as a substitute, but exercise caution.
- Pliers: May be needed to disconnect electrical connectors or remove clips.
- Multimeter (Optional): If diagnosing electrical issues, a multimeter can be invaluable for checking voltage and continuity.
- Protective Gloves: To protect your hands from sharp edges and grease.
- Safety Glasses: To protect your eyes from debris.
Step-by-Step Replacement Procedure
Now, let's delve into the step-by-step procedure for replacing the side mirror.
Step 1: Disconnecting the Battery (Safety First)
Before commencing any electrical work, it's crucial to disconnect the negative terminal of the battery. This prevents accidental short circuits and potential damage to the vehicle's electrical system. Use a wrench to loosen the nut on the negative terminal and carefully detach the cable.
Step 2: Removing the Interior Door Panel
The Versa's side mirror is typically attached from the inside of the door. Therefore, you'll need to remove the interior door panel. This process varies slightly depending on the year and trim level, but generally involves the following steps:
- Locate and remove any screws: These are usually hidden behind plastic covers in the door handle recess, armrest, and lower portion of the panel. Use a Phillips head screwdriver to remove them.
- Pry off trim pieces: Using a trim removal tool, carefully pry off any plastic trim pieces surrounding the door handle, window switches, and door lock. These are typically held in place by plastic clips. Applying even pressure is key to avoid breaking the clips.
- Detach the door panel: Once all screws and trim pieces are removed, the door panel is usually held in place by plastic clips around its perimeter. Insert the trim removal tool between the door panel and the door frame, and gently pry outward. Work your way around the panel until all the clips are detached.
- Lift and remove the panel: Once the clips are detached, lift the door panel upward and away from the door frame. Be mindful of any wiring harnesses connected to the window switches, door lock, or speaker.
- Disconnect wiring harnesses: Carefully disconnect any wiring harnesses connected to the door panel components. Press the release tabs on the connectors before pulling them apart.
Step 3: Accessing the Mirror Mounting Point
With the door panel removed, you should now have access to the mounting point of the side mirror. This is typically a triangular area covered by a plastic trim piece. Remove this trim piece by prying it off with a trim removal tool or screwdriver. This reveals the bolts or nuts securing the mirror to the door frame.
Step 4: Disconnecting the Electrical Connector
If your Versa has electrically adjustable or heated mirrors, you'll need to disconnect the electrical connector. Locate the connector, which is usually plugged into the back of the mirror assembly. Press the release tab on the connector and gently pull it apart. Be careful not to pull on the wires, as this could damage the connector or wiring harness. If the connector is difficult to reach, you may need to use pliers to gently manipulate it.
Step 5: Removing the Old Mirror Assembly
Using a socket set, remove the bolts or nuts securing the mirror assembly to the door frame. Typically, there are three bolts or nuts holding the mirror in place. Support the mirror assembly with one hand while removing the last bolt or nut to prevent it from falling and causing damage. Once all the fasteners are removed, carefully detach the old mirror assembly from the door.
Step 6: Installing the New Mirror Assembly
Align the new mirror assembly with the mounting holes on the door frame. Install the bolts or nuts and tighten them securely. Do not overtighten the fasteners, as this could damage the mirror housing or the door frame.
Step 7: Reconnecting the Electrical Connector
If your Versa has electrically adjustable or heated mirrors, reconnect the electrical connector to the new mirror assembly. Ensure the connector is fully seated and the release tab clicks into place.
Step 8: Reinstalling the Interior Door Panel
Reinstall the interior door panel by reversing the removal process:
- Reconnect wiring harnesses: Carefully reconnect all wiring harnesses to the door panel components.
- Align the door panel: Align the door panel with the door frame and press it firmly into place, ensuring all the plastic clips engage.
- Reinstall screws and trim pieces: Reinstall any screws and trim pieces that were removed during the disassembly process.
Step 9: Testing the New Mirror
Reconnect the negative terminal of the battery. Test the new mirror to ensure it functions correctly. Check the mirror adjustment, heated mirror (if equipped), and turn signal indicator (if equipped). If any functions are not working, double-check the wiring connections and fuses.
Troubleshooting Common Issues
Here are some common issues that may arise during a side mirror replacement and how to troubleshoot them:
- Difficulty removing the door panel: Ensure all screws and trim pieces are removed before attempting to detach the door panel. If the clips are stuck, use a trim removal tool to gently pry them loose.
- Broken plastic clips: Plastic clips are prone to breaking. If you break a clip, you can usually purchase replacements at an auto parts store.
- Electrical functions not working: Double-check the wiring connections and fuses. Use a multimeter to check for voltage and continuity.
- Mirror adjustment not working: Ensure the electrical connector is properly connected and the mirror adjustment switch is functioning correctly.
Conclusion
Replacing a side mirror on a Nissan Versa is a manageable task that can be accomplished with patience and the right tools. By understanding the components of the mirror assembly and following the steps outlined in this guide, you can save money on repair costs and gain a deeper appreciation for the engineering behind your vehicle. Always prioritize safety and take your time to ensure a proper installation. Remember to consult your vehicle's repair manual for specific instructions and torque specifications.