Nissan Xterra Sun Visor Replacements
So, your Nissan Xterra sun visor is hanging down like a sad, droopy ear, or maybe it's completely snapped off. It's a common problem, especially in older models where the plastic has become brittle from years of sun exposure. Replacing it is a pretty straightforward DIY job. This guide will walk you through the process, covering everything from diagnosing the issue to choosing the right replacement and tackling the installation.
Diagnosing the Sun Visor Problem
Before you even think about ordering a new visor, take a good look at the existing one. Pinpointing the *exact* cause of the failure will help you decide what (if anything) else you might need to replace.
- Loose or Drooping Visor: This is usually caused by a worn-out pivot point inside the visor mount. The internal friction that holds the visor in position degrades over time, allowing gravity to win. Sometimes, tightening the screw (if there is one) on the mounting bracket can provide a temporary fix, but it's usually a sign that the visor itself needs replacing.
- Broken Visor Arm: This is pretty self-explanatory. The arm (the metal rod that connects the visor to the mounting bracket) can snap, often right near where it enters the visor body or the mount. This usually requires a full visor replacement.
- Damaged Mounting Bracket: The bracket itself, which attaches to the roof of the Xterra, can crack or break. This is less common, but still possible, especially if the visor has been subjected to excessive force. Check for cracks, stripped screw holes, or any other signs of damage.
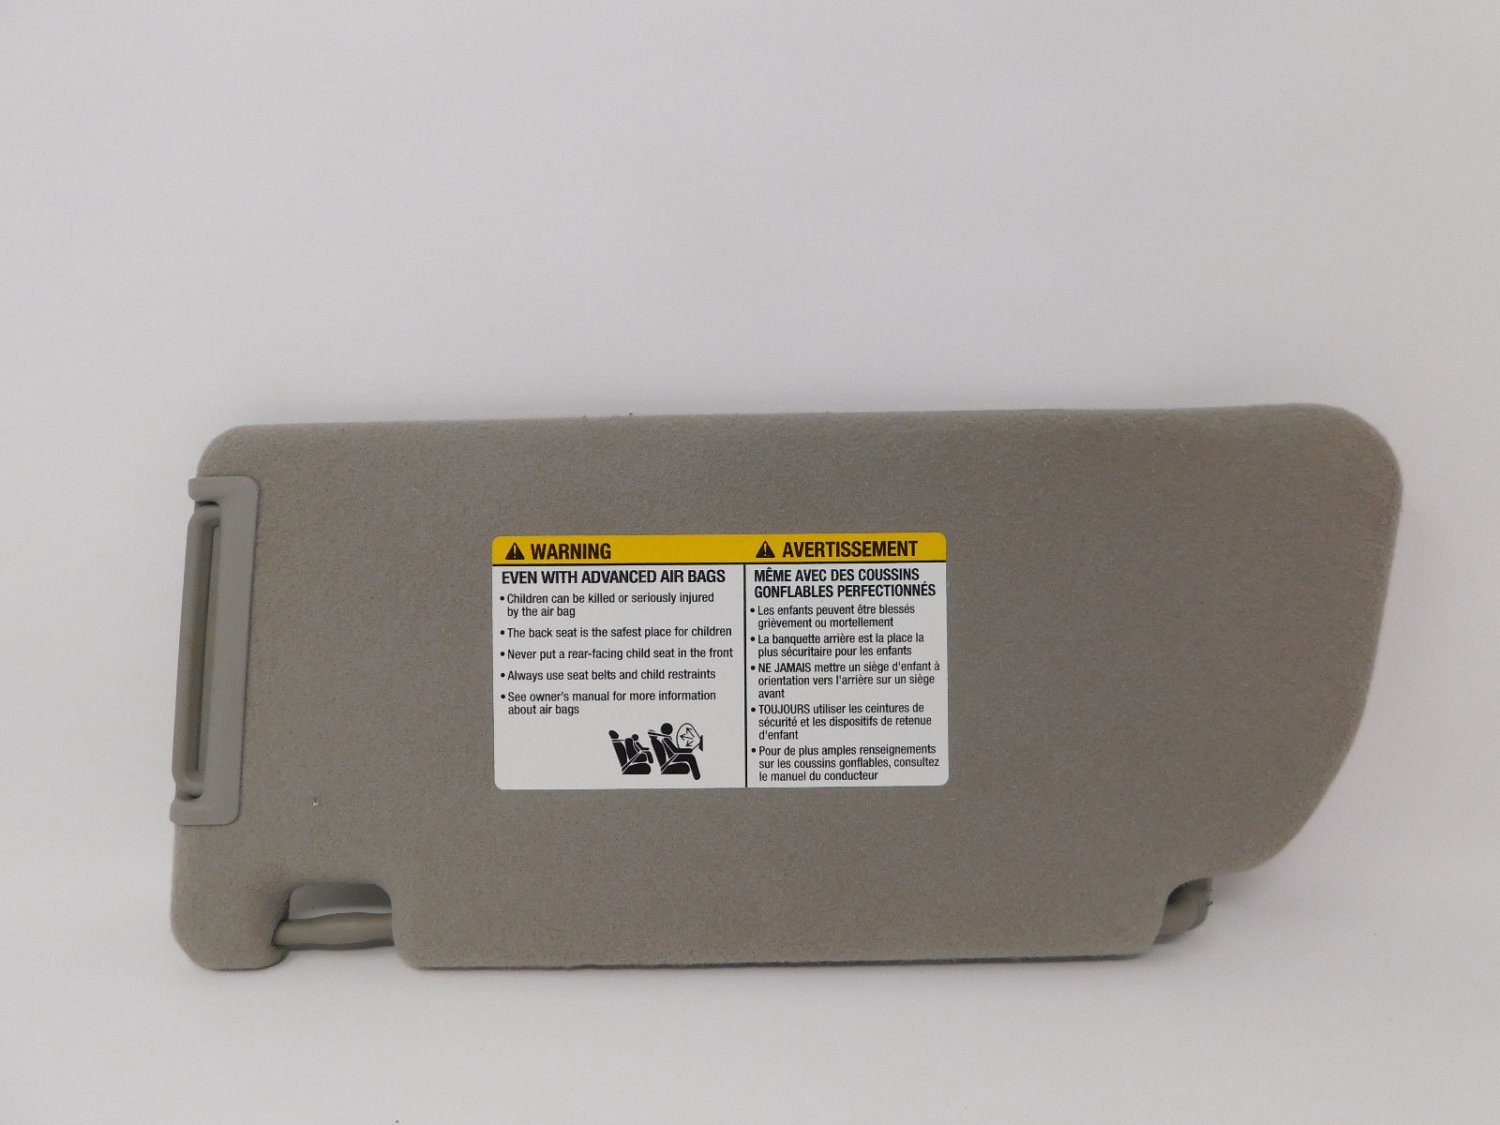
- Broken Visor Body: Sometimes the visor itself cracks or breaks apart, especially around the edges or near the mirror (if equipped). This is a definite sign for replacement.
Once you've identified the problem, you can move on to selecting the correct replacement.
Choosing the Right Replacement Visor
Nissan Xterra sun visors are generally specific to the model year and trim level. Getting the right one is crucial for a proper fit and appearance. Here’s what you need to consider:
- Model Year: Xterra visors changed over the years. Make sure the visor you order is specifically for your Xterra's model year. For example, a 2000 Xterra visor likely will *not* fit a 2005 Xterra.
- Side (Left/Right): Clearly, you need to order the visor for the correct side of the vehicle. Driver's side is usually referred to as "left," and passenger's side as "right."
- Color: Xterras came in various interior colors. Match the replacement visor to your existing interior. Color names can be tricky, so it's often best to compare photos online or, ideally, take a piece of your old visor to an auto parts store for comparison. Common colors include gray, tan, and black.
- With or Without Vanity Mirror: Some Xterras came with illuminated or non-illuminated vanity mirrors in the sun visors. If yours has one, make sure the replacement does too (or that you're okay with losing the mirror). Important: If your original visor has an illuminated mirror, the replacement must be designed for that feature. There will be wiring involved.
- OEM vs. Aftermarket: You have the option of buying an Original Equipment Manufacturer (OEM) visor from a Nissan dealer or an aftermarket visor from a parts supplier. OEM visors are typically more expensive but offer the best fit and finish. Aftermarket visors can be more budget-friendly, but quality can vary. Read reviews and choose a reputable brand.
Where to buy:
- Nissan Dealership: Generally, the most expensive option, but guarantees correct parts.
- Online Retailers: Sites like Amazon, eBay, and auto parts retailers offer a wide selection. Double-check compatibility and read reviews.
- Auto Parts Stores: NAPA, AutoZone, Advance Auto Parts, etc. Often offer quick access and helpful advice, but selection might be limited.
- Salvage Yards: A good option for budget-conscious shoppers, but condition can vary significantly.
Tools and Materials Needed
Before you start, gather the necessary tools and materials:
- New Sun Visor: (Duh!)
- Phillips Head Screwdriver: Most Xterra visors are held in place with Phillips head screws. Make sure you have the right size to avoid stripping the screw heads.
- Flathead Screwdriver (Optional): May be helpful for prying off trim pieces or gently releasing clips.
- Panel Removal Tool (Optional): If you're concerned about damaging interior trim, a panel removal tool is a good investment. These are typically inexpensive and made of plastic.
- Small Socket Set (Optional): Some Xterra models might use small bolts instead of screws for the visor mount.
- Wiring Tester (If Applicable): If your visor has an illuminated vanity mirror, you'll need a wiring tester to ensure proper power connection.
- Electrical Tape or Crimp Connectors (If Applicable): For re-connecting wiring to the illuminated mirror. Crimp connectors are a more professional solution.
- Safety Glasses: Protect your eyes from debris.
- Work Gloves: Protect your hands.
- Shop Rags: For wiping down surfaces.
Sun Visor Replacement Procedure
Now for the fun part – actually replacing the visor! Follow these steps carefully:
- Prepare the Vehicle: Park your Xterra on a level surface and turn off the ignition. Disconnecting the negative battery terminal is a good safety precaution, especially if your visor has an illuminated mirror, but it's not strictly necessary.
- Remove the Old Visor: Locate the screws or bolts holding the visor mounting bracket to the roof. Using the correct screwdriver or socket, carefully remove the fasteners. Support the visor as you remove the last screw to prevent it from falling and potentially damaging the interior.
Important Note: Pay close attention to the orientation of the mounting bracket as you remove it. You'll need to install the new one in the same way. Taking a photo with your phone is always a good idea.
- Disconnect Wiring (If Applicable): If your visor has an illuminated vanity mirror, you'll need to disconnect the wiring. There will typically be a connector plug. Gently squeeze the connector to release it and pull it apart. If wires are directly connected you will need to cut them and reconnect using crimp connectors or electrical tape. Test the connection with the wiring tester before permanently connecting them.
- Install the New Visor Bracket: Place the new visor's mounting bracket in the same orientation as the old one. Align the screw holes and carefully install the screws or bolts. Do not overtighten, as this can strip the screw holes or damage the bracket. Snug is good.
- Connect Wiring (If Applicable): If your visor has an illuminated mirror, connect the wiring harness. Ensure the connectors are properly seated and locked. If you cut the wires, use crimp connectors to join them, or carefully wrap them with electrical tape, ensuring a secure connection.
- Test Functionality: Before fully tightening everything down, test the visor. Make sure it pivots smoothly and stays in the desired position. If it has an illuminated mirror, turn on the ignition and verify that the mirror lights up.
- Final Adjustments: Once you're satisfied with the function, double-check that all screws or bolts are tightened securely (but not overtightened). Wipe down the visor and the surrounding area with a clean shop rag.
Troubleshooting
Sometimes, things don't go quite as planned. Here are a few common problems and how to address them:
- Stripped Screw Holes: If the screw holes in the roof are stripped, you can try using slightly larger screws. If that doesn't work, you may need to use thread repair inserts or a self-tapping screw.
- Wiring Issues (Illuminated Mirror): If the mirror doesn't light up, double-check the wiring connections. Make sure the connector is properly seated and that the wiring is intact. Use a multimeter to test for voltage at the connector. If there's no voltage, you may have a blown fuse.
- Visor Too Loose: If the visor is still too loose after installation, you may need to add some friction to the pivot point. A small piece of rubber or felt placed between the visor arm and the mounting bracket can sometimes help.
Preventative Maintenance
To prolong the life of your new sun visor (and the one on the other side!), here are a few tips:
- Avoid Excessive Force: Don't yank on the visor or force it into position. Use gentle movements.
- Protect from Extreme Temperatures: Park in the shade whenever possible to reduce sun exposure. Consider using a windshield sunshade to protect the entire interior.
- Regular Cleaning: Wipe down the visor regularly with a damp cloth to remove dust and grime.
Replacing a Nissan Xterra sun visor is a relatively simple and rewarding DIY project. By following these steps and taking your time, you can save money and restore the functionality of your vehicle's interior.