Oem And Aftermarket Front Bumper Options For The 1989 240sx
The 1989 Nissan 240SX, a beloved chassis among drifting enthusiasts and JDM aficionados, is getting harder to find in pristine condition. One of the most common areas to show its age is the front bumper. Whether it's cracked from a minor fender bender, faded from years in the sun, or simply doesn't match your vision for the car, you're likely considering your replacement options. This article will guide you through the OEM and aftermarket front bumper choices available for your '89 240SX, helping you make an informed decision based on your budget, skill level, and desired aesthetic.
OEM Front Bumper Options
Sticking with an Original Equipment Manufacturer (OEM) bumper is often the best route for maintaining the original look and fitment of your 240SX. However, finding a truly *new* OEM bumper is becoming increasingly difficult, and often prohibitively expensive.
Sourcing a Used OEM Bumper
Your primary avenue for acquiring an OEM bumper will likely be the used market. Online forums dedicated to 240SX enthusiasts, such as Zilvia.net, and platforms like eBay Motors are good places to start your search. Local junkyards specializing in Japanese cars are another potential goldmine, although finding one in good condition might require some patience.
Things to Consider when Buying a Used OEM Bumper:
- Condition: Thoroughly inspect the bumper for cracks, dents, and signs of previous repairs. Pay close attention to the mounting points, as these are often the first to fail.
- Completeness: Ensure the bumper includes all necessary hardware, such as brackets, lights (if applicable), and the lower lip. Missing parts can be difficult and costly to replace individually.
- Paint Condition: While you'll likely be repainting the bumper anyway, a bumper with intact paint can give you a better idea of the condition of the underlying plastic. Avoid bumpers with excessive peeling or bubbling paint, as this could indicate previous poor-quality repairs.
- Price: Used OEM bumpers can range in price from $100 to $500+, depending on condition and rarity. Factor in the cost of shipping, repainting, and any necessary repairs.
Tools Needed for OEM Bumper Removal and Installation:
- Socket set with various sizes (typically 10mm, 12mm, and 14mm)
- Wrench set
- Screwdrivers (Phillips and flathead)
- Pliers
- Penetrating oil (for loosening stubborn bolts)
- Jack and jack stands (for easier access)
Estimated Repair Cost (OEM Bumper):
- Used Bumper: $100 - $500+
- Repainting: $200 - $500 (depending on the shop and quality of paint)
- Minor Repairs (cracks, dents): $50 - $200 (if you're doing it yourself, the cost will be lower)
- Installation (if hiring a mechanic): $100 - $300
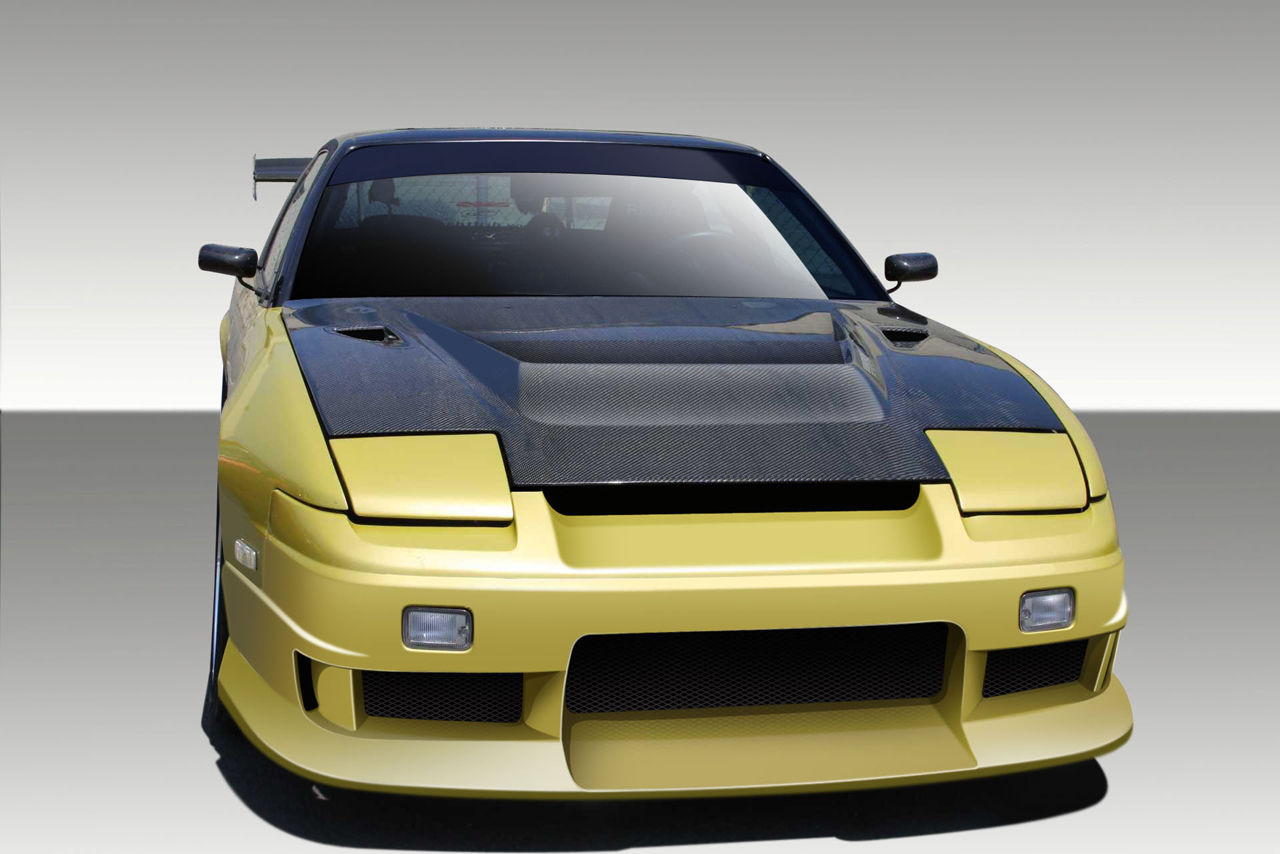
Aftermarket Front Bumper Options
The aftermarket offers a wide array of front bumper styles for the 240SX, catering to various tastes and budgets. These options range from subtle variations of the OEM design to aggressive, track-inspired looks. Material choice also varies, with popular options including fiberglass, polyurethane, and occasionally, carbon fiber.
Fiberglass Bumpers
Fiberglass bumpers are a common and relatively affordable option. They offer a wide range of designs, from replicas of popular Japanese tuners to completely custom creations. However, fiberglass is also more brittle than other materials and prone to cracking upon impact.
Pros:
- Affordable
- Wide variety of styles
Cons:
- Brittle and prone to cracking
- Often require significant prep work before painting (sanding, filling imperfections)
- Fitment can be inconsistent
Polyurethane Bumpers
Polyurethane (PU) bumpers are a more durable alternative to fiberglass. They are more flexible and resistant to cracking, making them better suited for street driving. However, they are typically more expensive than fiberglass bumpers.
Pros:
- More durable than fiberglass
- Better fitment (typically)
- More resistant to cracking
Cons:
- More expensive than fiberglass
- Can be heavier than fiberglass
- Still requires prep work before painting
Carbon Fiber Bumpers
Carbon fiber bumpers are the most expensive option and are typically reserved for show cars or dedicated track vehicles. They offer a lightweight and stylish appearance but are also the most fragile. Carbon fiber is extremely stiff, so impacts will likely result in shattering rather than bending or cracking. Because of cost and fragility, these are rarely a practical option.
Pros:
- Lightweight
- Stylish appearance
Cons:
- Extremely expensive
- Very fragile
- Can be difficult to repair
Fitment Considerations
One of the biggest challenges with aftermarket bumpers is ensuring proper fitment. Not all manufacturers have the same level of quality control, and even bumpers advertised as "direct fit" may require some modification to align correctly. Be prepared to spend some time adjusting brackets, trimming edges, and potentially even fabricating new mounting points.
Tips for Improving Aftermarket Bumper Fitment:
- Research the Manufacturer: Read reviews and forums to get an idea of the manufacturer's reputation for quality and fitment.
- Dry Fit Before Painting: Always dry fit the bumper to your car *before* painting it. This will allow you to identify any fitment issues and make necessary adjustments without damaging the paint.
- Use Shims and Spacers: Shims and spacers can be used to fine-tune the alignment of the bumper and ensure a flush fit.
- Consider Professional Installation: If you're not comfortable making modifications or fabricating mounting points, consider hiring a professional body shop to install the bumper.
Tools Needed for Aftermarket Bumper Removal and Installation:
In addition to the tools listed for OEM bumper removal and installation, you may also need:
- Grinder or Dremel tool (for trimming and modifying the bumper)
- Drill (for creating new mounting holes)
- Body filler (for filling imperfections)
- Sandpaper (various grits)
Estimated Repair Cost (Aftermarket Bumper):
- Fiberglass Bumper: $150 - $400
- Polyurethane Bumper: $300 - $700
- Carbon Fiber Bumper: $800+ (and often much more)
- Prep Work and Painting: $300 - $700 (depending on the amount of prep work required)
- Installation (if hiring a mechanic): $150 - $400 (due to potential fitment issues)
Choosing the Right Option
Ultimately, the best front bumper for your '89 240SX depends on your individual needs and preferences. If you prioritize originality and perfect fitment, an OEM bumper is the way to go, but be prepared to pay a premium and invest time in finding a good-condition example. If you're on a budget or want a unique look, an aftermarket bumper can be a great option, but be prepared to put in some extra effort to ensure proper fitment and finish.
Before making a purchase, carefully consider your budget, skill level, and the desired aesthetic for your car. Don't be afraid to ask for advice from other 240SX owners and research different brands and styles. With a little bit of research and effort, you can find the perfect front bumper to complete your 240SX project.
A Final Tip: Remember to factor in the cost of painting. A poorly painted bumper can ruin the entire look of your car. Invest in a quality paint job to ensure a professional and long-lasting finish.