Oem And Aftermarket Shift Boot Replacement For The Nissan 240sx
So, you've got a Nissan 240SX, a true legend, and you've noticed something's not quite right with your shift boot? Maybe it's cracked, torn, or just plain falling apart. Don't worry, it's a common issue, especially on a car of this age. A worn-out shift boot isn't just an eyesore; it can let in unwanted heat, noise, and even fumes from the engine bay. Luckily, replacing it is a straightforward DIY project that can dramatically improve your driving experience. Let's dive into the problem, the solutions, and what you'll need to get the job done.
The Problem: Why is My 240SX Shift Boot Busted?
Several factors contribute to shift boot failure in the 240SX:
- Age and Material Degradation: The original shift boot is likely made of rubber or vinyl, which naturally degrade over time, especially with exposure to heat and UV rays.
- Wear and Tear: Constant shifting, especially aggressive driving, puts stress on the boot. Think about it – every time you shift, the boot stretches and flexes.
- Environmental Factors: Extreme temperatures, humidity, and exposure to chemicals (like spilled cleaners or oils) can accelerate the breakdown of the material.
- Poor Quality Aftermarket Replacements: If a previous owner replaced the boot with a cheap, inferior part, it's likely to fail sooner.
A damaged shift boot can lead to more than just cosmetic issues. It can allow engine heat to radiate into the cabin, making it uncomfortable, especially during warmer months. It can also let in road noise and even exhaust fumes, which is a serious health hazard. Plus, a ripped boot just looks bad and detracts from the overall appearance of your car.
The Solutions: OEM vs. Aftermarket Shift Boot Replacement
You have two main options when it comes to replacing your 240SX shift boot: going with an OEM (Original Equipment Manufacturer) part or choosing an aftermarket option. Each has its pros and cons.
OEM Shift Boot: The Original Fit
An OEM shift boot is a direct replacement from Nissan, guaranteeing a perfect fit and finish. It's designed to match the original specifications of your 240SX, ensuring proper sealing and functionality.
- Pros: Exact fit, original appearance, known quality (though aging OEM parts may still degrade).
- Cons: Can be more expensive than aftermarket options, availability can be limited (especially for older models like the 240SX).
If you're aiming for a restoration or simply want the peace of mind that comes with an OEM part, this is the way to go. However, be prepared to potentially search a bit harder to find one in good condition and at a reasonable price. Contact your local Nissan dealer or online Nissan parts retailers to check availability.
Aftermarket Shift Boot: A World of Choices
The aftermarket offers a vast selection of shift boots for the 240SX, ranging from budget-friendly options to high-end custom designs. You can find boots made from various materials, including leather, suede, and even performance fabrics.
- Pros: Wide range of styles and materials, often more affordable than OEM, readily available.
- Cons: Fit and finish can vary, quality can be inconsistent, may require minor modifications.
When choosing an aftermarket shift boot, research the brand and read reviews. Look for reputable manufacturers known for producing quality parts. Consider the material: leather or suede can offer a more luxurious feel, while synthetic materials may be more durable and easier to clean. Also, pay close attention to the dimensions and mounting style to ensure a proper fit. Some aftermarket boots are designed as "universal" fitments, which may require some trimming or adjustments to work correctly.
Tools and Materials You'll Need
Before you start the replacement process, gather the necessary tools and materials:
- New Shift Boot: OEM or Aftermarket (make sure it's the correct type for your 240SX – manual or automatic).
- Flathead Screwdriver: For prying and removing trim pieces.
- Phillips Head Screwdriver: For removing screws.
- Socket Set: May be needed for removing the shift knob or console components.
- Pliers: For removing clips or fasteners.
- Utility Knife or Scissors: For trimming the new boot (if necessary).
- Contact Cement or Adhesive (Optional): For securing the boot to the frame (if necessary).
- Clean Rags: For cleaning up any spills or debris.
- Work Gloves: To protect your hands.
- Pen or Marker: To mark the orientation of parts before removal (helpful for reassembly).
The Shift Boot Replacement Process: Step-by-Step
Here's a general guide to replacing your 240SX shift boot. Keep in mind that the exact steps may vary slightly depending on the specific model year and trim level of your car.
- Preparation: Park your car on a level surface, engage the parking brake, and turn off the ignition.
- Remove the Shift Knob: The shift knob typically unscrews by turning it counterclockwise. If it's stuck, you may need to use a wrench or pliers (be careful not to damage the knob).
- Remove the Center Console: This usually involves removing screws or clips located around the perimeter of the console. Gently pry up the console, taking care not to damage any wiring or connectors. Disconnect any electrical connectors attached to the console (e.g., for power windows or cigarette lighter). Always disconnect the negative battery terminal if you're working with electrical components.
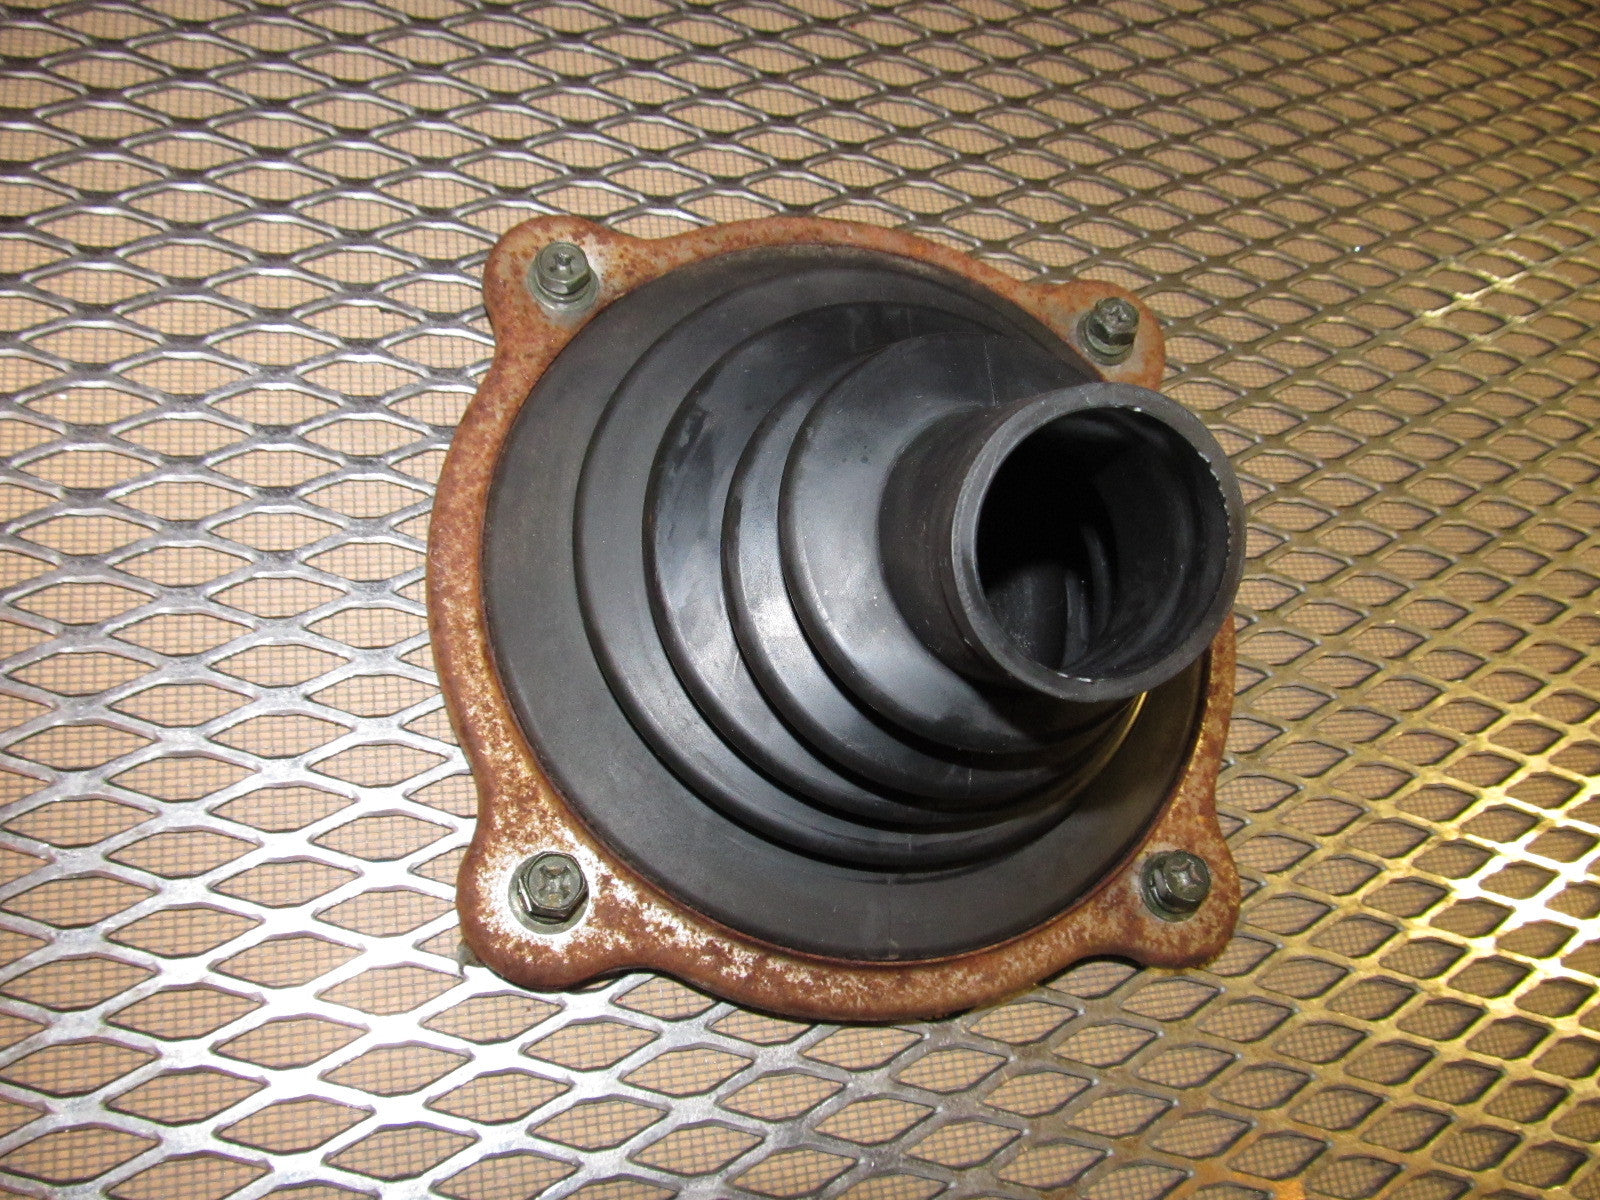
- Remove the Old Shift Boot: The shift boot is typically attached to a plastic or metal frame. Carefully detach the old boot from the frame. This may involve removing staples, clips, or adhesive. Pay attention to how the old boot is attached, as you'll need to replicate this with the new boot. Note the orientation of the boot before removing it.
- Prepare the New Shift Boot: If the new boot is not pre-attached to a frame, you'll need to attach it to the existing frame or a new frame (if provided). Stretch the boot over the frame and secure it using staples, clips, or adhesive, mimicking the original attachment method. Trim any excess material as needed.
- Install the New Shift Boot: Carefully position the frame with the new boot back into the center console opening. Ensure the boot is properly aligned and secured to the chassis.
- Reinstall the Center Console: Reconnect any electrical connectors and carefully lower the center console back into place. Secure it with the screws or clips you removed earlier.
- Reinstall the Shift Knob: Screw the shift knob back onto the shift lever, tightening it securely.
- Test and Adjust: Shift through all the gears to ensure the new boot doesn't interfere with the shifter's movement. Make any necessary adjustments to the boot's position or tension.
Common Pitfalls and How to Avoid Them
- Rushing the Process: Take your time and be patient. Rushing can lead to mistakes and damage to your car's interior.
- Forcing Trim Pieces: If a trim piece doesn't come off easily, don't force it. Look for hidden screws or clips.
- Damaging Wiring: Be careful when disconnecting and reconnecting electrical connectors. Always disconnect the negative battery terminal to prevent shorts.
- Incorrectly Attaching the New Boot: Pay close attention to how the old boot was attached to the frame. Replicate this method with the new boot to ensure a secure fit.
- Using the Wrong Adhesive: If using adhesive, choose one that is compatible with the materials of the boot and the frame. Avoid using harsh solvents that could damage the boot.
Estimated Repair Costs
The cost of replacing your 240SX shift boot can vary depending on several factors:
- OEM vs. Aftermarket: OEM boots generally cost more.
- Material: Leather or suede boots are typically more expensive than vinyl or synthetic options.
- Labor Costs (If Hiring a Mechanic): Labor rates vary by location and shop.
Here's a rough estimate of the costs involved:
- DIY with Aftermarket Boot: $20 - $100 (for the boot itself).
- DIY with OEM Boot: $50 - $150 (or more, depending on availability and condition).
- Professional Installation: $100 - $300 (including the cost of the boot and labor). Always get a quote before having the work done.
By following these steps and tips, you can successfully replace your 240SX shift boot and restore the look and feel of your interior. Whether you choose an OEM or aftermarket option, a new shift boot will make a noticeable difference in your driving experience. Good luck, and happy shifting!