Origin Overfenders Installation And Body Panel Modification
Widening a vehicle's stance offers numerous benefits, from increased grip and stability to a more aggressive aesthetic. Achieving this often involves installing overfenders, which create space for wider wheels and tires. This article delves into the technical aspects of installing Origin overfenders and the body panel modifications necessary to ensure a proper fit and function. We will explore the principles behind the modifications, the tools required, and the step-by-step process, aiming to provide a comprehensive understanding for the enthusiast.
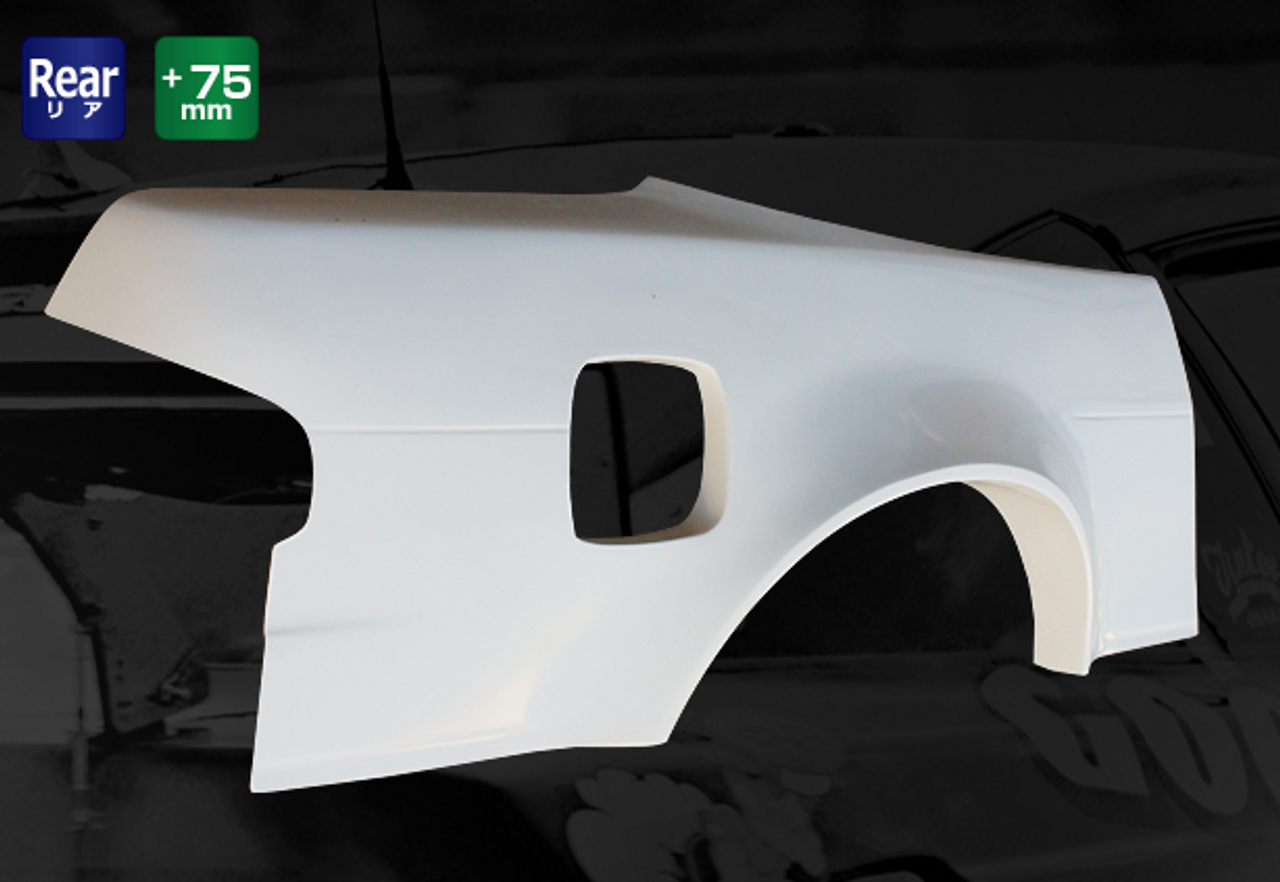
Understanding Origin Overfenders
Origin Labo is a renowned manufacturer of aftermarket aerodynamic parts, particularly popular in the drifting and time attack scenes. Their overfenders are designed to be both functional and visually appealing. Origin overfenders are typically made from Fiberglass Reinforced Plastic (FRP), known for its lightweight and relatively easy repairability. While FRP offers advantages, it also requires careful preparation and installation due to its inherent flexibility and potential for cracking. Before even considering installation, it's crucial to understand the specific type of Origin overfender you're working with. Different designs necessitate different approaches to body panel modification. Some kits may require more extensive cutting and reshaping than others.
Why Modify Body Panels?
The primary reason for modifying the existing body panels when installing overfenders is to create clearance for the larger wheels and tires. Without modification, the tires would likely rub against the inner fender wells, causing damage to both the tires and the body. Beyond clearance, modifying the body allows for proper airflow and prevents debris buildup within the widened fender space. This can be particularly important for performance applications where airflow management is critical.
Essential Tools and Materials
Successful overfender installation hinges on having the right tools and materials. Here's a comprehensive list:
- Safety Gear: Eye protection (safety glasses or goggles), ear protection (earplugs or earmuffs), and a respirator mask are essential to protect against dust and debris generated during cutting and grinding. Gloves are also recommended.
- Cutting Tools: An angle grinder with cutting discs (thin metal cutting discs are ideal) and a reciprocating saw (Sawzall) with metal cutting blades are necessary for removing sections of the original fender. A nibbler tool can also be useful for fine-tuning cuts.
- Grinding Tools: An angle grinder with grinding discs and flap discs are needed to smooth out the cut edges and remove any remaining material.
- Welding Equipment (Optional): A MIG welder may be required to weld in support structures or reinforce modified areas. If you're not comfortable welding, consider hiring a professional.
- Bodywork Tools: A hammer and dolly set can be used to reshape minor dents or imperfections. Body filler (Bondo) and sandpaper are essential for smoothing out the transition between the overfender and the original body panel.
- Measuring and Marking Tools: A measuring tape, ruler, marker, and masking tape are crucial for accurate measurements and marking cut lines. A contour gauge can be invaluable for replicating complex curves.
- Fastening Hardware: Rivets, screws, or bolts, along with corresponding washers and nuts, are needed to secure the overfender to the body.
- Adhesive (Optional): Panel bond adhesive can be used in conjunction with mechanical fasteners for added strength and sealing.
- Rust Prevention: Primer and paint are essential to protect exposed metal from rust and corrosion.
The Installation Process: A Step-by-Step Guide
The following steps outline the general process of installing Origin overfenders. However, it's crucial to consult the specific instructions provided with your overfender kit, as variations may exist.
1. Preparation and Marking
Begin by thoroughly cleaning the area around the fenders. Remove any existing trim, mud flaps, or other obstructions. Use masking tape to protect the surrounding paint from scratches and accidental damage during cutting. Carefully position the overfender and use a marker to trace the outline onto the original fender. This line will serve as a guide for cutting. It's generally recommended to leave a small lip (approximately 1-2 inches) of the original fender intact for strength and to provide a surface for attaching the overfender.
2. Cutting the Original Fenders
Using the angle grinder or reciprocating saw, carefully cut along the marked line. Take your time and make multiple shallow passes rather than trying to cut through the metal in one go. This will minimize heat buildup and prevent warping. A plasma cutter, if available, offers a cleaner and faster cutting process, but requires more skill to operate effectively. Remember to wear appropriate safety gear during this step.
3. Grinding and Smoothing
After cutting, use the grinding wheel and flap disc to smooth out the sharp edges and remove any remaining material. Pay close attention to areas where the overfender will make contact with the original body panel. The goal is to create a smooth and even surface for a flush fit. Be careful not to remove too much material, as this can weaken the fender structure.
4. Test Fitting and Adjustments
Before permanently attaching the overfender, perform a test fit. This is crucial for identifying any areas where further modification is needed. Check for proper alignment, clearance, and overall fit. Use shims or spacers if necessary to achieve the desired fitment. This stage might involve additional trimming or reshaping of the original fender or the overfender itself. Iterative test fitting is key to a successful outcome.
5. Addressing Inner Fender Wells
Often, the inner fender wells will need modification to accommodate the larger wheels and tires. This may involve hammering the inner fender well to create more clearance or cutting and welding in new metal. Using a heat gun can help make the metal more malleable during hammering. If welding is required, ensure proper rust protection is applied to the exposed metal after welding.
6. Reinforcement and Support
Depending on the extent of the modifications, it may be necessary to reinforce the remaining fender structure. This can be done by welding in steel plates or using structural adhesives. The goal is to maintain the structural integrity of the fender and prevent it from flexing or cracking. The added stress from wider wheels and tires requires a robust solution.
7. Final Fitting and Attachment
Once you are satisfied with the fit, it's time to permanently attach the overfender. Use rivets, screws, or bolts to secure the overfender to the original body panel. Pre-drilling holes is essential to prevent cracking the FRP. Panel bond adhesive can be applied to the mating surfaces for added strength and sealing. Ensure that the fasteners are evenly spaced and tightened to the appropriate torque. Over-tightening can damage the FRP.
8. Bodywork and Finishing
After attaching the overfender, use body filler to smooth out the transition between the overfender and the original body panel. This will create a seamless and professional look. Sand the body filler smooth and apply primer and paint to match the rest of the vehicle. This step requires patience and attention to detail. Proper surface preparation is crucial for a long-lasting and aesthetically pleasing finish.
9. Rust Prevention
Any exposed metal should be treated with a rust inhibitor and then primed and painted. This will prevent corrosion and extend the life of the modifications. Pay particular attention to areas where the original fender was cut or ground. Neglecting this step can lead to rust formation, which can eventually compromise the structural integrity of the fender.
Important Considerations
- Professional Assistance: If you are not comfortable with any aspect of the installation process, it's best to seek professional assistance from a qualified body shop.
- Legality: Be aware of local laws and regulations regarding fender modifications. Some jurisdictions may have restrictions on the width of vehicles or the protrusion of tires.
- Insurance: Check with your insurance company to ensure that your modifications are covered.
- Rust Prevention: Emphasize rust prevention on all cut or exposed metal surfaces.
- Fitment Issues: Origin overfenders, like many aftermarket parts, may require some degree of modification to achieve a perfect fit. Be prepared to make adjustments.
Installing Origin overfenders requires careful planning, precise execution, and a thorough understanding of body panel modification techniques. By following the steps outlined in this guide and taking the necessary precautions, you can achieve a professional-looking result and enjoy the benefits of a widened stance.