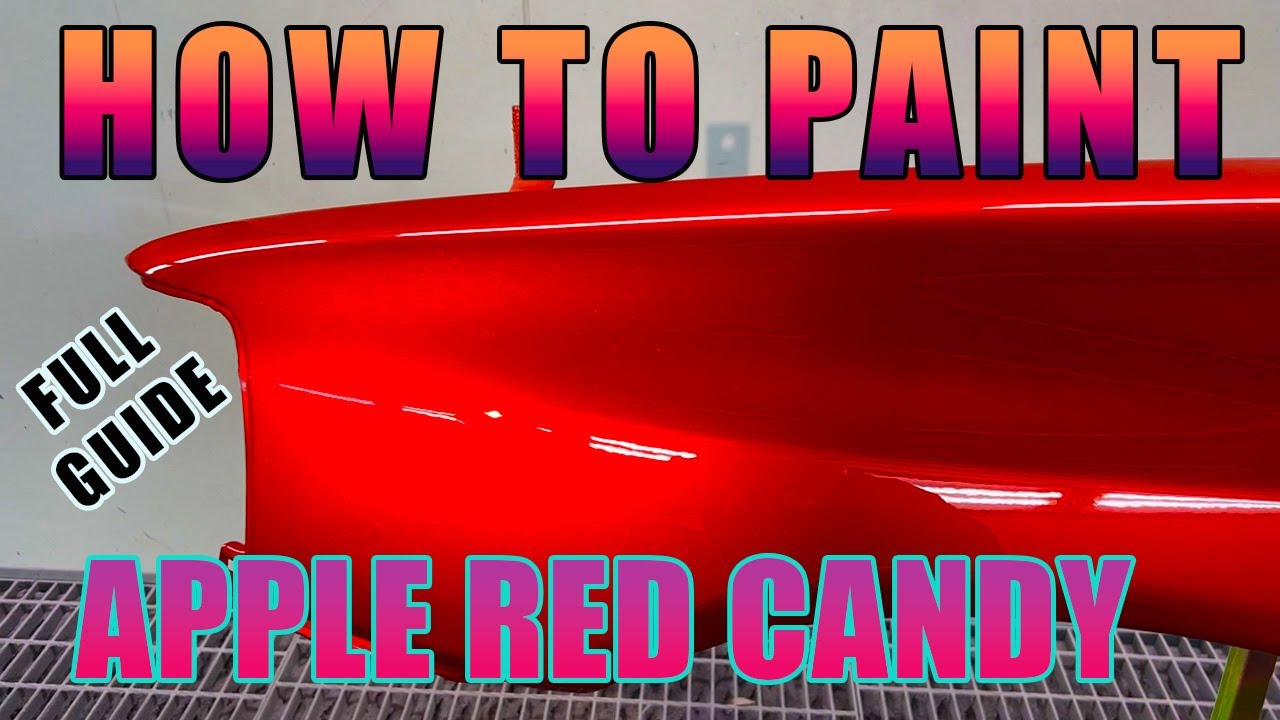
Paint Application Guide For A 'candy Apple Red' Multi-stage Finish
So, you're tackling a Candy Apple Red multi-stage finish? Excellent choice! It's a stunning color, but let's be honest, it can be a bit of a beast to apply. Many enthusiasts, even experienced ones, run into snags along the way. This guide will walk you through some common problems and, more importantly, provide solutions to achieve that showroom-worthy shine.
Problem #1: Uneven Base Coat Application
Symptom: Seeing variations in the intensity of the red even after applying the candy coat. This usually manifests as lighter or darker patches.
Cause: The silver or gold metallic base coat wasn't applied evenly. The candy coat is translucent, so any imperfections in the base are magnified.
Solution:
The key here is meticulous preparation and technique. Before you even think about paint, make sure your surface is flawlessly smooth. Any imperfections will show through. After sanding, use a good quality tack cloth to remove all dust. Dust is the enemy!
Application Technique:
- Use the Right Gun: An HVLP (High Volume Low Pressure) spray gun is highly recommended for even application and minimal overspray.
- Proper Gun Setup: Adjust your fluid tip, air pressure, and fan pattern according to the paint manufacturer's specifications. These settings will be listed on the paint's technical data sheet (TDS). Don't wing it!
- Consistent Distance and Speed: Maintain a consistent distance of about 6-8 inches from the surface and move the gun at a steady, even speed. Overlapping each pass by about 50% ensures uniform coverage.
- Multiple Thin Coats: Applying several thin coats is far better than one or two heavy ones. Allow each coat to flash (partially dry) according to the paint's TDS before applying the next.
- Lighting is Crucial: Use good, bright lighting to clearly see your work. Consider using portable work lights positioned at different angles to highlight any inconsistencies.
Tool Tip: Investing in a quality digital paint thickness gauge can be invaluable. It allows you to measure the thickness of each coat, ensuring uniformity and preventing excessive buildup.
Potential Cost: If you need to redo the base coat due to unevenness, factor in the cost of extra base coat paint (usually around $50-$100 per quart), sandpaper, tack cloth, and potentially more reducer. Also, your time! Consider the value of doing the work once correctly.
Problem #2: "Tiger Striping" in the Candy Coat
Symptom: Noticeable lines or streaks in the candy coat, resembling tiger stripes.
Cause: This is usually caused by uneven application of the candy coat, often due to variations in spray gun technique or inconsistencies in the paint itself.
Solution:
Similar to the base coat, consistent technique is paramount. However, with candy coats, there are a few extra considerations:
- Mixing is Key: Ensure the candy concentrate or toner is thoroughly mixed into the clear coat. Use a mixing stick and stir for several minutes, ensuring no pigment is settled at the bottom. A paint shaker can also be helpful.
- Consistent Reducer: Use the exact reducer recommended by the paint manufacturer. Using the wrong reducer can affect the flow and drying time of the paint, leading to inconsistencies.
- Air Pressure: Double-check your air pressure. Too high pressure can cause the paint to atomize too finely, leading to dry spray and striping. Too low, and the paint won't atomize properly, resulting in an uneven finish.
- Gun Technique: Practice your technique on a test panel before tackling the actual project. Focus on maintaining a consistent distance, speed, and overlap.
- Consider a Flow Agent: Adding a flow agent to the candy coat can help it level out more smoothly, reducing the likelihood of striping. Consult your paint supplier for recommended flow agents.
- Temperature and Humidity: Keep an eye on the temperature and humidity in your work area. Extreme temperatures or high humidity can affect the drying time and flow of the paint.
Important Note: With Candy Apple Red, it's often better to apply more coats than you think you need. Lighter coats are better.
Troubleshooting Tip: If you're already seeing tiger striping, don't panic! You might be able to correct it by applying a few more very light, even coats. But be careful! Adding too much candy coat can deepen the color beyond what you intended.
Potential Cost: Fixing tiger striping might require sanding down the affected area and reapplying the candy coat, so factor in the cost of extra candy concentrate, clear coat, reducer, sandpaper, and buffing compounds.
Problem #3: Orange Peel Texture
Symptom: The finish has a bumpy, textured appearance, resembling the skin of an orange.
Cause: Orange peel is usually caused by paint not leveling out properly before it dries. This can be due to a variety of factors, including improper spray gun settings, incorrect reducer, or environmental conditions.
Solution:
Addressing orange peel requires a multi-pronged approach:
- Reducer Choice: Using the correct reducer is crucial. A slower reducer allows the paint more time to level out before drying. Consult the paint manufacturer's TDS for recommended reducers for your specific temperature and humidity conditions.
- Gun Settings: Ensure your spray gun is properly atomizing the paint. Check your air pressure and fluid tip settings. A slightly wider fan pattern can also help.
- Application Technique: Focus on applying wet, even coats. This means applying enough paint to allow it to flow and level out, but not so much that it runs or sags.
- Temperature and Humidity: High temperatures and low humidity can cause the paint to dry too quickly, preventing it from leveling out properly. If possible, paint in a temperature-controlled environment with moderate humidity.
- Proper Flash Time: Allowing each coat to flash properly before applying the next is essential. This gives the paint time to level out and prevents solvent entrapment.
- Wet Sanding and Buffing: If you still end up with some orange peel, don't worry! It can usually be corrected with wet sanding and buffing. Start with a fine-grit sandpaper (e.g., 2000 grit) and gradually work your way up to finer grits (e.g., 3000 grit). Then, use a buffing compound and polishing pad to restore the gloss.
Tool Recommendation: A good quality dual-action (DA) sander can make wet sanding much easier and more consistent. A DA polisher is also essential for achieving a flawless finish.
Cost Breakdown: The cost to correct orange peel depends on the severity of the problem. Mild orange peel can often be corrected with just wet sanding and buffing, which might cost around $50-$100 for materials (sandpaper, buffing compounds, pads). More severe orange peel might require reapplying the clear coat, adding the cost of additional clear coat, reducer, and your time.
Problem #4: Runs and Sags
Symptom: Paint dripping or sagging on vertical surfaces.
Cause: Runs and sags are caused by applying too much paint in one area. This can be due to moving the spray gun too slowly, holding it too close to the surface, or applying too thick of a coat.
Solution:
Prevention is key when it comes to runs and sags:
- Proper Spray Gun Technique: Maintain a consistent distance from the surface and move the spray gun at a steady, even speed. Avoid dwelling in one spot.
- Thin Coats: Apply multiple thin coats rather than one thick coat. Allow each coat to flash properly before applying the next.
- Gun Settings: Adjust your fluid tip and air pressure to ensure proper atomization and flow. Too much fluid or too low air pressure can lead to runs and sags.
- Surface Preparation: Ensure the surface is clean and properly prepared. Contaminants like grease or oil can prevent the paint from adhering properly, increasing the risk of runs and sags.
- Don't Overlap Too Much: While overlap is important, excessive overlap can lead to excessive paint buildup and, ultimately, runs and sags.
Correction: If you do get runs or sags, don't try to fix them while the paint is still wet. Let the paint dry completely. Then, use a razor blade or sandpaper to carefully remove the run or sag. Feather the edges of the repair area, and then reapply the paint in thin coats.
Cost Implications: Repairing runs and sags involves sanding, re-painting, and potentially buffing. The cost will depend on the size and severity of the runs, but it can easily range from $50 to $200+ depending on the amount of material needed and the time spent.
Problem #5: Color Matching Issues
Symptom: The Candy Apple Red you're applying doesn't quite match the original color.
Cause: Color matching with multi-stage finishes, especially candy colors, can be tricky. Several factors can contribute to color mismatches, including variations in paint formulations, differences in application technique, and the age of the original paint.
Solution:
- Use a Quality Color Matching System: Invest in a reputable color matching system that allows you to accurately measure and mix the paint to match the original color.
- Spray Out a Test Panel: Before applying the paint to the entire project, spray out a test panel and compare it to the original color. This will allow you to identify any color mismatches and make adjustments before it's too late.
- Consider Fading: If you're trying to match paint on an older vehicle, factor in the possibility of fading. Sunlight and environmental factors can cause the paint to fade over time. You might need to adjust the color to compensate for this fading.
- Consult a Professional: If you're struggling to achieve a perfect color match, consider consulting a professional paint supplier or auto body shop. They have the expertise and tools to accurately match even the most challenging colors.
- Blend the Repair: Even with a perfect color match, it's often necessary to blend the repair into the surrounding areas to create a seamless transition. This involves gradually feathering the new paint into the old paint.
- Keep Records: Once you've achieved a satisfactory color match, keep detailed records of the paint formulation and mixing ratios. This will make it easier to reproduce the color in the future.
Financial Perspective: This is tricky, depending if you can salvage the project. If not, assume the need to strip and re-do the entire process, and the additional cost of having a professional color match the formula for you. If your vehicle has existing damage, it might be best to hand it off to a professional.
Remember, tackling a Candy Apple Red multi-stage finish is a challenging but rewarding project. By understanding the potential problems and implementing the solutions outlined in this guide, you can achieve a stunning, professional-quality finish. Good luck, and happy painting!