Paint Code And Application Process For Nissan 'midnight Purple' (lp2/lv4)
So, you're tackling a repair or respray on your Nissan rocking that iconic Midnight Purple (LP2 or LV4)? Excellent choice! It's a stunning color, but let's be honest, it can be a bit of a beast to work with. This article will break down the paint code and the application process, helping you navigate the challenges and achieve a finish that does justice to this legendary hue.
Understanding Nissan Midnight Purple (LP2/LV4)
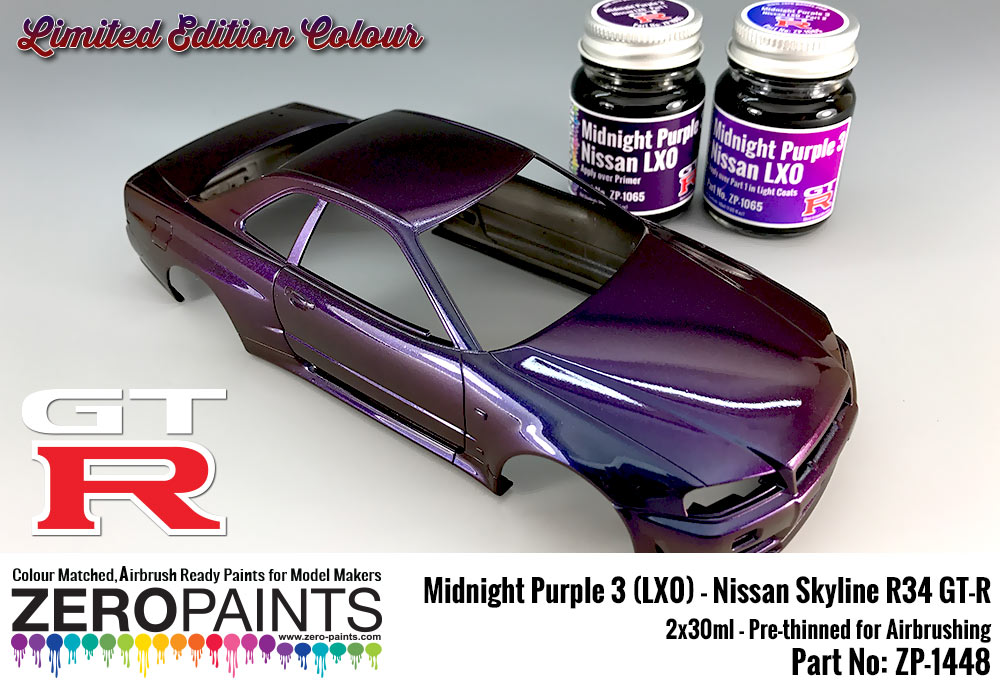
First things first: the paint code. You'll see both LP2 and LV4 associated with Midnight Purple. Generally, LP2 is the older code, more commonly found on the R33 and earlier models, while LV4 is a slightly updated version seen on later models like the R34. While similar, there *are* subtle differences. Always double-check the paint code sticker on your car. It's usually located on the driver's side door jamb. Using the wrong code can result in a noticeable color mismatch, and that's the last thing you want.
Now, what makes Midnight Purple so special, and so tricky? It's a multi-stage paint. It consists of:
- A base coat (often a dark grey or black).
- A color coat with special pigments that give it the purple-to-blue shimmer.
- A clear coat for protection and added gloss.
The color-shifting effect comes from microscopic metallic flakes and/or mica within the color coat. The angle of light hitting these particles determines the perceived color, hence the magical shifting from deep purple to vibrant blue. This complexity means that precise application is crucial.
The Application Process: Step-by-Step
Whether you're tackling a small touch-up or a full respray, the fundamental steps remain the same. However, the level of detail and preparation will vary depending on the scope of your project. Always prioritize safety! Wear appropriate respiratory protection, eye protection, and gloves.
1. Preparation is Key
Proper preparation is arguably more important than the actual painting. This includes:
- Cleaning: Thoroughly wash the area with soap and water to remove dirt, grease, and wax. Follow up with a wax and grease remover. Even the slightest contamination can cause adhesion issues.
- Sanding: Sand the area to be painted. For minor scratches, you might start with 400-grit sandpaper and move to 600-grit for a smooth finish. For larger imperfections, you might need to start with coarser grits like 180 or 220. Feather the edges of the repair area smoothly. If you're repainting the entire panel, lightly scuff the existing paint with 600-grit sandpaper.
- Masking: Protect surrounding areas with masking tape and paper. Use high-quality masking tape to prevent bleed-through.
- Priming (if necessary): If you've sanded down to bare metal or plastic, or if you're filling imperfections with body filler, apply a primer. Use a primer compatible with your topcoat system. Apply 2-3 light coats, allowing each coat to dry according to the manufacturer's instructions. Sand the primer smooth with 600-grit sandpaper before applying the base coat.
2. Applying the Base Coat
The base coat is usually a solid, dark color (often black or grey) that provides a foundation for the color coat. It affects the overall depth and richness of the final finish. Here's what to do:
- Mix the paint: Carefully mix the base coat according to the manufacturer's instructions. This usually involves adding a reducer.
- Apply thin, even coats: Apply 2-3 thin, even coats of the base coat, allowing each coat to flash (partially dry) before applying the next. Avoid runs or drips. Overlapping each pass by about 50% helps ensure even coverage.
- Allow to dry completely: Let the base coat dry completely before moving on to the color coat. Check the manufacturer's instructions for drying times.
3. Applying the Midnight Purple Color Coat
This is where the magic happens! This is also where things can go wrong quickly if you're not careful. The goal is to apply the color coat evenly to achieve a consistent color shift.
- Mix the paint: Again, meticulously mix the color coat according to the manufacturer's instructions. This is *extremely* important. Improper mixing will ruin the color effect.
- Spray Gun Settings: Ensure your spray gun is properly set up. Use a low to medium air pressure and a consistent spray pattern. Test the spray pattern on a piece of cardboard before applying it to the car.
- Apply light, even coats: This is crucial. Apply 3-4 *very* light, even coats of the color coat. Each coat should barely look like it's covering the base coat. Don't be tempted to apply heavy coats to get the color to pop! Heavy coats will cause the metallic flakes to clump together, resulting in a blotchy and uneven finish.
- Maintain a consistent distance and speed: Keep the spray gun at a consistent distance from the surface (typically 6-8 inches) and move it at a consistent speed. Overlapping each pass by about 50% is crucial here.
- Flash Time: Allow each coat to flash (partially dry) before applying the next. This allows the solvents to evaporate and prevents runs.
Pro Tip: Pay close attention to the angle of your spray gun. A slight change in angle can affect the way the metallic flakes align, resulting in variations in color. Try to maintain a consistent angle throughout the entire application process.
4. Applying the Clear Coat
The clear coat protects the color coat and provides a glossy, durable finish. It also enhances the depth and shimmer of the Midnight Purple paint.
- Mix the clear coat: Mix the clear coat according to the manufacturer's instructions. This usually involves adding a hardener and a reducer.
- Apply 2-3 wet coats: Apply 2-3 wet coats of clear coat, allowing each coat to flash before applying the next. A "wet" coat means that the clear coat is applied thick enough to flow out smoothly, but not so thick that it runs or sags.
- Watch for runs and sags: Pay close attention for runs and sags, especially on vertical surfaces. If you see any, stop immediately and let the clear coat dry completely. Then, sand down the runs and sags and reapply the clear coat.
- Allow to dry completely: Let the clear coat dry completely before buffing or polishing. Drying times vary depending on the temperature and humidity.
5. Buffing and Polishing
After the clear coat has dried completely, you can buff and polish it to remove any imperfections, such as orange peel or dust nibs. This will give the paint a smooth, glossy, and professional finish.
- Wet Sanding (Optional): If the clear coat has a significant amount of orange peel, you can wet sand it with 2000-grit or 3000-grit sandpaper before buffing.
- Buffing: Use a rotary buffer with a cutting pad and a polishing compound to remove any imperfections. Start with a low speed and gradually increase the speed as needed.
- Polishing: Use a rotary buffer with a polishing pad and a polishing compound to refine the finish and remove any swirl marks left by the buffing pad.
- Waxing: Apply a coat of wax to protect the paint and enhance the gloss.
Tools and Materials Needed
Here's a general list of what you'll likely need. The specific tools and materials will depend on the size and complexity of the repair.
- Spray gun (HVLP recommended)
- Air compressor
- Sandpaper (various grits from 180 to 3000)
- Masking tape and paper
- Wax and grease remover
- Primer (if needed)
- Nissan Midnight Purple base coat (LP2 or LV4)
- Nissan Midnight Purple color coat (LP2 or LV4)
- Clear coat
- Reducer
- Hardener
- Mixing cups and sticks
- Safety glasses
- Respirator
- Gloves
- Buffing and polishing equipment
Estimated Costs
The cost of painting your car Midnight Purple can vary greatly depending on several factors, including:
- Size of the repair: A small touch-up will be significantly cheaper than a full respray.
- Quality of materials: High-quality paints and clear coats will cost more, but they will also provide a better finish and longer-lasting protection.
- Labor costs: If you're hiring a professional painter, labor costs will be the biggest expense.
- Location: Labor rates vary from region to region.
Here's a rough estimate:
- DIY Touch-up: $50 - $150 (for paint, supplies, and tools if you don't already have them)
- DIY Panel Repaint: $200 - $500 (depending on the size of the panel and the materials used)
- Professional Panel Repaint: $500 - $1500+ (depending on the shop and the extent of the damage)
- Full Professional Respray: $5000 - $15,000+ (depending on the shop, the quality of the materials, and the level of detail)
Important Note: Getting a perfect match with multi-stage paints like Midnight Purple, especially for touch-ups on older paint, can be incredibly challenging. Sunlight and weather can fade the original paint over time, making even the correct code appear slightly different. Blending the new paint into the surrounding area is often necessary to achieve a seamless result. This is where professional expertise is invaluable.
Troubleshooting Tips
- Color Mismatch: Double-check the paint code! Also, consider that the existing paint may have faded. Blending is often necessary.
- Blotchy Finish: Uneven application of the color coat. Apply thinner, more even coats. Ensure proper spray gun settings.
- Runs and Sags: Too much paint applied at once. Apply thinner coats and allow each coat to flash properly.
- Orange Peel: Improper spray gun settings or clear coat application. Wet sanding and buffing can help.
- Adhesion Issues: Inadequate surface preparation. Ensure the surface is clean, sanded, and properly primed (if necessary).
Working with Nissan Midnight Purple can be a rewarding experience, but it requires patience, attention to detail, and a bit of practice. By following these guidelines and taking your time, you can achieve a stunning finish that will turn heads wherever you go. Don't be afraid to experiment on scrap panels before tackling the real thing. Good luck, and enjoy the process!