Paint Code Formulation And Application For A 'tiffany Blue' Custom Finish
So, you’re looking to achieve that iconic ‘Tiffany Blue’ finish on your beloved vehicle, project, or maybe even your vintage kitchen appliances? That's a fantastic goal! It's a stunning color, instantly recognizable and guaranteed to turn heads. However, replicating it perfectly can be a little trickier than simply grabbing a can of "blue" paint. This article will guide you through the process, addressing common issues and providing solutions for achieving that flawless Tiffany Blue custom finish.
The Challenge of Capturing Tiffany Blue
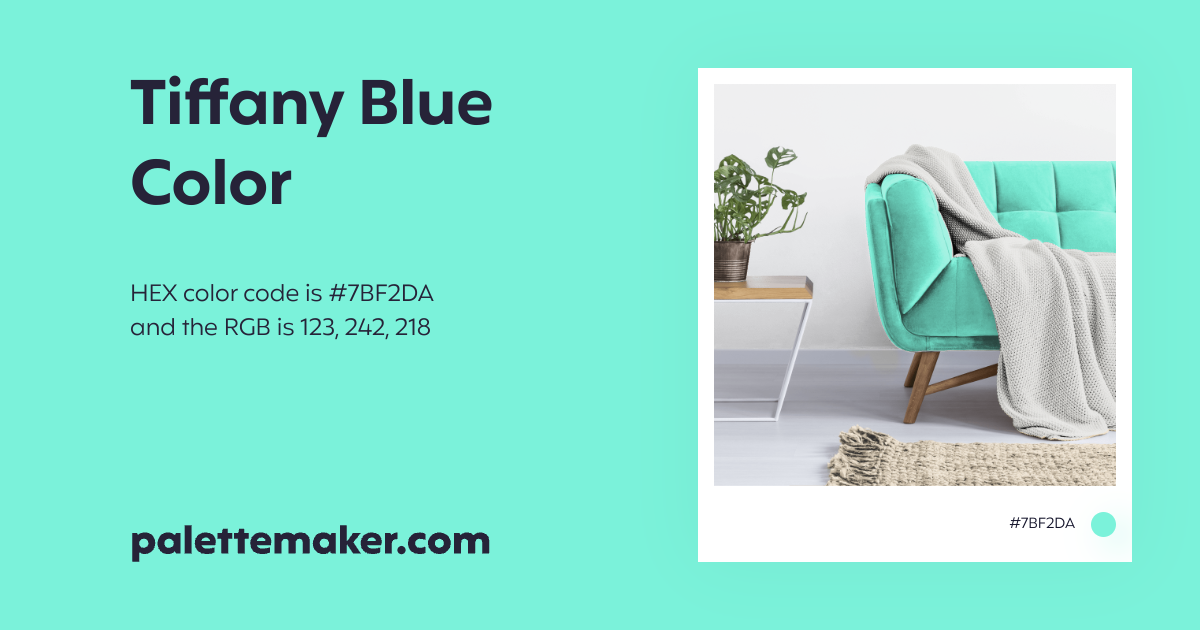
The biggest hurdle is that "Tiffany Blue" isn't a standardized, off-the-shelf color. It's a proprietary hue, meticulously guarded by Tiffany & Co. While you won’t find a paint code labeled explicitly as “Tiffany Blue” on a chart at your local auto paint supplier, you *can* get very close, and sometimes even nail it, with a little knowledge and effort. The exact shade can also vary slightly depending on lighting, the substrate (the material you’re painting), and the application technique. Getting it just right often involves some experimentation and fine-tuning.
Common Problems and Solutions
Let's break down some common challenges and provide practical solutions.
- Problem: Finding the Right Paint Code Starting Point
You've scoured the internet, asked in forums, and still can't find a definitive "Tiffany Blue" paint code. This is because there isn't one official code available to the public.
Solution: You have a few options here:
- Closest Matches: Start with colors known to be similar. Many online communities suggest options like:
- RAL 6027 (Light Green): This might seem counterintuitive, but RAL colors are a common starting point in Europe, and 6027 is often cited as being a decent approximation. Be prepared to adjust it!
- Pantone 1837 C: This is the closest official Pantone match, as Tiffany's founding year is 1837. You'll need to translate this into a paint code that your supplier understands. They can usually cross-reference Pantone colors.
- Teal Variations: Search for teal automotive paint codes and compare them to images of authentic Tiffany Blue. Look for a teal that's more pastel and less saturated.
- Color Matching Technology: The most accurate method is to use a color matching device. Many auto paint suppliers and some hardware stores have spectrophotometers that can scan a physical sample of Tiffany Blue (like a piece of jewelry, a picture, or even a printed color swatch) and generate a custom paint formula. This is the recommended approach for the best results.
- Custom Mixing: If you're feeling adventurous and have some experience with paint mixing, you can start with a white base and slowly add tints of blue, green, and possibly a touch of yellow until you achieve the desired shade. This requires patience, precision, and a good eye for color.
- Closest Matches: Start with colors known to be similar. Many online communities suggest options like:
- Problem: The Paint Doesn't Look Right After Application
You've applied the paint, and it looks *close*, but it's not quite the Tiffany Blue you envisioned. It might be too bright, too dull, too green, or too blue.
Solution: This is where fine-tuning comes in:
- Lighting: Color perception is heavily influenced by lighting. Assess the paint under different lighting conditions (natural sunlight, fluorescent light, incandescent light) to see how the color shifts.
- Clear Coat: The clear coat you use can affect the final color. Some clear coats can slightly yellow over time, which can subtly alter the blue. Use a high-quality, non-yellowing clear coat.
- Number of Coats: Too few coats can result in an uneven or translucent finish, while too many coats can deepen the color and obscure the desired hue. Apply thin, even coats, following the manufacturer's recommendations.
- Tinting the Clear Coat: For subtle adjustments, you can tint the clear coat with a small amount of the appropriate color tint. This is a delicate process, so start with a very small amount of tint and gradually add more until you achieve the desired effect. Practice on a test panel first!
- Problem: Achieving a Uniform Finish
You've got the color right, but the finish is uneven, with patches that are shinier or duller than others.
Solution: Proper surface preparation and application technique are crucial:
- Surface Preparation: Ensure the surface is clean, smooth, and properly primed. Any imperfections will be amplified by the paint. Use appropriate sanding techniques and body filler to create a flawless base.
- Application Technique: Whether you're using a spray gun, aerosol can, or brush, maintain a consistent distance and speed. Overlapping strokes evenly is essential for a uniform finish. If using a spray gun, adjust the spray pattern and pressure according to the manufacturer's recommendations.
- Humidity and Temperature: Extreme humidity or temperature can affect the drying time and finish of the paint. Ideally, paint in a well-ventilated area with moderate temperature and humidity.
- Professional Application: If you're not confident in your painting skills, consider hiring a professional auto body shop or custom painter. They have the expertise and equipment to achieve a flawless finish.
Tools and Materials You'll Need
Here's a general list of tools and materials. The specifics will vary depending on the project size and complexity.
- Paint: The chosen "Tiffany Blue" equivalent, primer, and clear coat. Choose high-quality automotive paint for durability and longevity.
- Spray Gun or Aerosol Cans: For applying the paint. A spray gun offers more control and a finer finish.
- Air Compressor: If using a spray gun.
- Sandpaper: Various grits for surface preparation (e.g., 120, 220, 320, 400, 600 grit).
- Body Filler: For repairing any imperfections in the surface.
- Primer: To create a smooth, even base for the paint.
- Clear Coat: To protect the paint and add shine.
- Masking Tape and Paper: To protect areas you don't want to paint.
- Tack Cloth: To remove dust and debris from the surface before painting.
- Mixing Cups and Sticks: For mixing the paint.
- Respirator: To protect yourself from harmful fumes.
- Gloves: To protect your hands.
- Eye Protection: Safety glasses or goggles.
- Color Matching Device (Spectrophotometer): If available, for precise color matching.
- Test Panels: For testing the paint color and application technique.
Approximate Repair Costs
The cost of achieving a Tiffany Blue finish can vary greatly depending on several factors:
- Size and Complexity of the Project: Painting a small accent piece will be much cheaper than painting an entire car.
- DIY vs. Professional: Doing it yourself will save on labor costs, but requires time, effort, and potentially additional materials if mistakes are made.
- Quality of Materials: High-quality paints and clear coats will cost more but will provide a better and longer-lasting finish.
- Extent of Surface Preparation: If the surface requires extensive repairs (e.g., rust removal, body work), the cost will increase.
Here's a rough estimate:
- DIY (Small Project, e.g., Accent Piece): $50 - $200 (including paint, primer, sandpaper, and basic supplies).
- DIY (Full Car): $500 - $1500 (depending on the quality of paint and complexity of the project).
- Professional Paint Job (Full Car): $3000 - $10,000+ (depending on the shop, the quality of paint, and the level of detail). A show-quality, multi-layered, flawlessly executed custom finish will naturally be on the higher end of the spectrum. Be sure to get quotes from multiple shops and carefully review their reputations and portfolios.
Final Thoughts
Achieving a perfect Tiffany Blue custom finish requires attention to detail, patience, and a willingness to experiment. By understanding the challenges, utilizing the right tools and techniques, and considering professional help when needed, you can successfully replicate this iconic color and create a truly stunning and unique look. Remember to always prioritize safety and wear appropriate protective gear. Good luck, and enjoy the process!