Power Steering Pump For 2012 Nissan Maxima
Alright, let's talk about the power steering pump in your 2012 Nissan Maxima. It's a vital component for easy steering, and understanding how it works, how to diagnose issues, and even replace it yourself can save you a lot of money. This guide is aimed at those with some mechanical experience who are ready to tackle this project.
Understanding the Power Steering System
Before we dive into the pump specifically, let's get the lay of the land. The power steering system in your Maxima is a hydraulic system. This means it uses fluid under pressure to assist you in turning the steering wheel. The major components are:
- Power Steering Pump: This is the heart of the system, driven by the engine via a belt. It's a positive displacement pump, meaning it delivers a consistent volume of fluid with each rotation.
- Power Steering Reservoir: Holds the power steering fluid. Often has a filter built in.
- Power Steering Hoses: These lines carry the fluid under pressure from the pump to the steering rack and back. There are typically two: a high-pressure hose (discharge hose) and a low-pressure return hose.
- Steering Rack (or Gear): The steering rack translates the rotational motion of the steering wheel into linear motion to turn the wheels. It contains a valve (rotary valve) that directs fluid to either side of a piston based on the steering input.
- Power Steering Fluid: The lifeblood of the system. It's a specially formulated hydraulic fluid designed to withstand high pressures and temperatures.
The pump creates pressure. When you turn the steering wheel, the rotary valve in the steering rack opens a passage, allowing the pressurized fluid from the pump to assist in moving the rack, making it easier to turn the wheels. When you're driving straight, the valve is centered, and no assist is provided.
The 2012 Maxima Power Steering Pump
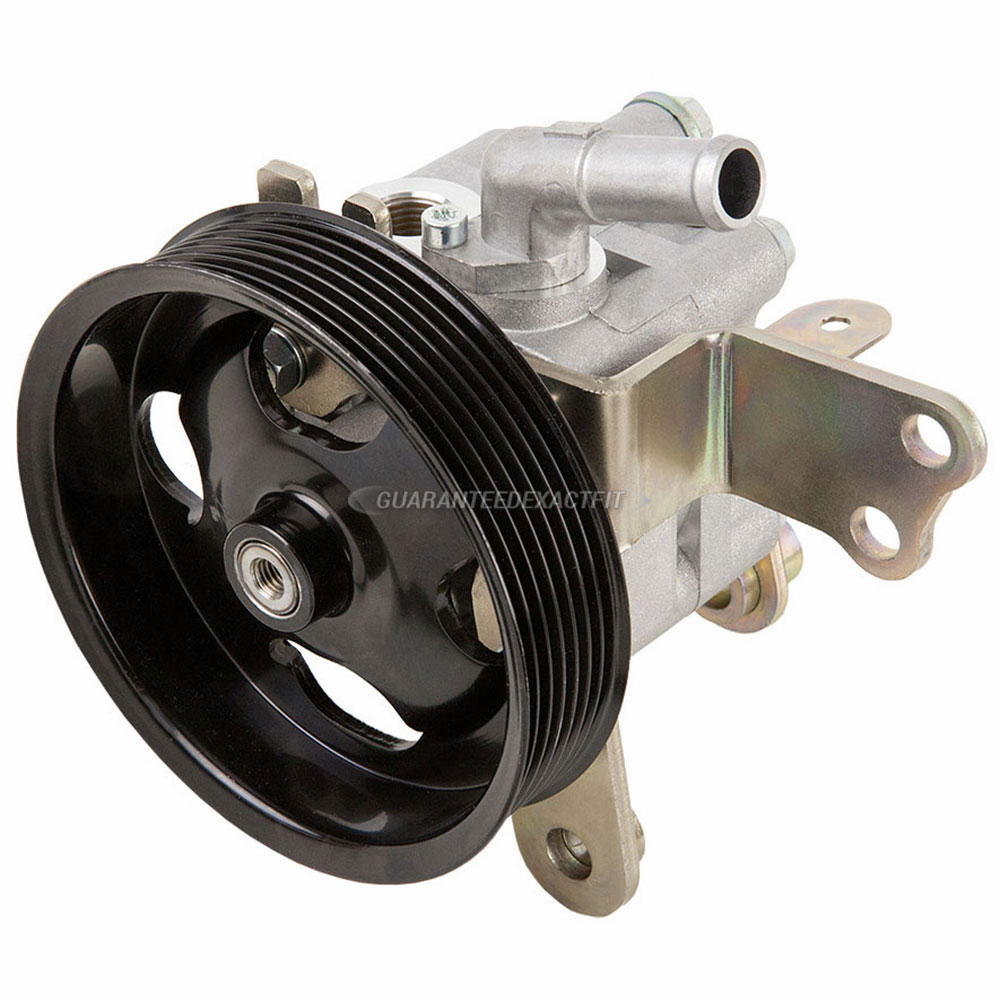
Your 2012 Maxima likely uses a vane-type power steering pump. These are commonly used because they're reliable and efficient. Inside the pump, a rotor with vanes spins inside a housing. As the rotor spins, the vanes extend outward, creating chambers of varying sizes. These chambers draw in fluid from the reservoir and then compress it, delivering it to the high-pressure outlet. A pressure relief valve is usually incorporated to prevent over-pressurization.
Important Considerations:
- OEM vs. Aftermarket: While aftermarket pumps can be cheaper, sticking with an Original Equipment Manufacturer (OEM) pump (or a reputable remanufactured one) is generally recommended for better performance and longevity. The quality of seals and internal components can vary widely in aftermarket options.
- Remanufactured Pumps: Remanufactured pumps can be a good compromise. These are used pumps that have been disassembled, cleaned, inspected, and rebuilt with new seals and worn parts. Ensure the remanufacturer has a solid warranty.
- Pump Pulley: You may need to transfer your existing pulley to the new pump. Be very careful not to damage the pulley or pump shaft during this process. A pulley removal/installation tool is highly recommended.
Symptoms of a Failing Power Steering Pump
Recognizing the signs of a failing pump is crucial. Here are some common indicators:
- Whining Noise: A common symptom, especially when turning the steering wheel. The noise may get louder as you accelerate. This is often due to air being drawn into the system, usually caused by a leak or low fluid level, which can then damage the pump itself.
- Hard Steering: Especially noticeable at low speeds or when parking. This is the primary indicator that the pump isn't providing enough assist.
- Jerky Steering: The steering may feel uneven or “notchy.”
- Leaking Power Steering Fluid: Obvious puddles of red or brown fluid under the car, especially near the front. Leaks can originate from the pump itself, the hoses, or the steering rack.
- Foaming Power Steering Fluid: Inspect the reservoir. If the fluid looks frothy or bubbly, it indicates air is getting into the system.
Troubleshooting Tip: If you suspect a failing pump, check the fluid level first. Low fluid is a common cause of pump noise and hard steering. Also, inspect the belt that drives the pump. A loose or worn belt can slip, reducing the pump's output.
Replacing the Power Steering Pump: A Step-by-Step Guide
Disclaimer: This procedure requires mechanical knowledge and access to basic tools. If you're not comfortable working on your car, it's best to take it to a qualified mechanic.
Tools You'll Need:
- Wrenches and sockets (metric)
- Torque wrench
- Pliers
- Fluid drain pan
- Power steering fluid (check your owner's manual for the correct type)
- Turkey baster or fluid extractor
- Pulley removal/installation tool (if transferring the pulley)
- Gloves and safety glasses
Procedure:
- Safety First: Disconnect the negative battery terminal. This is always a good practice when working on your car.
- Drain the Power Steering Fluid: Use a turkey baster or fluid extractor to remove as much fluid as possible from the reservoir. Then, disconnect the return hose from the reservoir (the smaller diameter hose) and direct it into a drain pan. Start the engine briefly (just for a second or two!) to pump out the remaining fluid. Important: Do not run the engine dry for more than a second or two, as this can damage the pump.
- Remove the Serpentine Belt: Locate the serpentine belt tensioner and use a wrench or socket to relieve the tension. Remove the belt from the power steering pump pulley.
- Disconnect the Hoses: Disconnect the high-pressure and low-pressure hoses from the power steering pump. Be prepared for some fluid spillage. Plug the hoses to prevent further leakage. Note the location and orientation of the hoses for reassembly.
- Remove the Pump: Unbolt the power steering pump from its mounting bracket. The number and location of the bolts will vary slightly depending on the exact pump design.
- Transfer the Pulley (If Necessary): If you need to transfer your old pulley to the new pump, use the pulley removal/installation tool. Follow the tool's instructions carefully. Warning: Never hammer the pulley on or off, as this can damage the pump.
- Install the New Pump: Install the new pump in the reverse order of removal. Make sure to torque the mounting bolts to the manufacturer's specifications.
- Reconnect the Hoses: Reconnect the high-pressure and low-pressure hoses to the pump. Ensure they are securely fastened.
- Install the Serpentine Belt: Reinstall the serpentine belt, making sure it's properly seated on all the pulleys.
- Fill the Reservoir: Fill the power steering reservoir with the correct type of fluid to the "MIN" mark.
- Bleed the System: This is crucial to remove air from the system. With the engine off, turn the steering wheel lock-to-lock several times. Check the fluid level and add more as needed. Repeat this process until the fluid level stabilizes.
- Start the Engine: Start the engine and let it idle. Again, turn the steering wheel lock-to-lock several times. Listen for any unusual noises. Check for leaks.
- Final Check: Check the fluid level one last time and add more if necessary. Take the car for a short test drive and monitor for any problems.
Post-Replacement Tips and Considerations
- Proper Fluid: Using the correct type of power steering fluid is essential. Refer to your owner's manual or a reliable parts supplier. Using the wrong fluid can damage the pump and seals.
- Flushing the System: If your old pump failed due to contamination, it's a good idea to flush the entire power steering system. This involves disconnecting the return hose and circulating fresh fluid through the system while turning the steering wheel. Be sure to follow proper flushing procedures to avoid damaging the steering rack.
- Belt Condition: While you have the serpentine belt off, inspect it for cracks, wear, or fraying. If it's in poor condition, replace it.
- Air in the System: If you're still experiencing noise or hard steering after bleeding the system, there may be a leak somewhere. Inspect the hoses, fittings, and pump for any signs of leakage.
Replacing your power steering pump on your 2012 Nissan Maxima is a challenging but achievable task for the experienced DIYer. By understanding the system, recognizing the symptoms of failure, and following the proper procedures, you can save yourself a significant amount of money and gain a deeper understanding of your car.