Rebuild And Replacement Procedures For The Nissan 240sx Steering Rack
The Nissan 240SX, a beloved chassis for drifting, track days, and spirited street driving, is no stranger to wear and tear. One component often overlooked until it's causing problems is the steering rack. A worn or leaking rack can lead to vague steering feel, excessive play, and ultimately, a loss of control. While professional installation is always recommended, understanding the rebuild and replacement procedures can empower you to diagnose issues and appreciate the engineering that goes into this crucial part of your car.
Understanding the 240SX Steering Rack
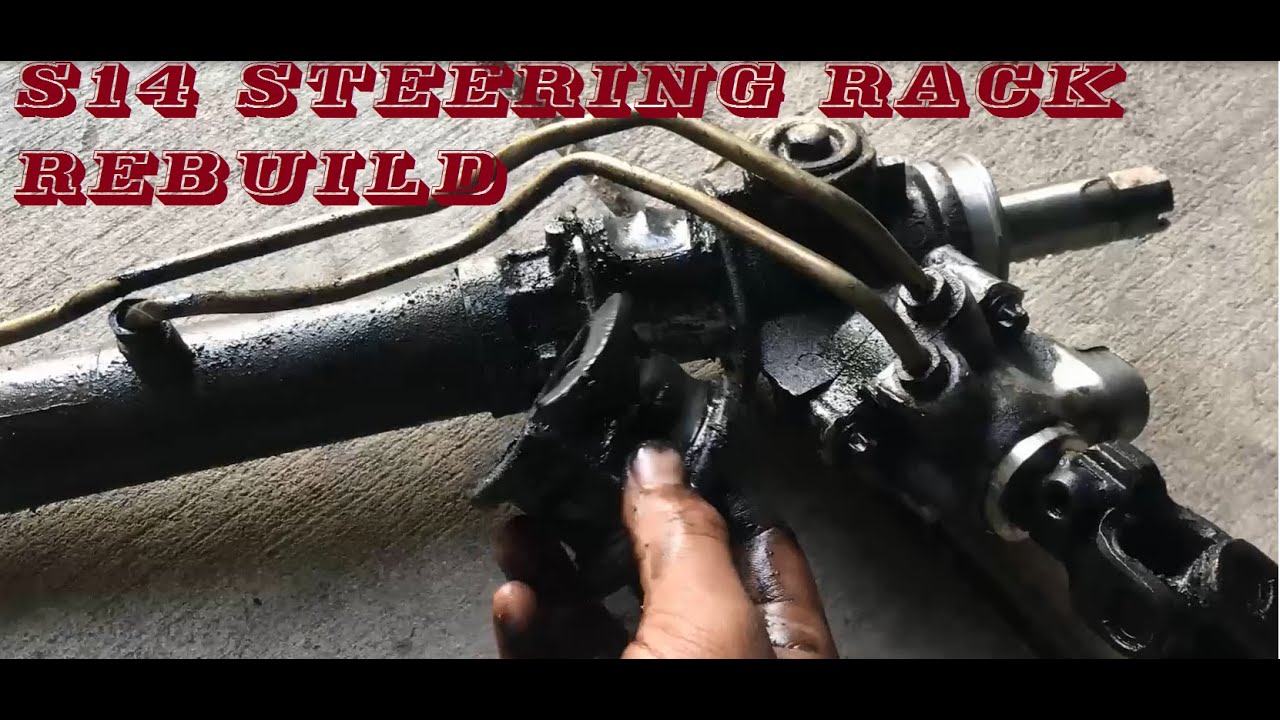
The 240SX utilizes a power-assisted rack and pinion steering system. Unlike older recirculating ball systems, the rack and pinion design offers a more direct connection between the steering wheel and the wheels, resulting in better feedback and precision. The "rack" itself is a linear toothed bar that meshes with a "pinion" gear attached to the steering shaft. As you turn the steering wheel, the pinion rotates, moving the rack laterally. Tie rods connected to the ends of the rack then translate this linear motion into steering input at the wheels. Power assist comes from a hydraulic system integrated within the rack housing, using pressure from the power steering pump to reduce the effort required to turn the wheel.
Common Steering Rack Problems
Before diving into rebuild or replacement, it’s crucial to identify the problem. Common symptoms of a failing steering rack include:
- Excessive steering play: A noticeable dead spot in the steering wheel's range of motion.
- Vague steering feel: Lack of responsiveness and feedback from the road.
- Power steering fluid leaks: Often visible around the rack boots or from the power steering pump. Check the fluid level regularly.
- Noises: Groaning, whining, or popping sounds during steering, especially at low speeds.
- Uneven tire wear: Can be a symptom, although often related to other suspension issues.
Rebuilding vs. Replacing
The decision to rebuild or replace depends on the severity of the damage and your mechanical aptitude. A rebuild involves disassembling the rack, cleaning all components, replacing worn seals and bushings, and reassembling it. Replacement involves installing a new or remanufactured unit.
Rebuilding is generally more cost-effective if only the seals are leaking and the internal components are in good condition. However, it requires specialized tools (like seal pullers and installers) and a thorough understanding of the rack's internal workings. Success is not guaranteed, and improper reassembly can lead to catastrophic failure.
Replacing the rack is simpler, faster, and often more reliable in the long run. Remanufactured units typically come with a warranty, providing peace of mind. However, it's more expensive upfront.
Rebuild Procedure (Simplified Overview)
This is a simplified overview. Refer to a detailed repair manual and online resources specific to the 240SX for comprehensive instructions and torque specifications.
- Preparation: Gather all necessary tools, including metric sockets and wrenches, seal pullers, seal installers, a vise, penetrating oil, and new seals and O-rings (a complete rebuild kit is recommended). Thoroughly clean the exterior of the rack before disassembly.
- Disassembly:
- Secure the rack in a vise, protecting it with soft jaws.
- Remove the tie rod ends. Measure and record the distance from the end of the tie rod to the jam nut on each side. This will help with alignment after reassembly.
- Remove the rack boots and inspect for damage.
- Carefully remove the pinion housing. This usually involves removing retaining bolts and gently tapping the housing with a mallet. Be mindful of the internal components.
- Remove the rack from the housing.
- Disassemble the pinion housing. This will involve removing seals, O-rings, and potentially the pinion shaft itself.
- Disassemble the power steering valve. This is a delicate assembly with small parts. Take pictures as you disassemble it to aid in reassembly.
- Cleaning and Inspection: Thoroughly clean all components with solvent. Inspect the rack, pinion gear, and valve components for wear, pitting, or damage. Replace any damaged parts. Pay close attention to the rack teeth, as damage here can cause significant steering issues.
- Seal Replacement: Use seal pullers to remove old seals and O-rings. Lubricate the new seals with power steering fluid before installation. Use seal installers to ensure the seals are seated properly without damage.
- Reassembly:
- Reassemble the power steering valve, referring to your disassembly photos.
- Reassemble the pinion housing. Apply a thin coat of grease to the pinion gear and rack teeth.
- Carefully slide the rack back into the housing.
- Reinstall the pinion housing, ensuring it's properly aligned.
- Install new rack boots.
- Reinstall the tie rod ends, using the measurements you recorded earlier.
- Testing: Before installing the rack in the car, it's recommended to test it. This can be done by connecting it to a power steering pump and manually turning the pinion to check for smooth operation and leaks.
Replacement Procedure
Replacing the steering rack is a more straightforward process than rebuilding, but still requires careful attention to detail.
- Preparation: Gather the necessary tools, including metric sockets and wrenches, a tie rod end separator (pickle fork or puller), a drain pan, and new power steering fluid.
- Disconnect:
- Loosen the lug nuts on the front wheels.
- Raise the front of the car and support it securely on jack stands.
- Remove the front wheels.
- Disconnect the tie rod ends from the steering knuckles using a tie rod end separator.
- Drain the power steering fluid by disconnecting the return line from the power steering reservoir and directing it into a drain pan. Turn the steering wheel lock-to-lock to help evacuate the fluid.
- Disconnect the power steering lines from the steering rack. Be prepared for fluid spillage. Plug the lines to prevent further leakage and contamination.
- Remove any steering shaft bolts or couplings connecting the steering shaft to the pinion shaft on the rack.
- Remove the bolts securing the steering rack to the chassis.
- Removal: Carefully maneuver the steering rack out of the car.
- Installation:
- Install the new or remanufactured steering rack, securing it to the chassis with the mounting bolts. Torque the bolts to the manufacturer's specifications.
- Reconnect the steering shaft to the pinion shaft, ensuring proper alignment. Torque the bolts to the manufacturer's specifications.
- Reconnect the power steering lines to the steering rack.
- Reconnect the tie rod ends to the steering knuckles. Adjust the tie rods to roughly match the length of the old rack, using the measurements taken during disassembly.
- Fill the power steering reservoir with new power steering fluid.
- Bleeding and Testing:
- Bleed the power steering system by turning the steering wheel lock-to-lock several times with the engine running. Monitor the fluid level and add more fluid as needed.
- Check for leaks at all connections.
- Reinstall the front wheels.
- Lower the car to the ground.
- Tighten the lug nuts to the manufacturer's specifications.
- Alignment: A wheel alignment is essential after replacing the steering rack. This will ensure proper steering geometry and prevent uneven tire wear.
Important Considerations
- Safety: Always prioritize safety. Wear safety glasses and gloves. Properly support the car on jack stands. Be mindful of power steering fluid, as it can be harmful.
- Torque Specifications: Using the correct torque specifications is crucial for proper component function and longevity. Refer to a repair manual or online resources for the correct values.
- Cleanliness: Keep everything clean during the rebuild or replacement process. Dirt and debris can damage seals and internal components.
- Power Steering Fluid: Use the correct type of power steering fluid specified for your 240SX.
- Troubleshooting: If you encounter problems during the rebuild or replacement process, consult a repair manual or seek advice from a qualified mechanic.
- Remanufactured Quality: If opting for a remanufactured rack, research reputable brands and check for warranty information.
Rebuilding or replacing a steering rack on a Nissan 240SX can be a rewarding experience, providing a deeper understanding of your car's mechanics and improving its handling. However, it's a complex task that requires patience, attention to detail, and the right tools. If you're not comfortable with any of the steps involved, it's best to seek professional assistance. A properly functioning steering rack is critical for safe and enjoyable driving.