Removal And Installation Of Front And Rear Bumper Covers On A 240sx
Alright, so you're looking to tackle removing and installing the front and rear bumper covers on your 240SX. Whether you're prepping for paint, replacing a damaged bumper, or diving into some modifications, this guide will walk you through the process step-by-step. We'll cover the tools you'll need, the specific fasteners you'll encounter, and some common pitfalls to avoid. This isn't a beginner's job, but with a bit of patience and the right information, you can definitely handle it.
Tools and Materials You'll Need
Before you even think about touching your car, make sure you have everything you need. This will save you a ton of time and frustration. Here's the rundown:
- Socket Set: Metric, of course. A good 1/4" and 3/8" drive set will cover most of the bolts you'll encounter. Look for sizes like 8mm, 10mm, 12mm, and 14mm. A deep socket set is also recommended.
- Wrench Set: Again, metric. Having a combination wrench set matching your socket sizes is ideal.
- Screwdrivers: Both Phillips head and flat head. Variety in size is key, especially for dealing with stubborn or stripped screws.
- Panel Removal Tool: These plastic tools are invaluable for popping out plastic clips without damaging the surrounding trim. A must-have, in my opinion.
- Floor Jack and Jack Stands: Safety first! You'll likely need to raise the car to access some of the fasteners. Never work under a car supported only by a jack.
- Wheel Chocks: Another safety precaution. Place them behind the rear wheels when working on the front, and vice versa.
- Penetrating Oil: For dealing with rusty or seized bolts. Spray liberally and let it soak for a while.
- Gloves: Protect your hands from grime and sharp edges.
- Shop Rags or Paper Towels: For wiping up spills and keeping things clean.
- Headlamp or Flashlight: Good lighting is crucial, especially when working under the car.
- Torque Wrench: For properly tightening bolts during reinstallation. You'll want to consult your service manual for the correct torque specifications.
- Replacement Clips and Fasteners (Optional): It's a good idea to have some extra clips on hand, as they often break during removal.
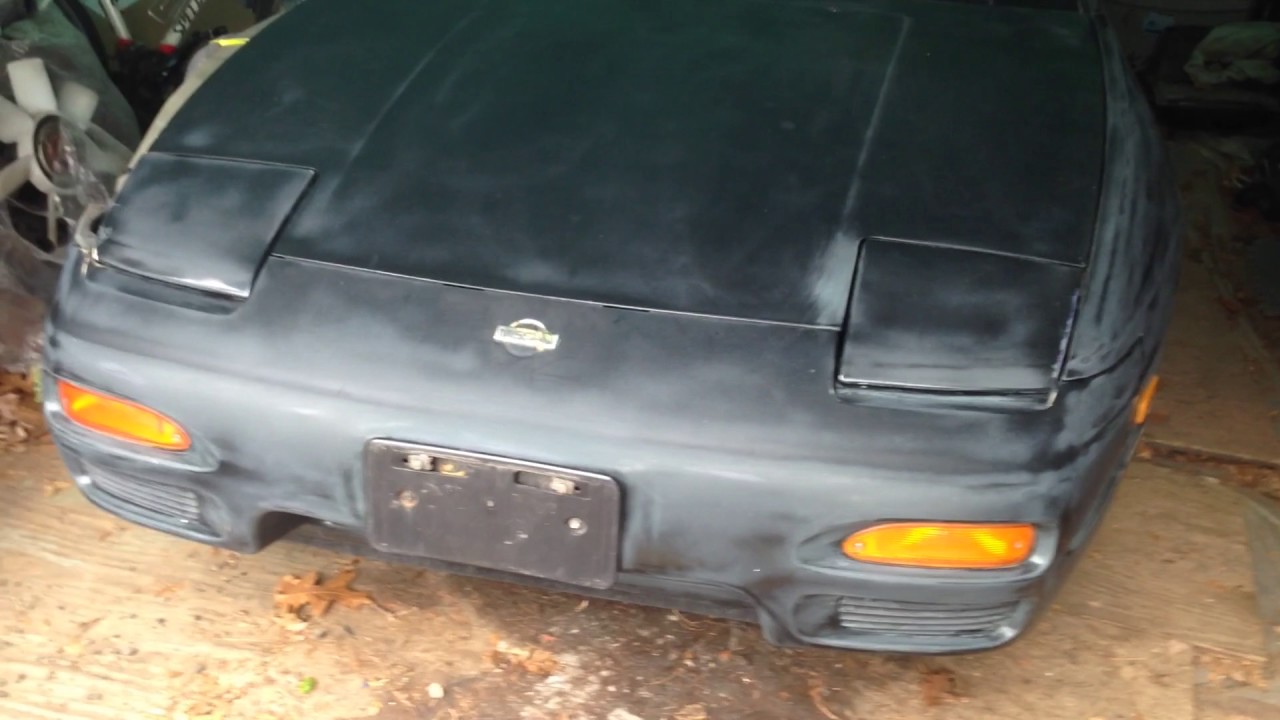
Front Bumper Cover Removal
Now let's get down to business. The front bumper cover is held on by a combination of bolts, screws, and plastic clips. Here's the breakdown:
- Preparation: Chock the rear wheels and loosen the lug nuts on the front wheels. Raise the front of the car with a floor jack and securely support it with jack stands. Remove the front wheels. This will give you much better access.
- Remove the Front Turn Signal Lights: These are typically held in by a couple of screws or clips. Disconnect the electrical connectors.
- Remove the Inner Fender Liners: These are usually attached with screws and plastic clips to the fender and the bumper cover. You'll need to carefully remove them to access some of the bumper cover mounting points. This is where your panel removal tool comes in handy.
- Locate and Remove the Upper Bumper Cover Bolts: These are usually located along the top edge of the bumper cover, underneath the hood. They're typically 10mm or 12mm bolts.
- Locate and Remove the Lower Bumper Cover Bolts: These are located underneath the car, attaching the bumper cover to the lower radiator support or the chassis. These can be rusty and difficult to remove, so penetrating oil is your friend here.
- Locate and Remove the Side Bumper Cover Bolts/Screws: These are located inside the wheel wells, attaching the bumper cover to the fenders. They're often hidden behind the fender liners.
- Detach the Bumper Cover: Once you've removed all the fasteners, the bumper cover should be loose. Gently pull it forward, starting from one side and working your way to the other. Be careful not to force it, and check for any remaining clips or fasteners that you might have missed. Disconnect any fog light connectors, if equipped.
Important Note: Pay close attention to the order in which you remove the fasteners. Take pictures or make notes so you can easily reassemble everything later.
Rear Bumper Cover Removal
The rear bumper cover removal is similar to the front, but there are a few key differences:
- Preparation: Chock the front wheels and loosen the lug nuts on the rear wheels. Raise the rear of the car with a floor jack and securely support it with jack stands. Remove the rear wheels.
- Remove the Taillights (Optional, but Recommended): Removing the taillights will give you better access to some of the bumper cover mounting points. They're usually held in by a few nuts or bolts from inside the trunk.
- Remove the Inner Fender Liners (if applicable): Some 240SX models have partial inner fender liners in the rear. Remove them if present.
- Locate and Remove the Upper Bumper Cover Bolts: These are usually located along the top edge of the bumper cover, inside the trunk. You'll likely need to remove some of the trunk trim to access them.
- Locate and Remove the Lower Bumper Cover Bolts: These are located underneath the car, attaching the bumper cover to the chassis. As with the front, these can be rusty, so use penetrating oil.
- Locate and Remove the Side Bumper Cover Bolts/Screws: These are located inside the wheel wells, attaching the bumper cover to the fenders. They might be hidden behind the fender liners or taillight assemblies.
- Detach the Bumper Cover: Once you've removed all the fasteners, the bumper cover should be loose. Gently pull it rearward, starting from one side and working your way to the other. Be careful not to force it, and check for any remaining clips or fasteners that you might have missed.
Bumper Cover Installation
Installation is essentially the reverse of removal. However, here are a few tips to ensure a smooth and successful installation:
- Inspect the Bumper Cover: Before you install the bumper cover, inspect it for any damage or cracks. Repair any damage before proceeding.
- Clean the Mounting Surfaces: Clean the mounting surfaces on the car and the bumper cover to ensure a good fit.
- Install the Bumper Cover: Carefully align the bumper cover with the mounting points on the car. Start by attaching the upper bolts or screws, then work your way down to the lower and side fasteners.
- Tighten the Fasteners: Tighten all the fasteners to the torque specifications in your service manual. Don't over-tighten them, as this can damage the bumper cover or the mounting points.
- Reinstall the Inner Fender Liners, Taillights, and Turn Signal Lights: Reinstall all the components you removed earlier.
- Reinstall the Wheels: Reinstall the wheels and lower the car. Tighten the lug nuts to the correct torque specification.
Common Pitfalls and Solutions
- Stripped Bolts: If you encounter a stripped bolt, try using a bolt extractor or a pair of pliers to remove it. You may need to drill out the bolt as a last resort.
- Broken Clips: Plastic clips are notorious for breaking. Have some replacement clips on hand.
- Rusty Bolts: Rusty bolts can be difficult to remove. Use penetrating oil and let it soak for a while. If the bolt is still stuck, you may need to use a bolt extractor or a torch to heat it up.
- Misaligned Bumper Cover: If the bumper cover doesn't align properly, check to make sure you've removed all the fasteners and that the mounting points are not damaged. You may need to adjust the mounting brackets to get the bumper cover to fit properly.
Final Thoughts
Removing and installing bumper covers on a 240SX isn't rocket science, but it does require patience and attention to detail. By following these steps and taking your time, you can successfully complete this project yourself. Remember to always prioritize safety and use the correct tools for the job. And don't hesitate to consult your service manual or seek help from a qualified mechanic if you're unsure about anything.