Removal And Replacement Of Exterior Door Moldings On A Nissan 240sx
Exterior door moldings, often overlooked, play a crucial role in both the aesthetics and protection of your Nissan 240SX. They not only contribute to the car's overall styling but also shield the door panels from minor impacts, scratches, and road debris. Over time, however, these moldings can become faded, damaged, or even detached, necessitating replacement. This detailed guide walks you through the process of removing and replacing exterior door moldings on a Nissan 240SX, providing insights into the tools, techniques, and considerations involved.
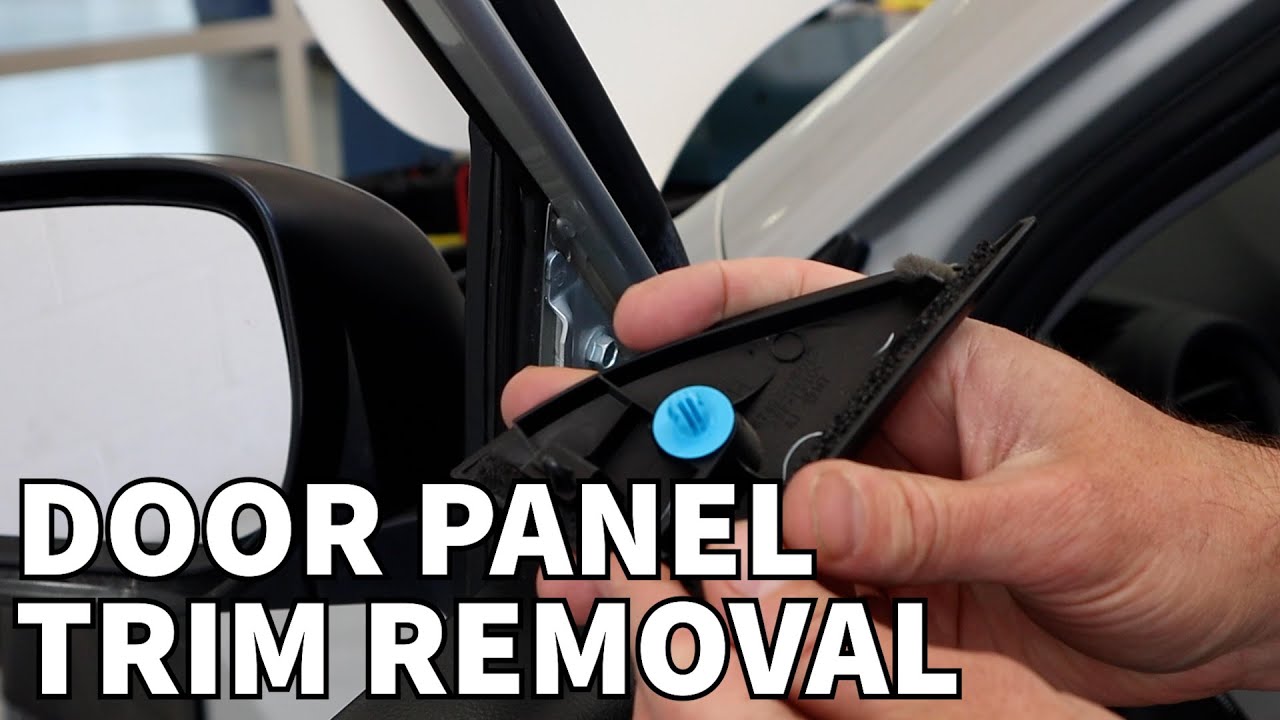
Understanding the Molding Attachment System
Before diving into the removal process, it’s essential to understand how the door moldings are affixed to the 240SX's door panels. Generally, Nissan employed a combination of methods, including:
- Adhesive Tape: Double-sided adhesive tape, typically a high-strength acrylic foam tape, is the primary means of securing the molding along its length. This tape provides a strong bond while also allowing for some flexibility.
- Retaining Clips: In addition to adhesive, some moldings may incorporate plastic retaining clips that snap into corresponding holes in the door panel. These clips offer supplementary mechanical retention, preventing the molding from shifting or peeling away.
- End Caps/Fasteners: Some moldings, particularly those on the leading or trailing edge of the door, may have small end caps or fasteners that provide additional security and alignment.
Understanding this attachment system is crucial because it dictates the tools and techniques you'll need for a successful and damage-free removal. Trying to simply rip off the molding without considering these factors can lead to bent metal, torn paint, and broken clips.
Tools and Materials Required
Gathering the right tools and materials is half the battle. Here's a comprehensive list of what you'll need:
- Heat Gun or Hair Dryer: Heat is your friend when dealing with adhesive. A heat gun, set to a low setting, or a hair dryer will soften the adhesive tape, making it easier to separate the molding from the door panel. Exercise extreme caution when using a heat gun, as excessive heat can damage the paint.
- Plastic Trim Removal Tools: A set of plastic trim removal tools is essential for prying the molding away from the door panel without scratching the paint. Avoid using metal tools, such as screwdrivers, which can easily inflict damage.
- Fishing Line or Dental Floss: Strong fishing line or dental floss can be used to "saw" through the adhesive tape behind the molding. This is particularly helpful for long moldings with extensive adhesive coverage.
- Adhesive Remover: After removing the molding, you'll likely be left with residual adhesive on the door panel. A dedicated adhesive remover, such as Goo Gone or 3M Adhesive Remover, will dissolve the residue without harming the paint.
- Microfiber Cloths: Use microfiber cloths to apply the adhesive remover and wipe away the dissolved residue. Microfiber cloths are gentle on paint and won't leave scratches.
- Wax and Grease Remover: Before installing the new moldings, clean the door panel with a wax and grease remover to ensure proper adhesion.
- New Door Moldings: Purchase replacement door moldings that are specifically designed for your Nissan 240SX. Ensure they are of high quality and come with pre-applied adhesive tape.
- Isopropyl Alcohol: Use isopropyl alcohol to clean the mating surfaces of both the door and the new molding before adhering.
- Primer (Optional): Some adhesive tapes benefit from the use of a primer designed for plastics and automotive paints. Follow the instructions on the tape.
- Gloves: Wear gloves to protect your hands from chemicals and sharp edges.
- Masking Tape: High quality masking tape can protect paint from accidental scratches.
Removal Procedure: A Step-by-Step Guide
- Preparation: Thoroughly clean the area around the door molding with soap and water. Dry the area completely. This will remove any dirt or grime that could interfere with the removal process.
- Heating the Adhesive: Using a heat gun (on a low setting) or a hair dryer, gently warm the door molding, focusing on the edges and areas where the adhesive tape is visible. The goal is to soften the adhesive, not to melt it. Move the heat source constantly to prevent overheating the paint.
- Initial Separation: Insert a plastic trim removal tool between the edge of the door molding and the door panel. Carefully pry the molding away from the panel, working your way along the length of the molding. If you encounter resistance, apply more heat to soften the adhesive further.
- "Sawing" Through the Adhesive (If Necessary): For moldings with extensive adhesive coverage, use fishing line or dental floss to "saw" through the adhesive tape. Start at one end of the molding and gently slide the fishing line or floss behind the molding, using a sawing motion. This will help separate the adhesive without damaging the paint.
- Releasing Retaining Clips (If Applicable): If your molding has retaining clips, carefully identify their locations and use the plastic trim removal tool to gently release them. Avoid pulling forcefully on the molding, as this can break the clips or damage the door panel. Sometimes a slight tap inwards where the clip is located can assist in disengagement.
- Complete Removal: Once the adhesive is sufficiently softened and any retaining clips are released, the door molding should come off relatively easily. If you encounter any stubborn areas, apply more heat and continue working with the trim removal tool.
- Adhesive Removal: After removing the molding, you'll be left with residual adhesive on the door panel. Apply adhesive remover to a microfiber cloth and gently rub the residue until it dissolves. Be patient and avoid using excessive force, as this can scratch the paint. Use multiple applications of adhesive remover if necessary.
- Final Cleaning: Once all the adhesive residue is removed, clean the door panel with wax and grease remover to ensure a clean surface for the new molding.
Installation Procedure: Ensuring a Secure Fit
- Surface Preparation: Before installing the new moldings, thoroughly clean the door panel with wax and grease remover, followed by a wipe down with isopropyl alcohol. Ensure the surface is completely clean, dry, and free of any contaminants. Clean the back of the new molding in the same manner.
- Test Fitting: Before removing the adhesive backing from the new molding, test fit it to ensure proper alignment and fitment. This will help you avoid any mistakes during the actual installation.
- Priming (If Applicable): If the adhesive tape on your new moldings recommends the use of a primer, apply it to both the door panel and the back of the molding according to the manufacturer's instructions.
- Adhesive Application: Carefully peel back a small portion of the adhesive backing from the new molding. Align the molding with the door panel and gently press it into place. Once you're satisfied with the alignment, gradually peel away the remaining adhesive backing while applying firm, even pressure to the molding.
- Secure Attachment: Once the molding is fully adhered, apply firm, even pressure along its entire length to ensure a strong bond. Use a clean cloth or a roller to apply pressure, paying particular attention to the edges and areas around retaining clip locations.
- Curing Time: Allow the adhesive to cure for the recommended time period (typically 24-48 hours) before exposing the molding to water or extreme temperatures.
Important Considerations
- Paint Condition: The condition of your car's paint is a crucial factor in the success of this project. If the paint is old, brittle, or has been poorly repaired, there's a risk of it being damaged during the removal process. In such cases, it's best to consult with a professional auto body shop.
- Weather Conditions: Avoid removing or installing door moldings in extreme temperatures or direct sunlight. Ideal conditions are mild and dry.
- Patience is Key: This project requires patience and attention to detail. Rushing through the process can lead to mistakes and potential damage.
- Quality Matters: Invest in high-quality replacement door moldings and adhesive remover. Cheap products can lead to poor results and potential damage.
- Consult a Professional: If you're not comfortable performing this project yourself, or if you encounter any difficulties, don't hesitate to consult with a professional auto body shop.
By following these steps and taking the necessary precautions, you can successfully remove and replace the exterior door moldings on your Nissan 240SX, restoring its aesthetics and protecting its door panels.