Removal And Restoration Of A 1995 Nissan 240sx (s14) Dashboard
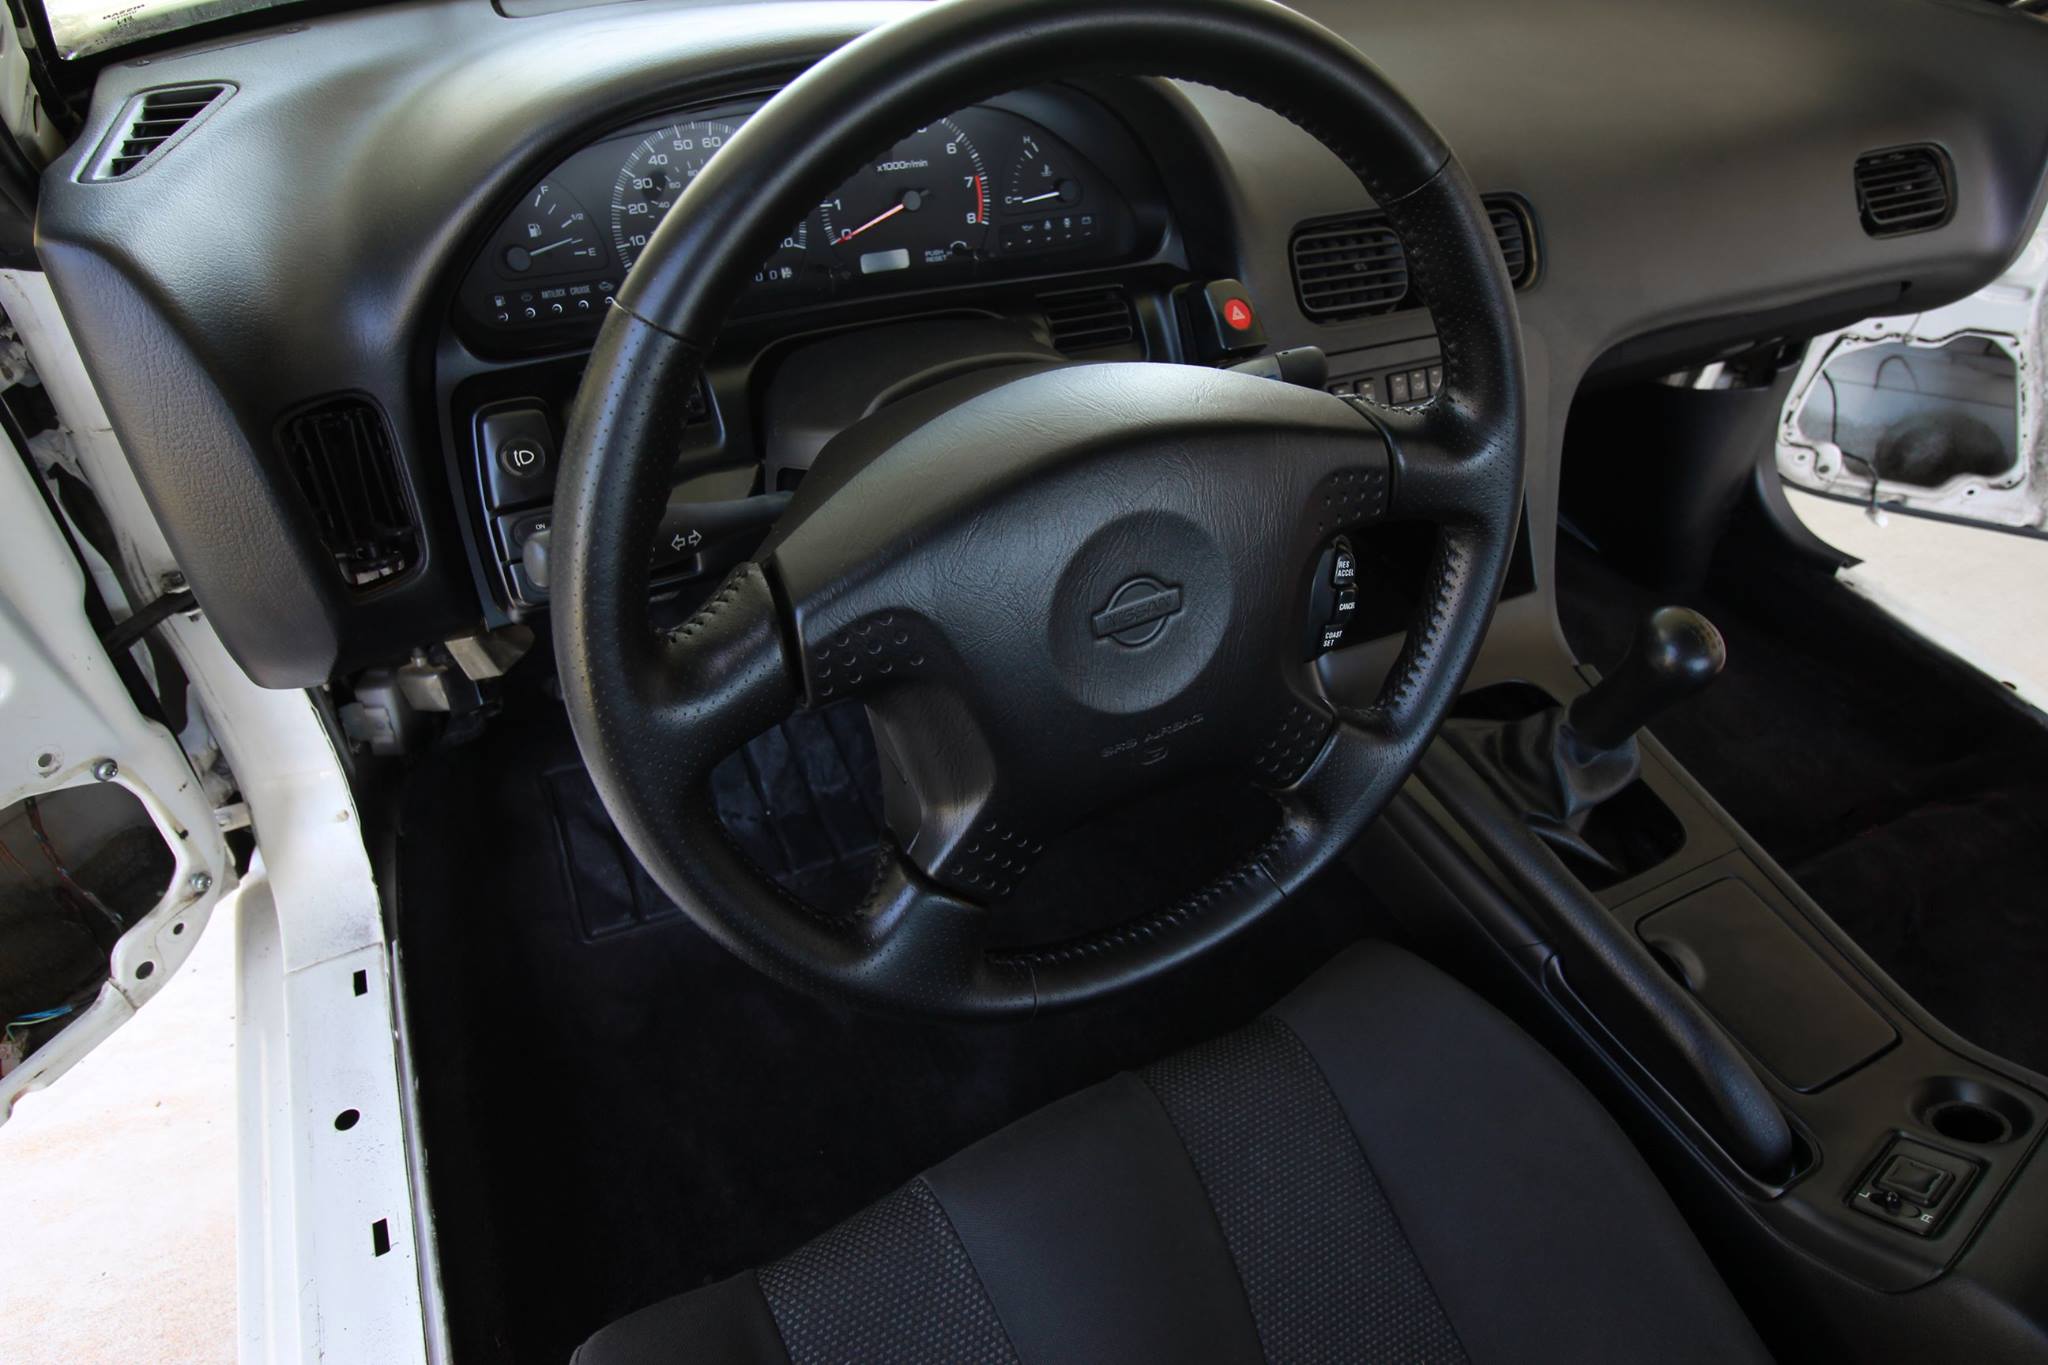
So, you're tackling a dashboard removal and restoration on your S14 240SX? Excellent! It's a rewarding, though time-consuming, project that can dramatically improve the interior of your car. Whether you're addressing cracks, faded colors, or planning a full interior revamp, this guide will walk you through the process, covering everything from initial disassembly to final reinstallation. We'll focus on a 1995 model, but much of this applies to all S14s (1995-1998).
Preparation is Key
Before you even think about grabbing a screwdriver, a little preparation can save you hours of frustration. Here's what you'll need:
- Tools: A good set of metric sockets and wrenches, screwdrivers (Phillips head and flathead), a trim removal tool set (absolutely essential!), a small pick set, masking tape, zip ties, a digital camera (crucial for documenting wire locations!), a multimeter (for electrical troubleshooting, if necessary), and a torque wrench.
- Materials: Shop towels, cleaners (degreaser, interior cleaner), masking tape, plastic bags for organizing hardware, lubricant (silicone grease), and, depending on the restoration you plan, dashboard repair filler, vinyl dye, or a dashboard cover.
- Safety Gear: Safety glasses, gloves, and a dust mask (especially important if dealing with old, potentially brittle plastic).
Disconnect the negative battery terminal before you begin. This is paramount to prevent accidental shorts and airbag deployment. Allow at least 15 minutes for the airbag system to fully discharge.
Dashboard Removal: A Step-by-Step Guide
This process can be intimidating, but take it one step at a time. Document everything with photos. You'll thank yourself later!
Step 1: Remove the Lower Trim and Center Console
Start by removing the lower dash panels on both the driver and passenger sides. These are usually held in place by screws and plastic clips. Use your trim removal tools to gently pry them off, taking care not to break any clips. Next, remove the center console. This usually involves removing the shift knob (if manual), unscrewing the console from the floor, and disconnecting any electrical connectors (e.g., for the cigarette lighter, power windows, etc.).
Step 2: Steering Wheel and Column Covers
Removing the steering wheel is optional, but it provides more clearance. If you choose to remove it, make sure you know how to disable the airbag system properly. Consult your service manual! Loosen the airbag module (usually two bolts on the back of the steering wheel), carefully disconnect the airbag connector (remember the 15-minute wait!), then loosen the steering wheel retaining nut, marking the wheel's position on the shaft before removing it with a steering wheel puller (if necessary). Remove the plastic column covers surrounding the steering column. They're typically held together with screws and plastic clips.
Step 3: Instrument Cluster and Radio Surround
The instrument cluster is usually held in place by a few screws. Remove those screws and carefully pull the cluster forward. Disconnect all the electrical connectors on the back of the cluster, noting their positions (photos are your friend!). Next, remove the radio surround and the radio itself. The surround usually pops out with trim removal tools, and the radio is held in place by screws or clips.
Step 4: HVAC Controls and Vents
Disconnect the HVAC control cables from the heater box and the temperature control. These cables are usually held in place by clips. Be gentle – these are often brittle with age. Remove any screws holding the HVAC control panel in place and carefully pull it out, disconnecting any electrical connectors. Remove the dashboard vents. Some are held in by screws, while others simply snap in place. Use your trim removal tools carefully.
Step 5: Disconnecting Electrical Connectors
This is where your digital camera becomes invaluable. Before removing any wiring harnesses, take detailed photos of their locations and connections. Label each connector with masking tape and a pen. Pay close attention to ground wires – their proper placement is crucial. Begin disconnecting all the electrical connectors attached to the dashboard. There will be a lot of them! Use a small pick to release any locking tabs on the connectors.
Step 6: Removing the Dashboard Fasteners
The dashboard is typically held in place by several bolts located around the perimeter of the dashboard, usually hidden under trim pieces or behind the instrument cluster and glove box. Locate these bolts and remove them. Don't forget to check under the windshield near the defroster vents; there are often bolts hidden there.
Step 7: Lifting Out the Dashboard
With all the fasteners removed, carefully lift the dashboard out of the car. It may be tight, so take your time and maneuver it carefully. Have a helper if possible. Be mindful of any remaining wiring harnesses or vacuum lines that may be attached.
Dashboard Restoration
Now that the dashboard is out, you can begin the restoration process. The approach depends on the condition of your dash and your desired outcome.
Cleaning and Inspection
Thoroughly clean the dashboard with a degreaser and interior cleaner. This will remove dirt, grime, and old protectant. Inspect the dashboard for cracks, tears, or other damage. Pay particular attention to areas around vents and mounting points.
Repairing Cracks and Damage
For small cracks, use a dashboard repair filler. Follow the manufacturer's instructions carefully. Apply the filler, let it dry, and sand it smooth. For larger cracks or tears, you may need to use a more substantial repair method, such as fiberglass cloth and resin. Again, follow the manufacturer's instructions closely.
Refinishing or Re-covering
Once the repairs are complete, you can refinish the dashboard. If the color is faded, you can use vinyl dye to restore it. Clean the dashboard thoroughly and apply several thin coats of dye, allowing each coat to dry completely. Alternatively, you can re-cover the dashboard with new vinyl or leather. This is a more involved process that requires specialized tools and skills. Pre-made dashboard covers are also available, offering a simpler solution.
Reinforcing Weak Points
While the dashboard is out, consider reinforcing any weak points, such as the mounting points for the vents or the instrument cluster. You can use epoxy or fiberglass to strengthen these areas.
Reinstallation: Putting It All Back Together
Reinstallation is essentially the reverse of removal. However, there are a few things to keep in mind:
- Wiring: Double-check all your wiring connections. Refer to your photos and labels to ensure everything is connected correctly. Use a multimeter to check for continuity if you're unsure.
- Fasteners: Tighten all the fasteners to the proper torque specifications. Over-tightening can damage the dashboard or the mounting points. Use a torque wrench to ensure proper tightening.
- Cables and Hoses: Ensure that all cables and hoses are routed correctly and are not pinched or kinked.
- Testing: Before you fully reassemble the interior, test all the electrical components to make sure they are working properly. Check the instrument cluster, radio, HVAC controls, and any other electrical accessories.
Reinstall the dashboard carefully, making sure it is properly aligned. Reinstall the lower trim panels, center console, steering wheel, instrument cluster, radio surround, HVAC controls, and vents. Reconnect the negative battery terminal.
Final Touches
Once everything is reassembled, give the interior a final cleaning. Check all the fasteners and connections to make sure everything is secure. Enjoy your revitalized 240SX interior!
Important Note: Airbag systems are complex and potentially dangerous. If you are not comfortable working with airbags, it is best to have a professional handle the steering wheel removal and reinstallation. Improper handling of airbags can result in serious injury or death.
Remember to take your time, be patient, and don't be afraid to ask for help if you get stuck. With careful planning and attention to detail, you can successfully remove and restore your S14 240SX dashboard, bringing new life to your classic sports car.