Repairing A Malfunctioning Master Window Switch In A Nissan 240sx
The Nissan 240SX, a darling of the drifting and tuning scenes, often suffers from a common ailment as it ages: a malfunctioning master window switch. This seemingly simple component is the nerve center for your power windows, and its failure can leave you stranded with a window stuck open (or closed), impacting comfort and security. While a complete replacement is always an option, understanding the switch's inner workings and attempting a repair can be a rewarding and cost-effective endeavor. This guide delves deep into the process, equipping you with the knowledge to diagnose, disassemble, and potentially resurrect your ailing window switch.
Understanding the 240SX Master Window Switch
Before diving into the repair process, let's dissect the function of the master window switch. In the 240SX, this switch isn't simply an on/off toggle. It’s a more sophisticated device that manages power distribution to individual window motors based on user input. It's a low-current control that actuates relays in the door. These relays then provide the higher current necessary to drive the window motors. This design protects the switch itself from high amperage and prolongs its lifespan, although wear and tear are inevitable.
Circuitry Overview
The switch generally houses these key components:
- Power Input: A direct connection to the car's electrical system, typically fused, providing the necessary voltage (12V DC).
- Ground Connection: A crucial return path for the electrical current.
- Individual Window Switches: These are the physical buttons you press to control each window. Each switch has multiple contacts that make different connections depending on whether you're raising or lowering the window.
- Lockout Switch (if equipped): This switch disables the rear window controls, preventing passengers from operating them.
- Internal Wiring and Contacts: These delicate pathways conduct the electrical signals between the various components. This is where most problems originate, especially from corrosion or physical damage.
Common Failure Points
Several factors contribute to master window switch failure in the 240SX:
- Contamination: Spilled drinks, dust, and general grime can seep into the switch assembly, corroding the contacts and gumming up the mechanisms.
- Wear and Tear: Repeated use inevitably wears down the mechanical components of the switches, such as the contacts and spring mechanisms.
- Electrical Overload: Although unlikely due to the relay system, excessive current draw can damage the internal circuitry. This might happen if a window motor is struggling or jammed.
- Broken Solder Joints: Vibration and temperature fluctuations can weaken and fracture the solder joints connecting the components to the circuit board.
Diagnosis: Pinpointing the Problem
Before tearing into the switch, a proper diagnosis is crucial to ensure you're addressing the root cause. Consider these steps:
- Visual Inspection: Examine the switch assembly for any obvious signs of damage, such as cracks, loose wires, or corrosion. Check the connector plug for corrosion or loose connections.
- Fuse Check: Consult your 240SX's wiring diagram and locate the fuse responsible for the power windows. A blown fuse is a simple fix, but investigate the cause to prevent recurrence.
- Test Individual Windows: Determine which windows are affected. Is it just one, or are multiple windows non-functional? This helps narrow down the problem.
- Test at the Motor: Access the wiring harness at the window motor of a malfunctioning window. Use a multimeter to check for voltage when the switch is activated. If voltage is present, the motor itself is likely the problem. If no voltage is present, the issue lies upstream, potentially in the switch or wiring.
- Continuity Testing: With the switch disconnected from the vehicle's wiring harness, use a multimeter to test the continuity between the power input and each of the window control outputs *while* operating the corresponding window switch. No continuity indicates a broken connection or a faulty switch. Refer to the 240SX's wiring diagram to identify the correct pins. Caution: Never perform continuity testing on a live circuit.
Disassembly: Accessing the Inner Workings
Once you've identified the switch as the culprit, carefully disassemble it. Note: Work in a clean and well-lit area, and take pictures at each step to aid in reassembly.
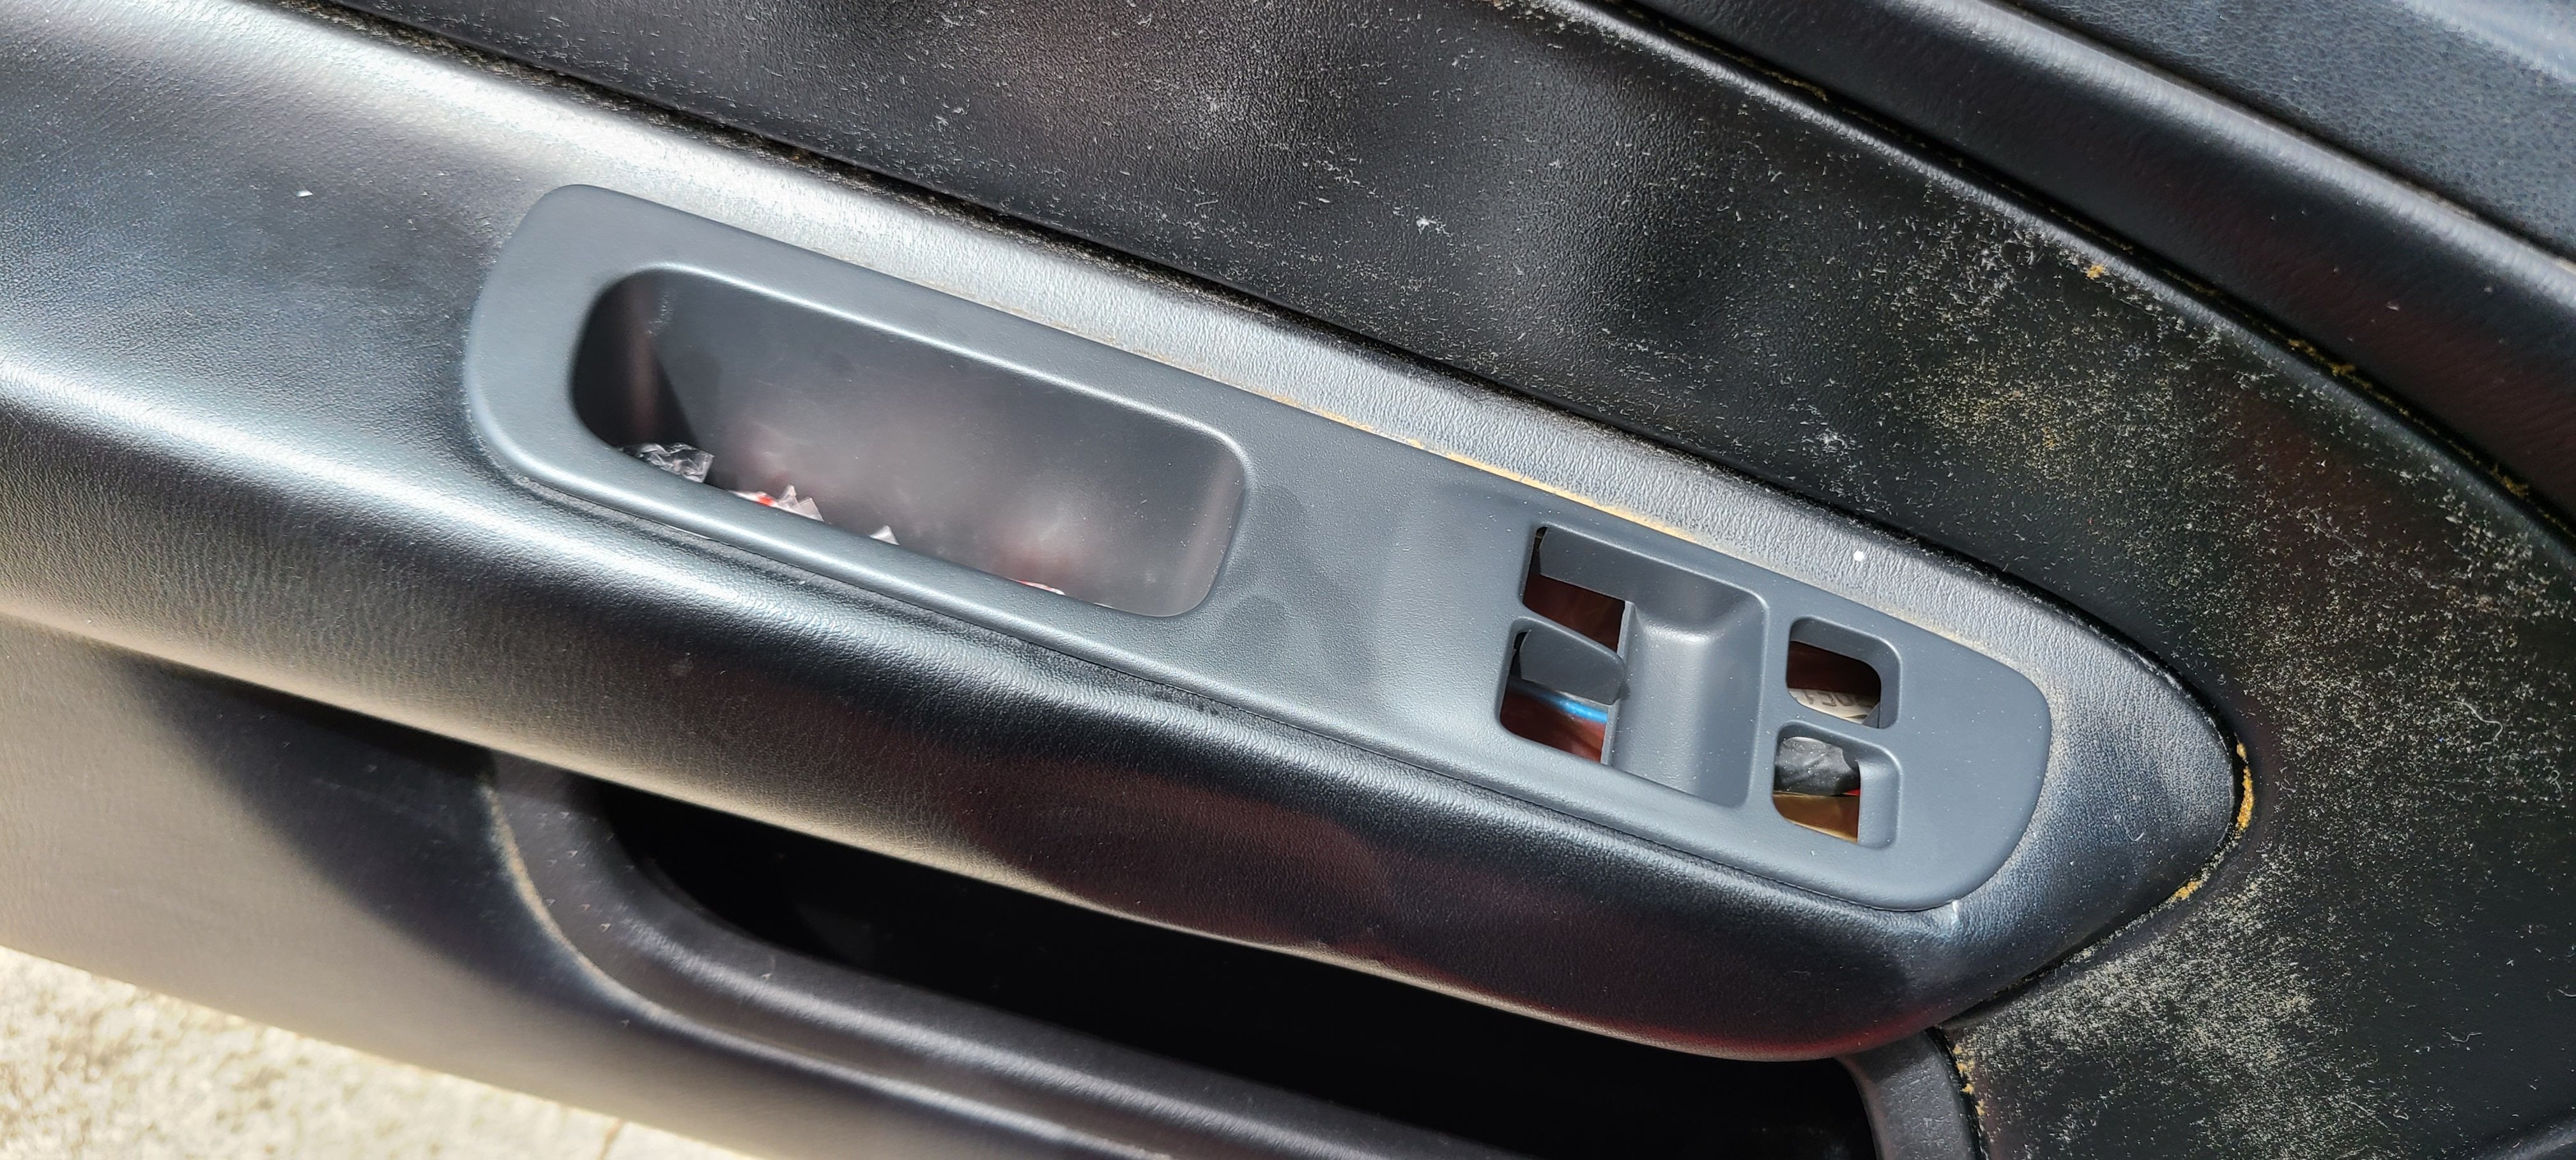
- Removal from the Door Panel: Typically, the master window switch is held in place by clips or screws. Use a plastic trim removal tool to gently pry the switch assembly from the door panel. Avoid using metal tools, as they can scratch or damage the surrounding plastic.
- Disconnecting the Wiring Harness: Carefully disconnect the wiring harness from the switch assembly. Most connectors have a locking tab that needs to be depressed before the connector can be pulled apart.
- Opening the Switch Housing: The switch housing is usually held together by clips or screws. Use a small screwdriver or plastic pry tool to carefully separate the housing halves. Be gentle, as the plastic can become brittle with age.
- Internal Component Removal: Once the housing is open, you'll see the internal components, including the switches, circuit board, and wiring. Carefully remove each component, noting its orientation and position. Pay close attention to any small springs or contacts, as they can easily be lost.
Repair Procedures: Addressing the Faults
With the switch disassembled, you can now address the specific problems identified during the diagnosis phase.
Cleaning Corroded Contacts
Corrosion is a common issue. Use these steps to clean corroded contacts:
- Cleaning Solution: Use a specialized electrical contact cleaner or isopropyl alcohol. Avoid using harsh chemicals that could damage the plastic or circuit board.
- Application: Apply the cleaner to a cotton swab or small brush and gently scrub the corroded contacts. Be thorough but avoid excessive pressure that could damage the delicate components.
- Drying: Allow the cleaned contacts to dry completely before reassembling the switch. You can use compressed air to speed up the drying process.
Repairing Broken Solder Joints
Cracked or broken solder joints can disrupt the electrical flow. Here's how to repair them:
- Soldering Iron: Use a fine-tipped soldering iron and rosin-core solder. Ensure the iron is clean and properly heated.
- Reheating the Joint: Carefully reheat the existing solder joint until it melts.
- Adding Fresh Solder: Add a small amount of fresh solder to the joint, ensuring it flows smoothly and creates a solid connection.
- Inspection: Inspect the repaired joint to ensure it's smooth, shiny, and free of cracks or voids. Use a magnifying glass for a closer look.
Replacing Damaged Components
If any components are severely damaged or beyond repair, replacement is necessary. This can be challenging, as finding individual components for the 240SX master window switch can be difficult. Consider these options:
- Donor Switch: Obtain a used master window switch from a salvage yard or online marketplace. Use it as a source of replacement parts.
- Aftermarket Components: Search for aftermarket switches or components that are compatible with the 240SX master window switch. Be sure to verify compatibility before purchasing.
Reassembly: Putting it All Back Together
Once the repairs are complete, carefully reassemble the switch, following these steps:
- Component Placement: Ensure that all components are properly positioned and oriented within the switch housing. Refer to the photos you took during disassembly to ensure proper placement.
- Housing Closure: Carefully close the switch housing, ensuring that the clips or screws are properly secured.
- Wiring Harness Connection: Reconnect the wiring harness to the switch assembly, ensuring that the connector is fully seated and locked in place.
- Testing: Before reinstalling the switch in the door panel, test its functionality by connecting it to the vehicle's wiring harness and operating the window controls.
- Reinstallation: Reinstall the switch assembly in the door panel, ensuring that it's securely mounted.
Preventative Maintenance: Extending the Lifespan
To prevent future problems, consider these preventative maintenance tips:
- Keep it Clean: Regularly clean the switch assembly with a damp cloth to remove dust and grime. Avoid using harsh chemicals or abrasive cleaners.
- Avoid Spills: Be careful not to spill drinks or other liquids on the switch assembly.
- Gentle Operation: Operate the window controls gently to avoid putting excessive stress on the mechanical components.
- Window Track Lubrication: Lubricate the window tracks with silicone spray lubricant to reduce friction and strain on the window motors and switches. This is a very important point. Sticking windows that strain the motor increase the risk of future switch failures.
Conclusion
Repairing a malfunctioning master window switch in a Nissan 240SX can be a challenging but rewarding task. By understanding the switch's inner workings, following a systematic diagnosis procedure, and employing careful repair techniques, you can potentially save money and extend the lifespan of this critical component. Remember to prioritize safety, work in a clean and well-lit environment, and take your time. If you're unsure about any step of the process, consult a qualified automotive technician. While a complete replacement might seem easier, the knowledge gained from attempting a repair deepens your understanding of your car's electrical system, contributing to a more fulfilling ownership experience. Moreover, the sense of accomplishment from successfully fixing a finicky part of your beloved 240SX is a reward in itself. Now go forth and conquer that stubborn window!